
5 Face Yoga Poses To Get Rid Of That Double Chin
What is Face Yoga?
Face yoga is a combination of exercise and stretches for the muscles in your face to help tighten, tone and keep you feeling and looking your best! If you’ve already committed to adding yoga into your routine, why not give face yoga a try? You can add this self-care routine into the beginning or end of your day and repeat it as often or as little as you see fit. These simple exercises can improve circulation which will reduce visible signs of aging and wrinkles! Looking to tighten and tone your skin? Adding facial yoga into your routine is a great place to start but it’s also important to hydrate, sleep well and reduce stress overall. We look our best when we feel our best!
Why should you perform face yoga?
Improve muscle tone. Much like resistance training, these exercises make your muscles work against your hands when toning.
Anti aging- Like natural botox! This practice stimulates the muscles to tighten the skin which will improve or reduce any fine lines or wrinkles.
Fight muscle fatigue. The massage part of this practice will help circulate your blood flow and release any tension in your lymph nodes. You’ll experience a detoxification which will awaken your skin.
Long lasting health benefits. Facial yoga will smooth lines, lift and tone your cheeks and neck and reduce signs of fatigue around your eyes. As if that’s not enough, it’s also been shown to reduce neck pain, headaches and TMJ!
Five yoga poses moves to get rid of double chin
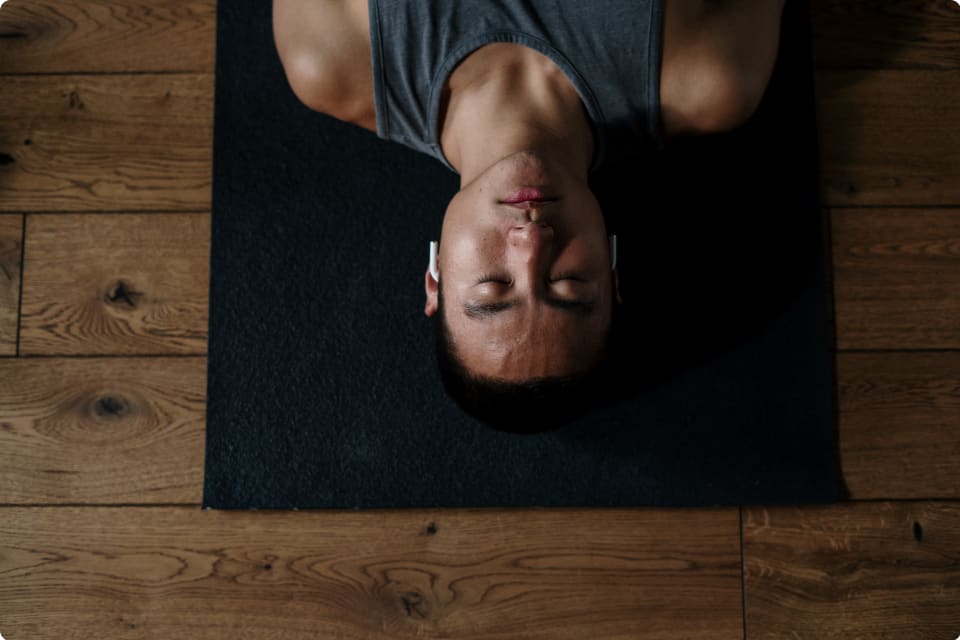
A well balanced facial yoga “workout” will include movement, massage and acupressure to help you reduce stress and pressure on the muscles and bones. These fives moves will help you tighten and tone your skin including that pesky double chin!
Fish Face
Suck your cheeks in to form a fish face. Hold for 20 seconds and repeat five times.Neck Lift
Pull your lips over to the right side and then turn your neck to the same side. Hold for 3 seconds and then do the other side. Repeat both sides til you’ve done five sets.Pout Pose
Bring your lips to a small tight 0 shape & lift the neck up and change your lips to a smile. Hold for 20 seconds then repeat five times.Face Tapping
Starting at your forehead, tap your fingertips on your face. First across your forehead, then down your cheeks. Across your chin and down your neck to your shoulders. Finish off by rubbing your hands together to create heat and cup your hands over your eyes. Start to deepen your breath and relax.Face Savasana
When you’ve finished your routine, bring your eyes to close and deepen your breath. You can choose to grab face lotion and rub down your skin, or warm a towel and rest it on your face. Or both! Continue to give your skin the pampering it deserves and remember to take time to relax!


But be careful, practicing face yoga can improve overall happiness and increase your confidence! You may also feel less under the weather and more well rested. With side effects this amazing, what are you waiting for? Ready to give it a shot? Try our face yoga class!
Online Yoga Classes – Live & Interactive
Get 2 free private yoga sessions and 2 weeks of unlimited group classes with authentic yoga teachers. No credit card required when you sign up today!
Share this post?
Interesting Articles
It Takes Two! 10 Yoga Poses for Two People
Did you know that yoga means “union” in Sanskrit? Which means couples yoga is an excellent way to strengthen a relationship between two people. Whet...
Continue ReadingYoga for Constipation: Top 8 Poses to Stimulate Digestion and Alleviate Discomfort
Feeling a bit backed up? Constipation is a common problem that nearly everyone experiences in their lives. It can involve unpleasant symptoms, like in...
Continue Reading5 Easy Yoga Poses for Cancer Patients: A Beginner's Guide
Yoga can be a healing journey for anyone who takes up the practice, and this is especially true for cancer patients. If you’re battling cancer, there ...
Continue ReadingRecent Articles
Neck and Shoulder Yoga for Pain Relief : New 1-on-1 Series!
Announcing A New 1-on-1 Series! We’re offering a new series of 1-on-1 classes! Our Neck and Shoulder Yoga for Pain Relief is designed to hel...
Continue ReadingOur New And Improved Group Class Platform!
Here's a quick walkthrough of our new GC interfaceExciting news! Our platform got an upgrade!MyYogaTeacher is always evolvi...
Continue ReadingNew 1-on-1 Hip Opening Series: Unlock Freedom in Movement
The new transformative 1-on-1 Hip Opening Series, specially designed to release tension and boost strength and mobility in your hips, is the perfect w...
Continue Reading© Copyright 2020 MyYogaTeacher Inc