
What Is Three Part Breath?
Yogis tend to view breath differently, and no story greater sums up this concept than hearing about the tests police offers have to take in the academy. In one of the tests, contenders are strapped in to a lie detector and asked several questions. They are also asked something every yogi hates to hear:
“Just breathe normally.”
I have taught yoga for four years, and any time someone tells me to focus on my breathing I snap into Three Part Breath. It is hardly conscious, but as the soon-to-be-frustrated LAPD testing assistant would attest to, it is far different from “breathing normally.”
Three Part Breath stems from the Pranayama concept of yoga— the idea that through controlling our breath we can control our minds and, potentially, tap into a higher power. In Sanskrit, Prana means life force, or breath sustaining the body; Ayama translates as “to extend or draw out.” Extending and lengthening our breaths calms and quiets the mind, which is the goal of yoga as a whole.
Throwing poses in the mix was designed for us to challenge that control— an expert yogi can control their breath even in handstand or with their feet behind their head. The struggle of that breath control, for most of us, is a reminder that we are human, and thus we are all works in progress.
Online Yoga Classes – Live & Interactive
Get 2 free private yoga sessions and 2 weeks of unlimited group classes with authentic yoga teachers. No credit card required when you sign up today!
Where do we start with Pranayama? Three Part Breath.
Senior yoga teacher Swami Karunananda states, “three-part deep breathing is the foundation of all the yogic breathing techniques. Studies have shown that you can take in and give out seven times as much air— that means seven times as much oxygen, seven times as much prana— in a three-part deep breath than in a shallow breath.”
In yoga, you are encouraged to flow through your practice maintaining this three-part breath to the best of your ability. It helps you focus your mind, relieve stress, and move inward, deepening your poses and strengthening your practice. Sounds amazing, right? It also sounds nearly impossible once you’ve held chair pose for a minute straight and the teacher is still going. Because truthfully, in challenging poses, three-part-breath is hard. And the best way to get better at it is to practice.
Here’s a little Three Part Breath practice you can try right now:
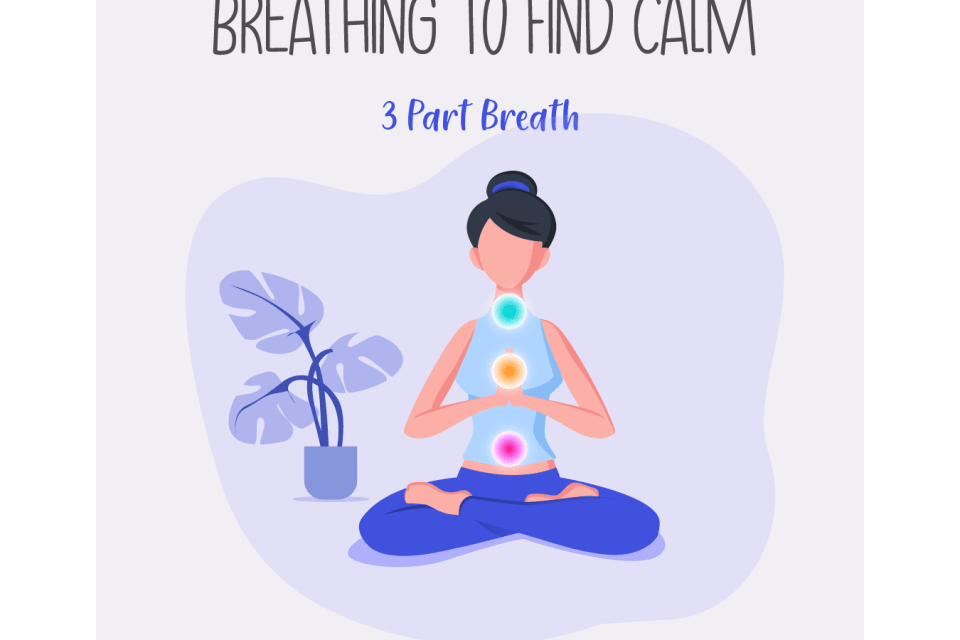
Find a comfortable spot, sitting or lying down. Sitting is a great choice if you’re looking for energy; lying, on the other hand, might help you feel your breath deeper and relax more. Without changing anything, notice how you’re breathing now. Let your thoughts pass you by— do not cling to them.Begin to deepen your inhales and exhales.Start imagining that your belly is a balloon, or a ball— something to be filled with air. Comfortably fill it on your inhale, and empty it on your exhale. Repeat this a few times, growing accustomed to it.On your next inhale, when your belly is full, take another sip of air, filling your rib cage. You may feel some expansion and opening in your upper back— this is great. On your exhale, let your chest empty of air first, then your stomach. Continue this for several more breaths.On your next inhale, fill your belly and your rib cage— then breathe just a little bit more into your upper chest. Feel your heart rise with your breath. This is the third part.On your exhale, empty your upper chest and throat, then your ribcage, then your belly. Continue this for 8 to 10 rounds, and start to feel your body relax. Note that this shouldn’t feel like you’re filling your lungs to burst, but rather that you are moving through levels as if your breath was an elevator. This should feel comfortable and deep.
The more you practice Three Part Breath, the more natural it will feel. It is a great way to get your breathing practice started, and a great way to move inward during your next online yoga class.
Online Yoga Classes – Live & Interactive
Get 2 free private yoga sessions and 2 weeks of unlimited group classes with authentic yoga teachers. No credit card required when you sign up today!
Share this post?
Interesting Articles
Yoga for Endometriosis: 6 Easy Poses to Try at Home
Endometriosis is a disorder that affects about 190 million women worldwide, causing painful periods, infertility, and other severe symptoms that can s...
Continue Reading6 Effective Yoga Poses To Treat Scoliosis
In recent years new information has come to light supporting the use of yoga as therapy for scoliosis. Groundbreaking discoveries made by MyYogaTeache...
Continue Reading5 Best Yoga Poses for Tight Hamstrings
You don’t have to be a runner, skier, cyclist, dancer, or a climber to know the feeling of tight hamstrings. Sitting for hours at a desk can also rest...
Continue ReadingRecent Articles
Neck and Shoulder Yoga for Pain Relief : New 1-on-1 Series!
Announcing A New 1-on-1 Series! We’re offering a new series of 1-on-1 classes! Our Neck and Shoulder Yoga for Pain Relief is designed to hel...
Continue ReadingOur New And Improved Group Class Platform!
Here's a quick walkthrough of our new GC interfaceExciting news! Our platform got an upgrade!MyYogaTeacher is always evolvi...
Continue ReadingNew 1-on-1 Hip Opening Series: Unlock Freedom in Movement
The new transformative 1-on-1 Hip Opening Series, specially designed to release tension and boost strength and mobility in your hips, is the perfect w...
Continue Reading© Copyright 2020 MyYogaTeacher Inc