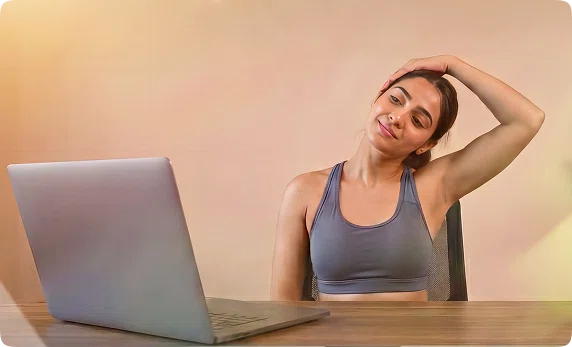
Iyengar yoga is a precise, alignment-focused style of Hatha yoga developed by B.K.S. Iyengar in the mid-20th century. It emphasizes holding poses with careful attention to how the body is aligned in each posture, often using props like blocks, straps, and bolsters to make movements accessible and safe. This method builds strength, flexibility, and body awareness through deliberate, structured practice.
B.K.S. Iyengar, a lifelong student of yoga master T. Krishnamacharya, developed this method over more than 70 years of practice and teaching. His book Light on Yoga (1966) became a global reference and helped establish the standardized Iyengar teaching system used today.
What sets this approach apart is its accessibility: poses are broken down clearly, props help support your body, and teachers are trained to offer detailed guidance. Whether you’re stiff, new to yoga, or working through an injury, Iyengar yoga provides a safe, structured path to improving strength, posture, and mobility.
Learn more about different yoga styles here!
[inline-CTA-1]
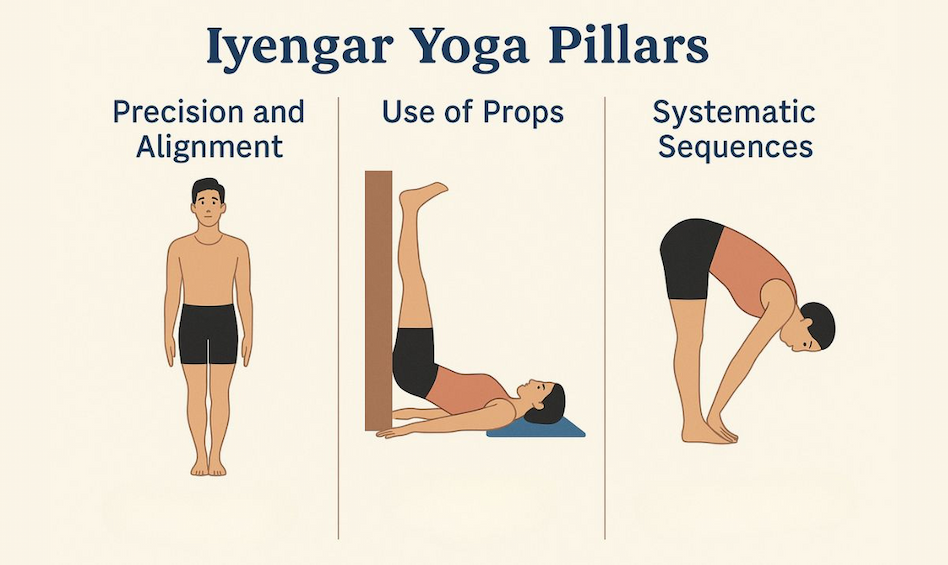
Iyengar yoga follows a clear, methodical approach. Its three core principles—precision, props, and sequencing—shape how each Iyengar yoga class is taught.
Precision is at the heart of Iyengar yoga. Instead of quickly moving through poses, students learn exactly how to position their body—where the feet should point, how the spine should lengthen, and which muscles should activate. In guided sessions, teachers give step-by-step cues and observe closely, offering corrections when needed.
This level of detail helps you build strength in weak areas, release long-held stiffness, and improve posture over time. Even small adjustments, like rotating the thigh slightly inward or grounding through the heel, can make a pose safer and more effective. For many students, this focus creates a stronger mind–body connection and reduces injury risk.
Iyengar yoga is known for its intelligent use of props. B.K.S. Iyengar pioneered tools like blocks, straps, bolsters, blankets, chairs, and wall ropes to help people of all body types and abilities practice correctly.
Props serve several purposes:
Props are not a shortcut but essential tools used by beginners and advanced practitioners alike. They make Iyengar yoga ideal for anyone recovering from injury, dealing with chronic pain, or feeling limited in flexibility or balance.
Every Iyengar class follows a structure. The sequences are designed based on the students’ fitness level, the type of poses being learned, and even the time of year. Sequences often progress through pose families—standing poses, forward bends, backbends, twists, and inversions—building skills gradually.
This approach ensures that each posture prepares your body for the next one. A sequence might open the shoulders before moving into backbends, or warm up the legs before practicing balance poses. No two classes are the same because teachers adjust the sequence based on what students need.
Iyengar yoga focuses on alignment, controlled movement, and thoughtful sequencing, supporting both physical strength and mental clarity. Some of the primary benefits include:
Iyengar yoga helps you build a strong, steady foundation for everyday movement. Practicing with attention to alignment improves how your body functions. Key physical benefits include:
Because poses are held longer, muscles engage more deeply, helping you build strength safely and steadily.
Holding poses with focus encourages a calm, steady mind. The precise instructions help you stay present. Mental and emotional benefits include:
Many practitioners find Iyengar yoga grounding and centering, especially during busy or stressful periods.
Iyengar yoga is used in therapeutic settings worldwide because of its structured approach and emphasis on safety. Props allow students with pain or limited mobility to participate without strain, while alignment-based work addresses the root cause of many discomforts.
Research shows Iyengar yoga can help with:
For many people, the combination of physical alignment and mindful awareness creates long-term improvements in wellbeing, not just temporary relief.
Experience these benefits first-hand. Try our free Iyengar Yoga Group Class today!
All yoga styles share the same roots, but each takes a different approach to movement, breath, and learning. Iyengar yoga stands out for its focus on alignment, props, and thoughtful progression—very different from flowing or passive styles.
Understand how Iyengar compares with other yoga styles:

[inline-CTA-2]
Iyengar yoga is one of the most adaptable and inclusive forms of yoga. Whether you’re brand new to yoga or looking for a safer way to build strength and mobility, this method can meet you where you are.
Iyengar yoga is often recommended as the best starting point for new students.
Here’s why:
Beginners often find this method less intimidating as they receive step-by-step down clearly.
Iyengar yoga is widely used in therapeutic environments. If you’ve struggled with pain or mobility issues, this style offers a safer path back into movement.
Helpful for people with:
Props and modifications ensure you can do poses without aggravating your condition.
If you enjoy detail-oriented learning or want a more mindful practice, Iyengar may be a perfect fit.
It helps you develop:
For many people, this style feels like “active meditation” — grounding, engaging, and mentally refreshing.
Iyengar yoga’s structured, alignment-based approach is most effective when guided by trained instructors. Certified teachers help ensure your body is in the safest position for each pose—something that’s difficult to learn alone.
Iyengar yoga classes are structured, calm, and very beginner-friendly. The focus is on learning each pose safely with the help of alignment cues and props.
A typical class is 60-90 minutes, and includes:
Expect a slower pace and more attention from the teacher. If you’re new to yoga or prefer learning through clear guidance, this style feels supportive rather than overwhelming.
Tips for beginners:
Beginning Iyengar yoga is simple, and you don’t need experience, strength, or flexibility. What matters most is learning with proper guidance.
Certified Iyengar teachers go through years of training in alignment, anatomy, and safe sequencing. This helps ensure you’re practicing correctly—especially helpful for beginners, older adults, and anyone working around pain or stiffness.
Book a free 1-on-1 session to work with experienced Indian instructors who offer personalized, alignment-based guidance tailored to your body and goals.
Yes. Iyengar yoga is one of the best styles for beginners because it teaches alignment step-by-step, uses props to make poses accessible, and moves at a pace that allows you to understand each posture safely. Teachers are trained to work with all levels, offering modifications and support from the very first class.
To practice Iyengar yoga at home, ensure you have:
As you progress, you may add a bolster or yoga chair, but beginners don’t need a full prop set right away.
To practice Iyengar yoga safely and effectively, book a free 1-on-1 session today!
Yes. Iyengar yoga is often recommended for back pain because it strengthens the core and spinal muscles, improves posture, and releases tension patterns that cause discomfort. Props make stretching safer, while alignment-based instruction prevents strain. Always let your teacher know about your back issues so they can adjust poses for your needs.
Beginners typically benefit from practicing 2–3 times per week. Consistency is more important than intensity—shorter, regular sessions create better progress than occasional long ones. More experienced students may practice 4–6 days per week, with rest days for recovery.
Not at all. Iyengar yoga is designed to help people with tight muscles and limited mobility. Props support your body so you can hold poses comfortably, and flexibility improves naturally over time. Many beginners start with stiffness—that’s exactly why Iyengar is accessible and effective.
Wear comfortable, fitted clothing that allows the teacher to see your alignment. Avoid overly loose pants or tops, as they can hide how your body is positioned. Practice barefoot, and remove jewelry that could interfere with props or movement.

Receive personalized guidance tailored to your unique fitness goals, live with a dedicated coach—no credit card required.
Struggling to stay consistent with yoga? Learn how to set gentle yoga goals and intentions for the New Year that actually stick in 2026.

Discover the third eye chakra (Ajna) meaning, opening, and balancing practices with authentic Indian yoga teachers. Learn symbols, poses, mudras & affirmations.
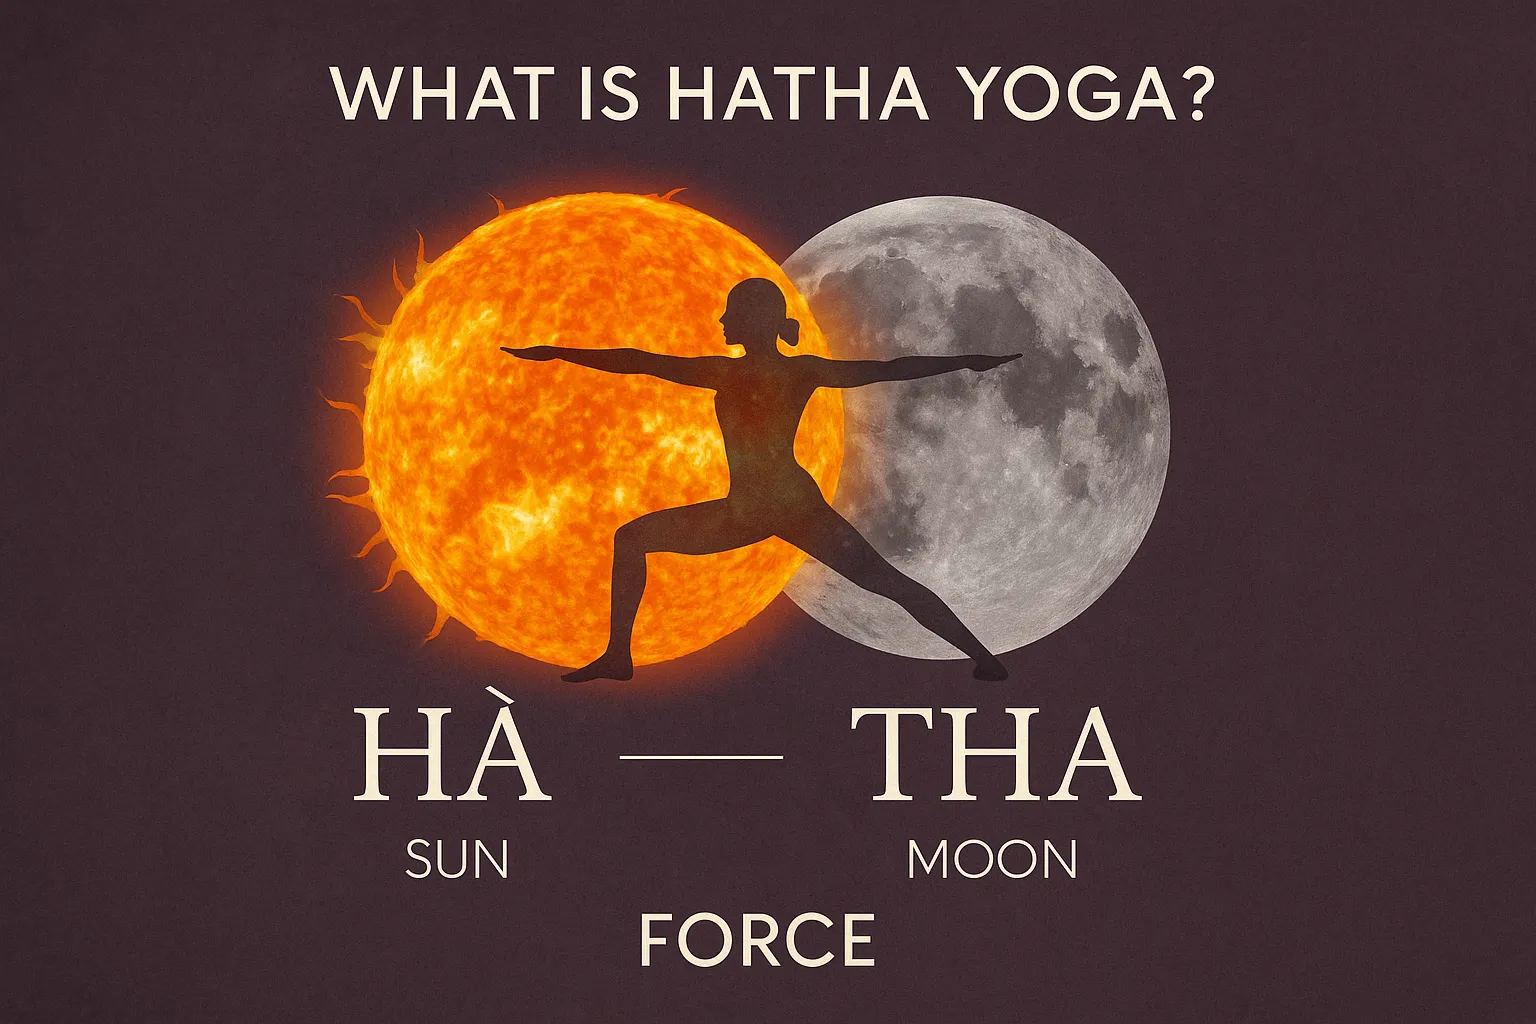
Discover the meaning of Hatha yoga, its ancient origins in India, and how this traditional practice balances opposing energies for holistic well-being.


© Copyright 2025 MyYogaTeacher Inc