Alternate Nostril Breathing, or Nadi Shodhana Pranayama, is a yogic breathing technique that reduces stress and promotes relaxation by regulating the breath and nervous system.
Mansi Dwivedi, a yoga coach at MyYogaTeacher, explains, “The right nostril is linked to physical energy and metabolism, while the left nostril is connected to mental processes and relaxation.” Practicing alternate nostril breathing balances these two energies, fostering harmony between the mind and body, leading to greater focus, reduced tension, and an overall sense of well-being.
If you're new to this practice, starting with the right technique can help you experience its full benefits—calming the mind, reducing stress, and enhancing concentration.

Here’s a detailed, step-by-step guide to maximize the benefits:
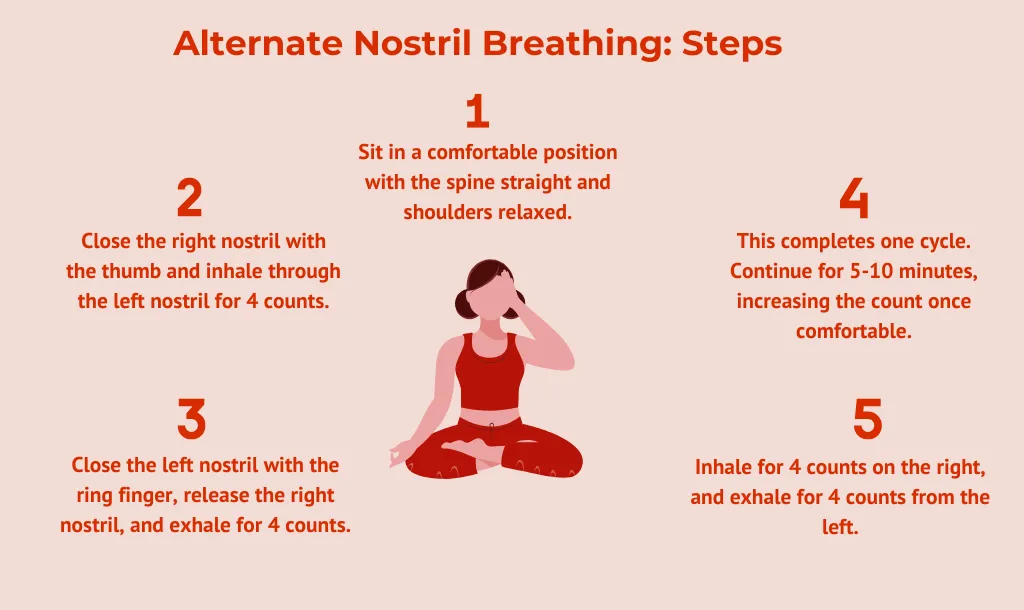
1. Find a quiet, distraction-free space.
2. Sit on the ground in a comfortable position (cross-legged) rather than on a bed or chair.
3. Keep your spine straight and shoulders relaxed, and place your left hand on your knee with the thumb and index finger touching (Chin Mudra, or the Gesture of Consciousness).
4. Use your right hand in Vishnu Mudra, or the Universal Balance Gesture (fold index and middle fingers in, keeping the thumb, ring, and little finger extended).
5. Close your eyes and take a few deep breaths to settle your mind.
If you’re a beginner, start with simple inhalations and exhalations. Varsha Karamchandani, a yoga coach at MyYogaTeacher, recommends doing this comfortably for at least a month before holding the breath (breath retention):
1. Start small with the 1:1 ratio of inhalations and exhalations.
2. Close your right nostril with your thumb and inhale through the left nostril for 4 counts.
3. Close your left nostril with your ring finger, release the right nostril, and exhale through the right for 4 counts.
4. Inhale through the right nostril for 4 counts.
5. Close the right nostril, open the left, and exhale for 4 counts.
6. This completes one cycle. Continue for 5-10 minutes.
7. Once comfortable, gradually increase → Inhale for 6 counts, exhale for 6 counts.
8. After practicing the 1:1 ratio comfortably, move to the 1:2 ratio → Inhale for 4 counts, exhale for 8 counts.
9. Progress slowly, ensuring you don’t feel breathless or strained.
Once you have practiced the simpler level for at least a month without any difficulties, you can progress to breath retention:
1. Close your right nostril and inhale through the left for 4 counts.
2. Hold your breath for 4 counts.
3. Close your left nostril, release the right, and exhale for 4 counts.
4. Suspend the breath (remain still without inhaling) for 4 counts.
5. Inhale again through the right for 4 counts and repeat the cycle.
6. After practicing this pattern comfortably, you can gradually increase all counts by 1 and repeat.
7. Never strain—if you feel discomfort, return to a simpler ratio (1:1).
[inline-CTA-1]
Nadi Shodhana Pranayama has many benefits for the body and mind, including:
Reduces Stress: Alternate nostril breathing activates the parasympathetic nervous system, helping you relax. By slowing down the breath, it reduces the production of stress hormones like cortisol, bringing a deep sense of calm. Regular practice can help you feel less overwhelmed and more centered in stressful situations.
Calms the Mind & Body: An irregular breathing pattern often leads to restlessness and mental agitation. Alternate nostril breathing corrects this by equalizing the inhale and exhale and stabilizing the heartbeat. The slow, conscious breathing signals the brain to relax, reducing mental clutter and bodily tension.
Supports Cardiovascular Health: Deep and controlled breathing reduces blood pressure and slows the pulse rate. Varsha Karamchandani explains, “Breath retention enhances the exchange of oxygen and carbon dioxide, purifying the blood and eliminating all toxins from the body.” It also prevents palpitations and regulates heart rhythm, benefitting those with hypertension or cardiovascular concerns.
Increases Focus & Concentration: Effective flow of oxygen to the brain improves cognitive function and mental clarity. By balancing the left and right hemispheres of the brain, it fosters better coordination between logic (left brain) and creativity (right brain). This results in sharper focus, improved decision-making, and heightened awareness.
Purifies & Balances Energy: Nadi Shodhana Pranayama cleanses and harmonizes the pranic channels (nadis), allowing energy to flow freely throughout the body. Mansi Dwivedi explains, “A blocked right nostril can cause physical fatigue, while a blocked left nostril can lead to mental exhaustion or disconnection. Nadi Shodhana, meaning ‘detoxification of the nadis,’ helps restore balance, promoting a sense of clarity and relaxation.”
[inline-CTA-2]

While Alternate Nostril Breathing is generally safe for most people, keep these precautions in mind if you’re pregnant, are ill or have any pre-existing health condition to ensure a safe and effective practice:
Consult a Doctor – If you have asthma, COPD, low blood pressure, or severe breathlessness, seek medical advice before practicing. If approved, work with a qualified coach to ensure the practice is suited to your needs.
Avoid Breath Retention at the Start – If you are pregnant, have high blood pressure, heart disease, or an irregular heartbeat, as breath retention can strain the heart and lungs. Practicing under expert guidance can make it safer.
Skip the Practice When Unwell – If you have a cold, nasal congestion, or blocked sinuses, avoid the practice until your passages are clear. Also, refrain from practicing on a full stomach, as it may cause discomfort or digestive issues.
Progress Gradually – Begin with a 1:1 breathing ratio (equal inhale and exhale) before advancing to 1:2 (longer exhales). Only introduce breath retention once you’re comfortable with these ratios.
Look Out for Side Effects – If you feel lightheaded, dizzy, or uncomfortable, stop immediately. If you have anxiety or past trauma and find the practice triggering, take a break or consult your doctor before continuing.
Practice with a Yoga Coach – A dedicated yoga coach can help you perfect your technique, adapt the practice to your needs, and ensure safe progression.
Yes, alternate nostril breathing (nadi shodhana pranayama) is safe for everyone, but those with asthma, COPD, low blood pressure, or heart conditions should consult a doctor first. Pregnant women or those with high blood pressure should avoid breath retention. If you have nasal congestion or feel discomfort, it’s best to skip the practice. To ensure safety, proper technique, and maximum benefits, it’s advisable to practice with a certified coach.
You should only hold your breath when you are comfortable and face no difficulties with simple inhalations and exhalations. Begin with inhale 4 – hold 4 – exhale 4 – suspend 4, and gradually increase as comfortable. Make sure to never force retention and keep the breath steady and natural.


Receive personalized guidance tailored to your unique fitness goals, live with a dedicated coach—no credit card required.

Bhastrika pranayama is yoga's most energizing breathing technique. Learn its benefits, the 3 types, a step-by-step practice guide, and who should avoid it.
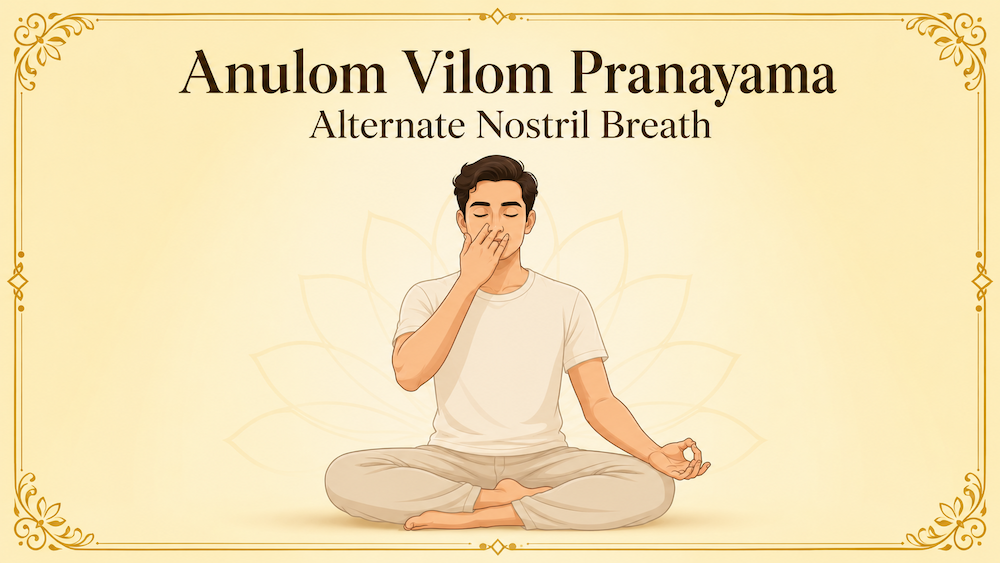
Anulom Vilom is yoga's most beginner-friendly breathing technique. Learn its benefits for stress, focus, and skin health with a clear step-by-step guide.
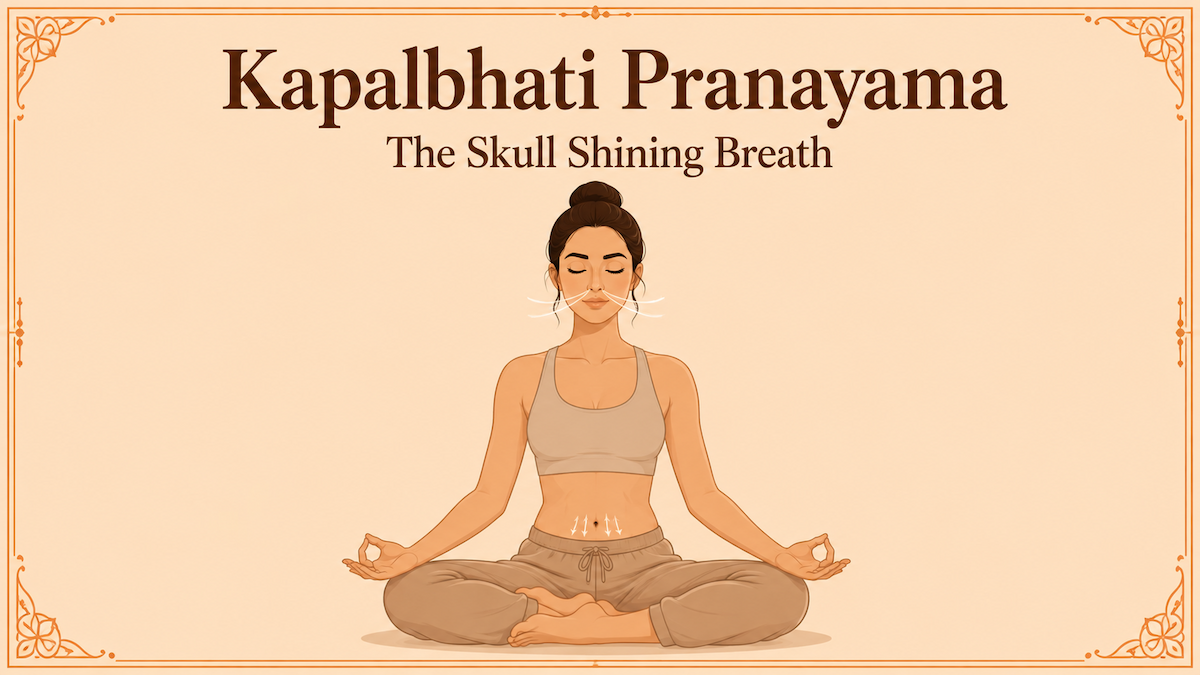
Kapalbhati is a powerful breathing technique for energy, digestion, and mental clarity. Learn its benefits, step-by-step method, and how long to practice daily.


© Copyright 2025 MyYogaTeacher Inc