
There are lots of reasons for doing yoga at home instead of a yoga studio, some of which include distance, busy schedules, kids, financial concerns, and health issues. The good news is you can set up your own yoga practice at home, and still get all the benefits of a regular yoga routine — without the studio. It can also be a great way to integrate yoga into your life on a regular basis, and it’s easy to do in your own home.
Anyone can perform yoga at home, and you don’t have to be an advanced yogi to try. Even beginners can practice yoga in a home environment, all you need is adequate floor space, a few (optional) pieces of equipment, and guidelines for practicing the primary yoga poses.
If you’re a beginner, it’s recommended to first learn from a certified yoga instructor, so you can progress with the proper technique and alignment to avoid injury. Thanks to online learning platforms like MyYogaTeacher, you can still practice yoga at home with the help of a qualified teacher.
The idea of starting a yoga practice in your very own living room can seem daunting or intimidating at first, especially if you’re accustomed to attending classes in a yoga studio. But with a little bit of preparation and creativity, you can set up your own yoga space and develop a mindful yoga routine that can benefit your life.
Here are some suggestions to help get you started:
It’s easy (and fun) to make your own yoga space, and you can design it as a temporary space or a dedicated one, depending on your needs. All you need is enough floor space to move around and stretch out the full length of your body — a little more than the length and width of your yoga mat. This can be your living or bedroom floor, your kitchen, or your backyard. Just make sure there isn’t any furniture or objects lying around that could get in your way or cause injury.
You can also create a comfortable and inviting space for yoga by hanging calming or inspiring artwork on the wall, lighting a candle or incense, and keeping a few house plants nearby for a pleasing atmosphere. The more you can tailor and dedicate your space for yoga, the easier it will be to motivate yourself to keep up a steady routine. Hanging a mirror in front of your practice space is also helpful in maintaining the correct alignment while performing postures.

You’ll want to invest in a yoga mat, and it’s wise to also keep modifying props on hand — like blocks, bolsters, blankets, and a strap. If you’re just starting out and you’d like to improvise for props, you can use pillows, blankets, and other items around the house to suit your needs. Just make sure your props are sturdy, supportive, and nearby for when you need them.
The best part about practicing yoga at home is it can be done any time you want. The challenge lies in your dedication and commitment to the practice even when your couch appears more inviting. According to this study, it can take anywhere from 18 to 254 days to create a new habit. It’s important to be patient with yourself and identify guidelines for your practice that you can realistically follow through with.
Set yourself up for success by committing to your yoga practice at a certain time of day, and for a specified number of days per week. It’s best to start out easy with goals that are achievable and progress as you gain momentum. For instance, if you’ve never been an early riser, don’t expect yourself to suddenly start practicing yoga at dawn. If that’s the case, try scheduling your yoga session for late morning, afternoon or evening, and keep your existing schedule in mind when planning a time that works for you.
Regardless of your experience or ability level, practicing yoga at home means watching out for your own safety. Make sure you have props handy for when you need them, and avoid overdoing it with strenuous poses. When it doubt, keep your routine simple. Even if you’re an advanced yogi, those basic, primary yoga poses are still an important part of a holistic yoga practice, and may be less likely to cause injury.
The best way to avoid getting hurt while practicing yoga at home is to listen to your body. If any posture causes you discomfort or pain, stop practicing it immediately — no matter how easy or difficult the pose. Don’t push yourself too hard, and remember to focus on your alignment. If you are unsure of how to execute a specific pose, try learning it from a certified instructor before performing it on your own at home.

By far the best way to practice yoga at home is with an online class. This way, you get all the benefits of doing yoga at home in your own time, with the added help of an instructor who can make sure you’re performing poses safely and effectively. You can find online group classes for every type of yoga at MyYogaTeacher, with over 42 classes offered throughout the day. Private, 1-on-1 instructors are also available for at-home yoga, giving you plenty of options to get the right kind of training while still practicing in the comfort of your own home.
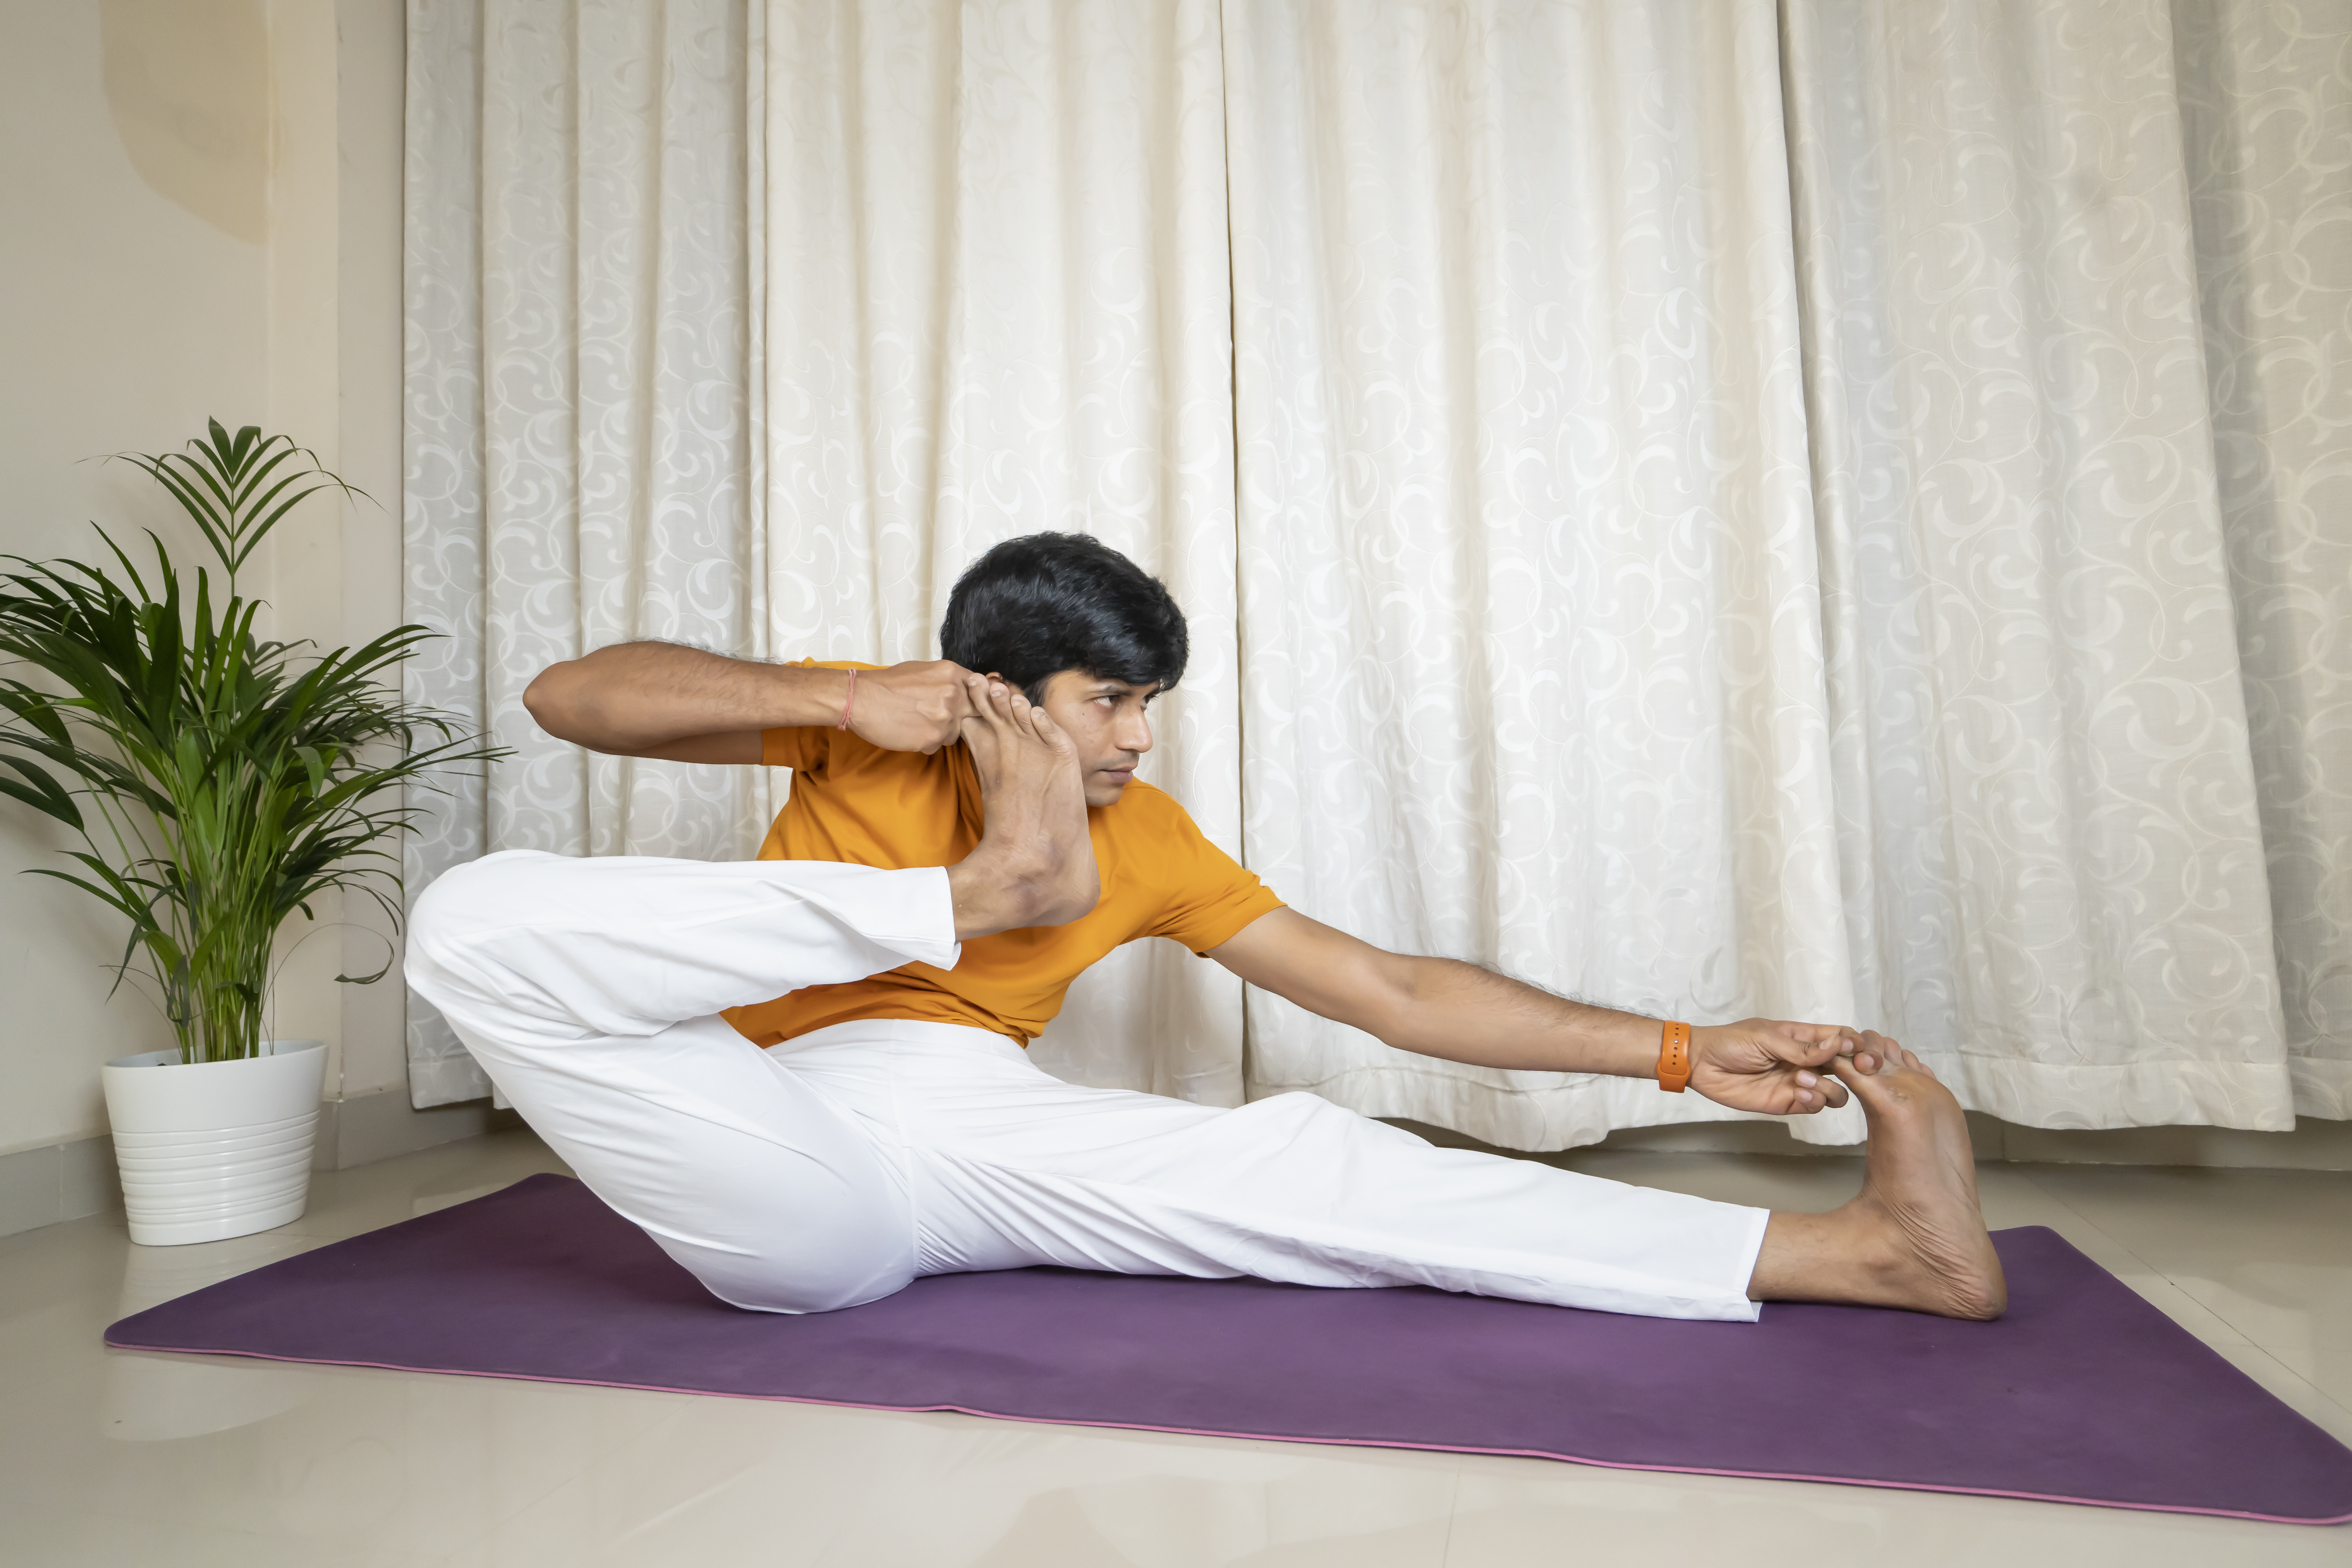
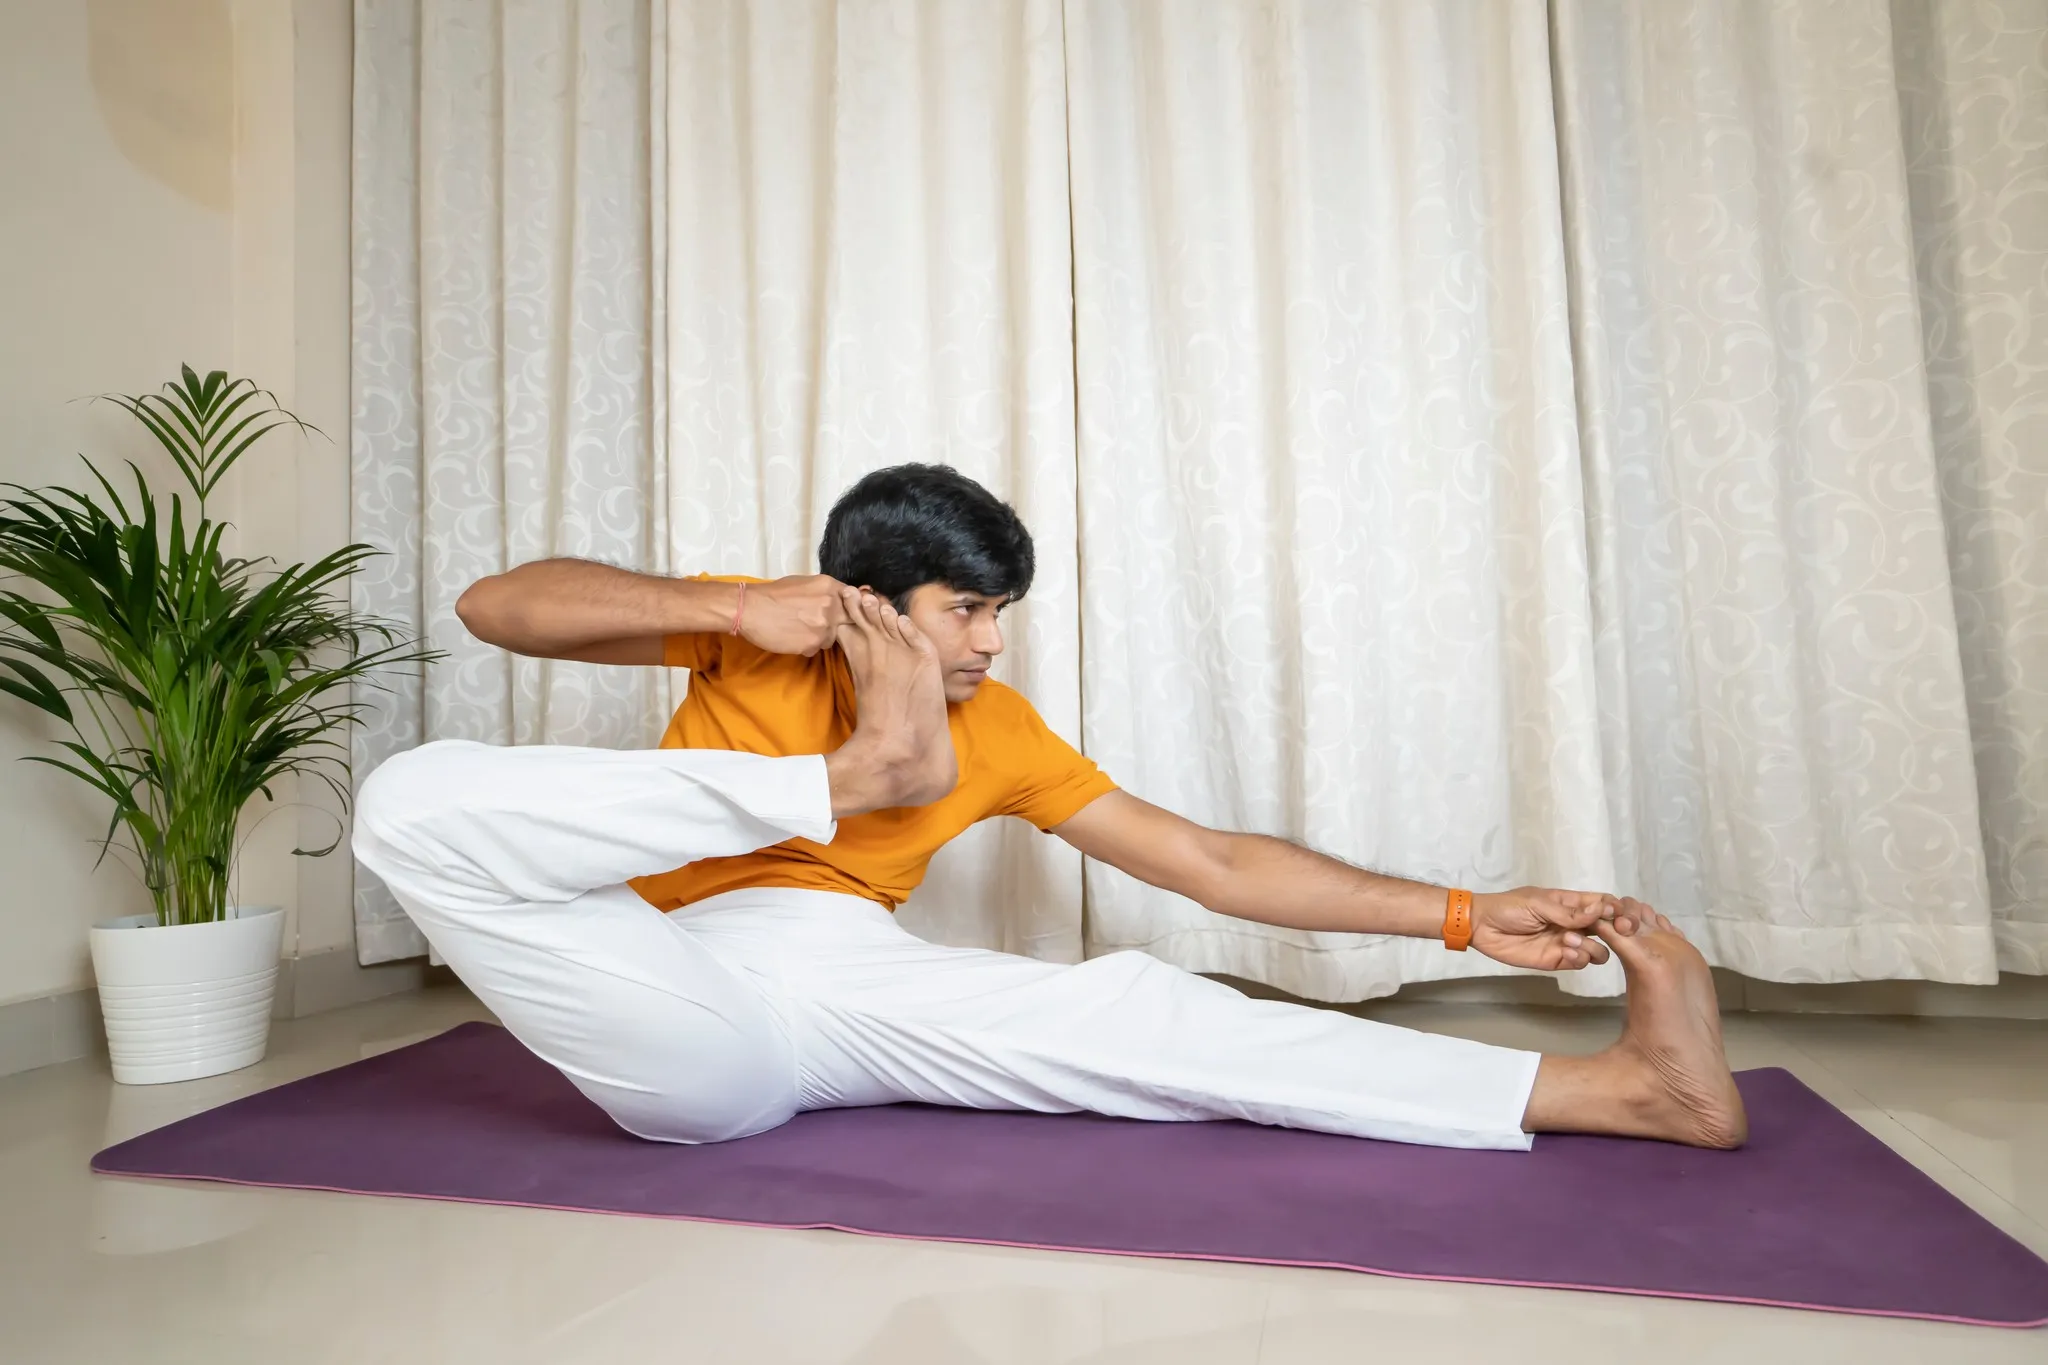
The beauty of an at-home yoga practice means you can squeeze in a quick session when you just have 20-30 minutes of time. Even short yoga routines are beneficial for your body and mind, and performing a few of the primary yoga poses on a daily basis will change your life for the better. Try incorporating the Sun Salutation flow series into your morning routine when you first get out of bed in the morning, or practicing some relaxing poses like Legs-Up-The-Wall or Savasana in the evening.
Yoga doesn’t always have to be serious, and you can make your home yoga practice fun and spontaneous for you and your family. Practicing with your kids is a great way to help them learn mindfulness and self-awareness, while stretching and strengthening their growing bodies. You can also take your practice to the backyard to enjoy sunshine and good weather, or invite friends over to share in the experience. Don’t be afraid to think outside the box!
When practicing yoga at home, it can be tempting to skip important parts of the journey due to time constraints, distractions, or disinterest. If there is one element of yoga you should never skip, it’s Savasana, or otherwise known as Corpse pose. Always end your practice with 5 minutes of relaxation to help your body integrate the routine. Keep a blanket nearby to warm your body after it has cooled down, and consider an eye pillow to help you relax. Your body and mind will thank you as you move on to the rest of your day, having given yourself the gift of healthy movement to better your life.
Maybe you’re an experienced yogi who knew this already. Maybe you’re not! Or maybe you are at an age where protecting your spine and preventing spinal problems is more challenging than it was a decade or two ago.
Whatever the case, MyYogaTeacher is here to help! When you sign up for a 1:1 membership with us you get:
102 expert, highly qualified yoga instructors to choose from
The ability to switch instructors or take classes with only your faves
Access to unlimited group classes, taught live
Personalized instruction and work out, diet, and lifestyle plans
To be a member of a HUGE community of happy yogis from around the world
Yoga teachers who become friends, who truly care about you!
If you haven’t checked us out already, grab TWO FREE 1:1 sessions with your 2-week free trial here!
To setup your process with MyYogaTeacher, check out our test setup!

Receive personalized guidance tailored to your unique fitness goals, live with a dedicated coach—no credit card required.

Start Vinyasa yoga with confidence! Learn beginner-friendly poses, breathing techniques, and safe sequences. Get expert guidance that makes all the difference!
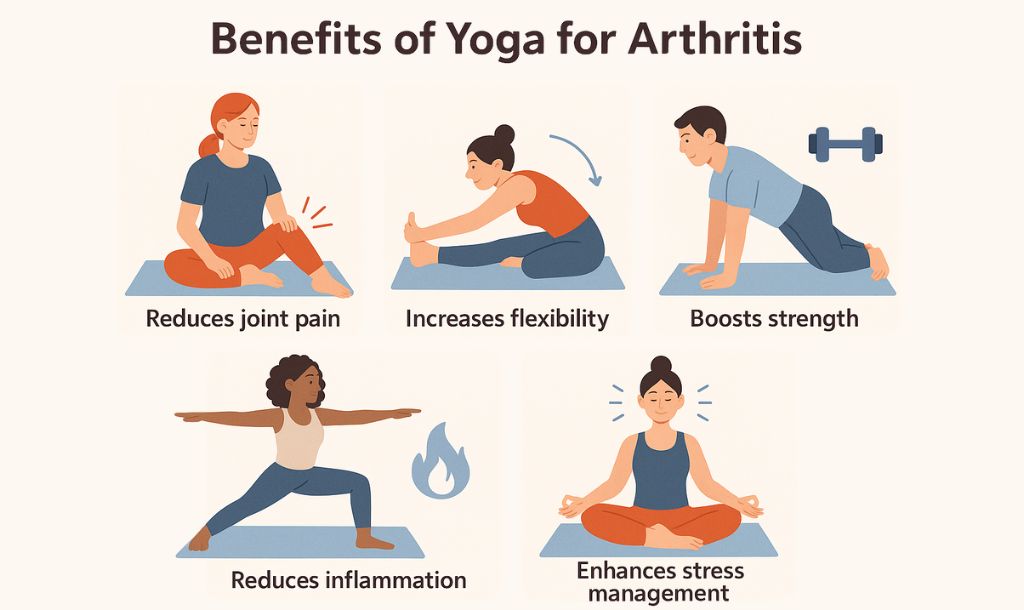
Yes, yoga is good for arthritis! Discover research-backed benefits, safety tips, and gentle poses. Expert guidance for arthritis-friendly practice.
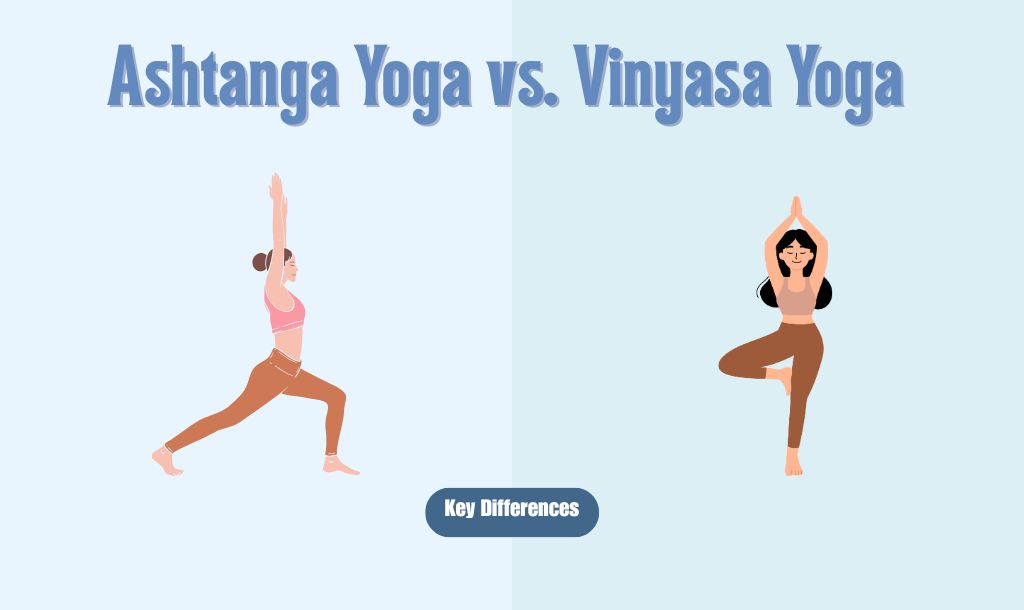
Ashtanga vs. Vinyasa yoga: Learn how these yoga styles differ in flow, structure, and philosophy. Find the perfect fit for your journey and goals!


© Copyright 2025 MyYogaTeacher Inc