

Not being able to do a yoga pose that everyone in the world can seemingly do except you is frustrating and can really discourage new and beginning yogis from continuing their practice.
Here at MyYogaTeacher, we’re adamant that yoga is for everyone, but that doesn’t mean you won’t come across poses you simply can’t do.
Maybe you haven’t built up the strength and flexibility to do them yet or maybe you have an injury or illness that prevents you from doing them.
Either way, there’s a modification for that!
There is absolutely nothing wrong with performing a modified yoga pose! Yoga isn’t about comparing yourself to others. It’s about becoming, evolving, growing into your very best self.
Yoga is a practice of you competing with you.
Our private yoga instructors are all about giving yogis individualized attention, focused instruction, and modified poses that keep yogis coming back for more every week. MyYogaTeacher yoga teachers are highly experienced, expert yoga instructors who offer 1-on-1 yoga classes for people just like you!
When you sign up for a 1:1 membership with us you get:
The ability to switch instructors or take classes with only your faves
Access to unlimited group classes, taught live
Personalized instruction and work out, diet, and lifestyle plans
To be a member of a HUGE community of happy yogis from around the world
Yoga teachers who become friends, who truly care about you!
If you haven’t checked us out already, grab two free 1:1 sessions with your 2-week free trial here!
In the meantime, check out these yoga pose modifications you may not have heard of!

(photo Jenny Clise)
The contact of your pelvic region on the floor or bolster helps spinal movement start from the base of the spine and move up.
Reduces pressure on the knees by elevating the hips

Kneeling helps yogis balance better by providing more stability
Grabbing the ankle helps yogis either push down and open up the chest more or pull up and create more space between the lower ribs and hip crease, which improves equal torso lengthening.
Modifications of this modification:
You may place your arm in front of your right thigh and press your thigh outward or you may place your right arm on the outside of your right thigh and use muscle strength to press your outer right knee into your arm.

Promotes equal weight distribution for those who need help with balance.
Minimizes the risk of falling
From Mountain Pose, place a block on the setting that is comfortable for you and set it just a bit in front of your right foot.
Shift the majority of your weight into your left foot.
Place your right foot on the block.
Tuck your tailbone in and length down toward your left heel.
Be aware of your posture. Shoulder blades should be drawn in and down your back.
Focus your eyes and attention on one focal point to help with balance.
Stay for 5-10 breaths and repeat on other side.

Helps yogis reach for their ankles a bit easier
Reduces weight bearing in the midsection, which can be uncomfortable
Raises your hips and reduces the potential for back strain
Keeps knees and thighs grounded, reducing the potential of pinching in lower back
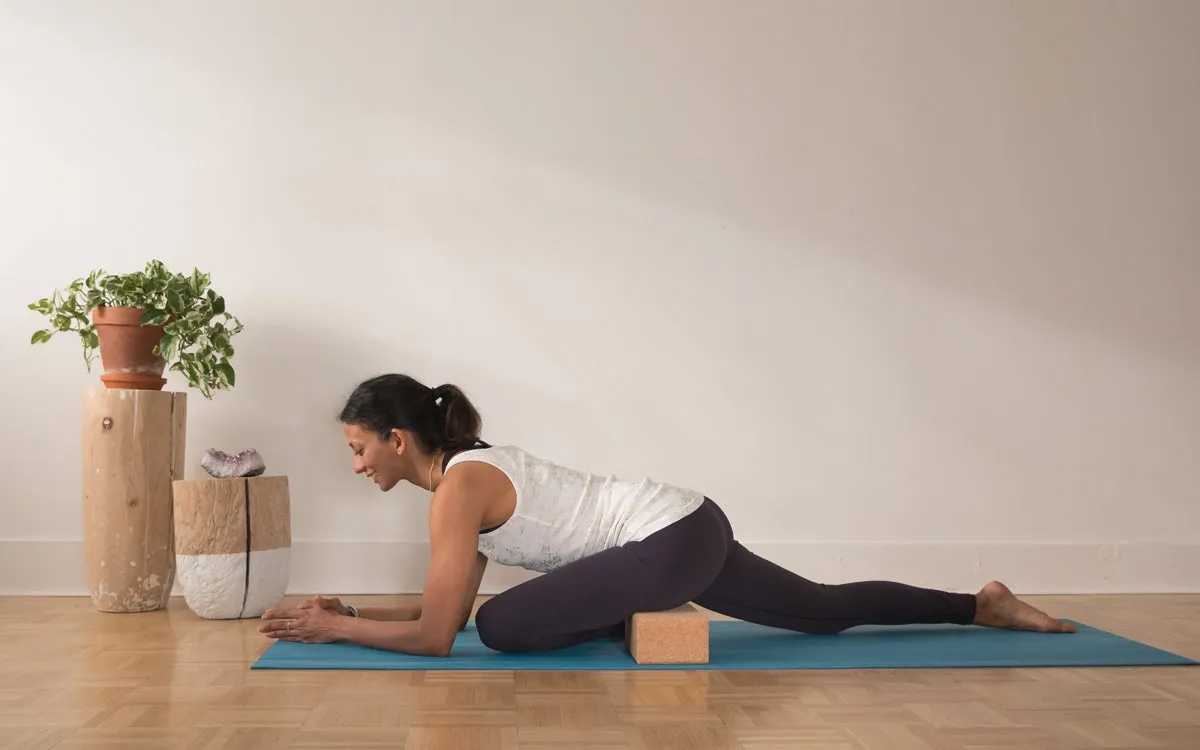
Begin in tabletop position with a bolster or folded blanket on the floor, just behind your wrists.
Lower the front of your hips down onto your chosen support item and lift your chest up.
Engage your hamstrings and start to bend your knees.
Reach your arms back, hands reaching towards ankles.
If you’re able to reach your ankles, do so and press your thighs down into the mat or floor and lift up through the chest.
Stay here for 5-10 breaths.

Reduces strain on lower back
Promotes improved balance with better weight distribution
Supports core engagement
Helps stop the rounding of the spine and encourages better spinal rotation
Place a block at its lowest level between both feet. Allow the inner edge of the foot to touch the block.
Place another block on its tallest setting six inches in front of your and slightly to the right.
With your knees staying directly above your ankles and keeping your shins perpendicular to the floor, bend your knees as far as is comfortable on an inhale, but not into a yoga squat.
As you exhale, start to twist your torso and reach for the block with your left hand or fingertips.
Place your right hand on your lower back or hips. It is ok to bend the opposite knee of the direction you’re twisting if you need to!
There are lots of unique yoga pose modifications for people of all ages and fitness levels. If you’re uncomfortable with a yoga pose or don’t have the strength or flexibility to practice it while also maintaining proper alignment, we encourage you to modify the pose until you’re able to do the full version.
Need some help learning different modifications for various yoga poses?
We invite you to check out MyYogaTeacher’s 1:1 classes with your 2-week free trial here!
With MYT’s 1:1 Membership Plans, you get private, personalized sessions with your favorite yoga teachers, unlimited group classes (over 35 different ones), and recordings of your 1:1 sessions and group classes!
Our community is the perfect place to be to learn, grow, and thrive in your yoga practice!

Receive personalized guidance tailored to your unique fitness goals, live with a dedicated coach—no credit card required.
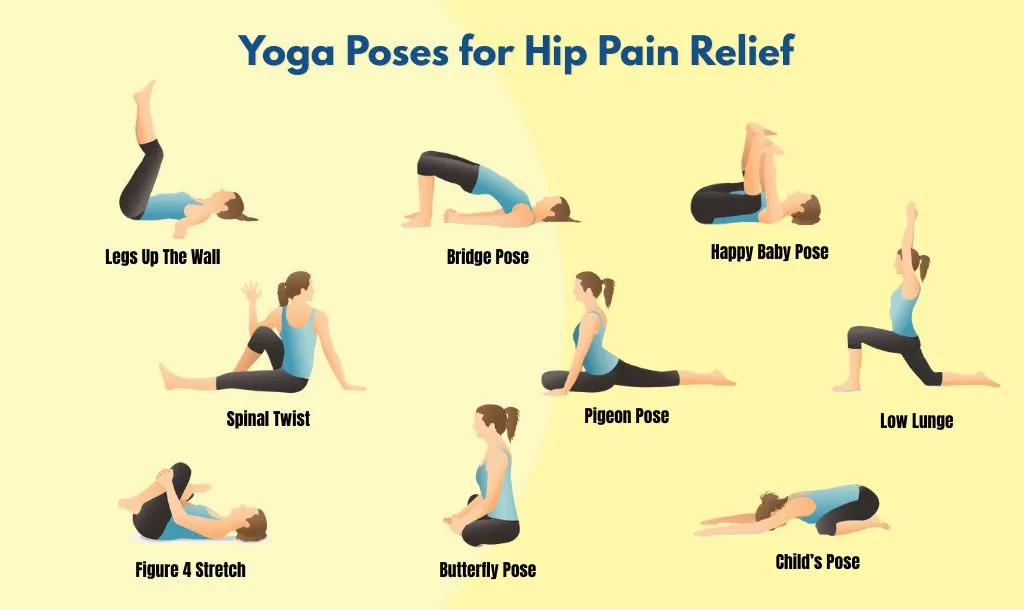
Discover 9 gentle yoga poses for hip pain relief. Expert-guided stretches for arthritis, bursitis, and joint stiffness. Safe, natural healing starts here!
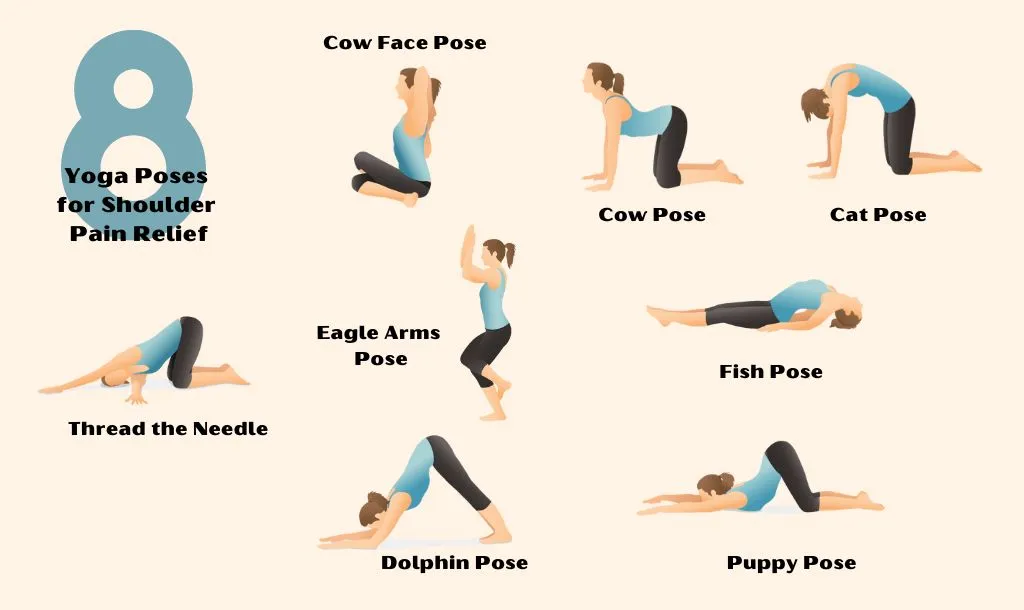
Discover 8 gentle yoga poses for shoulder pain relief. Expert-guided stretches for rotator cuff, shoulder blade pain, and tension. Start healing today!
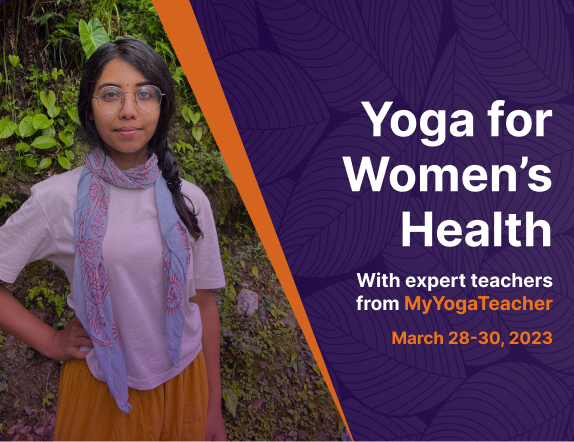
The Yoga for Women’s Health Event is designed for women of all ages to be able to participate. Discover all the ways you can use yoga to enhance and protect your physical, mental and emotional health!


© Copyright 2025 MyYogaTeacher Inc