


Hamstrings are a group of three muscles that run down the back of your leg, connecting the pelvis to the thigh. They help you bend your knee and move your leg, which is essential for walking, running, climbing the stairs, and other leg movements. But when these muscles become tight, they can lead to a host of discomforts and mobility issues.
Tight hamstrings can cause soreness and discomfort in the back of your thighs, making your muscles feel all knotted up. When your hamstrings tighten up, you might feel severe pain in the back of your thighs, sometimes extending up to your buttocks and the lower back. This can further lead to difficulty in bending, stretching, and severe pain, especially after a physical activity.
However, research shows that yoga for hamstrings is an effective way to relieve stiffness and tightness. By incorporating some warm-up stretches and yoga poses into your routine, you can stretch and strengthen your hamstrings, easing that tension and helping you move freely.
Many people don’t realize they have tight hamstrings until they start feeling tension or discomfort in the back of their legs. This tension is your body’s signal that your hamstring muscles are under strain, often caused by sitting for long periods, skipping stretches, or jumping into activities without proper warm-up. Without addressing this, the tension can build up over time, leading to more significant problems.
Many people aren’t aware of their tight hamstrings until the tension causes discomfort. Pay attention to these signs:
[Image removed during migration - please re-add]
Ignoring the tension in your hamstrings can lead to a chain reaction of problems. Here’s why addressing it early is important:
It’s crucial to address tightness in the hamstrings early on, as ignoring them can lead to further discomfort and complications. By incorporating specific yoga poses for hamstrings into your day-to-day routine, you can relax those muscles, realign your body, and ease the built-up tension. Not only does yoga help alleviate tightness, but it also strengthens the muscles, improves mobility, and reduces inflammation in the affected areas.
To make the most out of the yoga poses for the hamstrings, begin with some gentle warm-up stretches. These simple moves will help ease tension and prepare your muscles for more intensive poses.
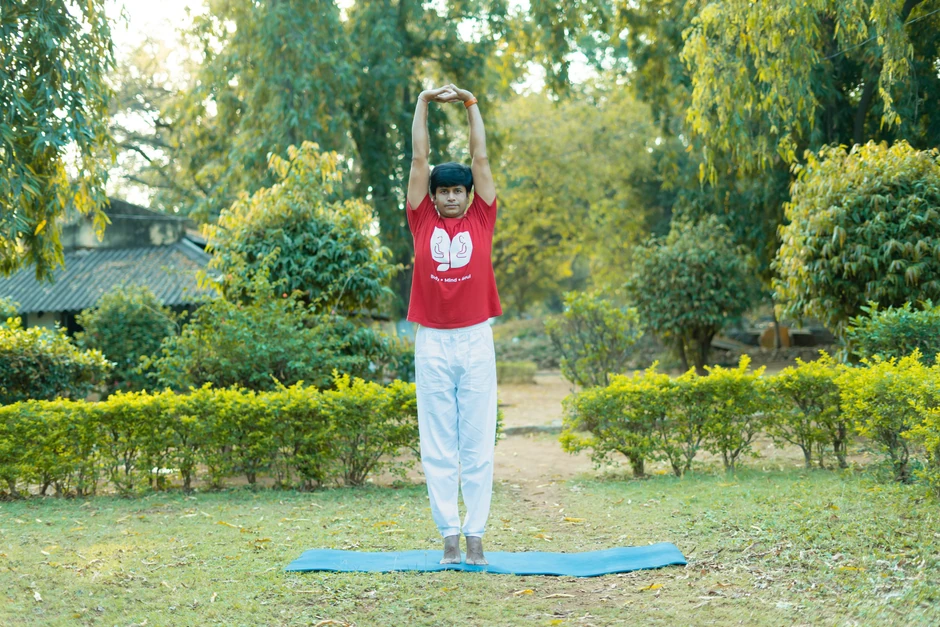
How to Do It: Sit on the floor with your legs extended straight in front of you. Inhale deeply and lengthen your spine. As you exhale, gently reach forward towards your feet, keeping your back straight. Hold the position for 20-30 seconds and then slowly exhale to release.
Start by incorporating this warm-up sequence into your daily routine to relax your hamstrings. Once you’ve mastered the basics, you can take it to the next level with even deeper poses for tight hamstrings.
After warming up your hamstrings, it's time to dive into more targeted yoga poses that focus on releasing tightness and improving flexibility. Here are five poses to stretch and strengthen your hamstrings, helping you move with greater ease and comfort:
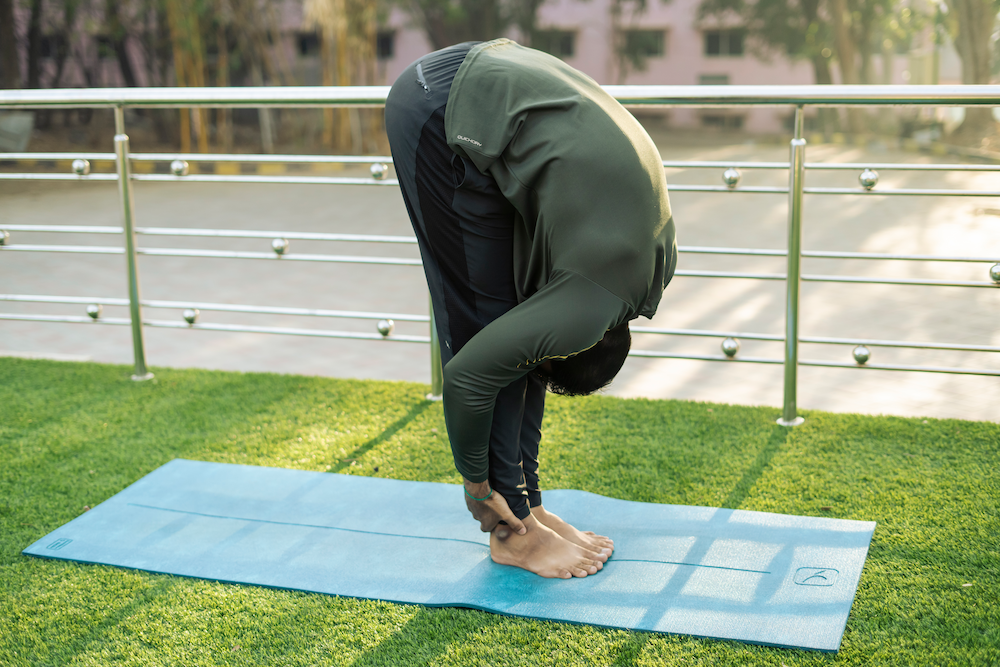
How to Do It: Stand with your feet hip-width apart. As you exhale, fold forward at your hips, reaching for the floor or your shins. Let your head and neck relax, and hold for 30 seconds to 1 minute.
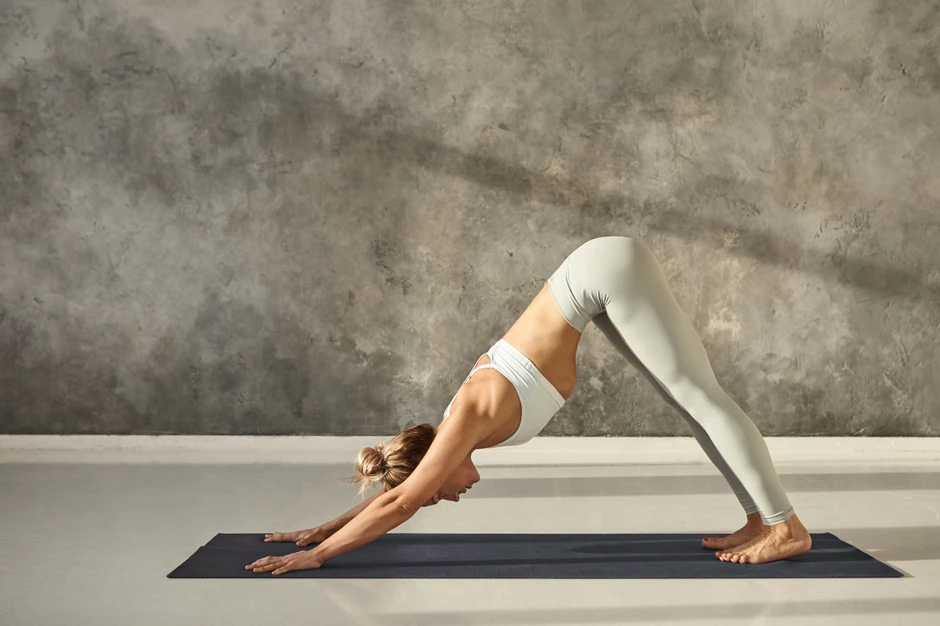
How to Do It: Begin in a tabletop position with your hands and knees on the floor. Lift your hips up and back, straightening your legs and forming an inverted V shape with your body. Keep your heels gently pressing towards the floor and your hands shoulder-width apart. Hold for 30 seconds to 1 minute.
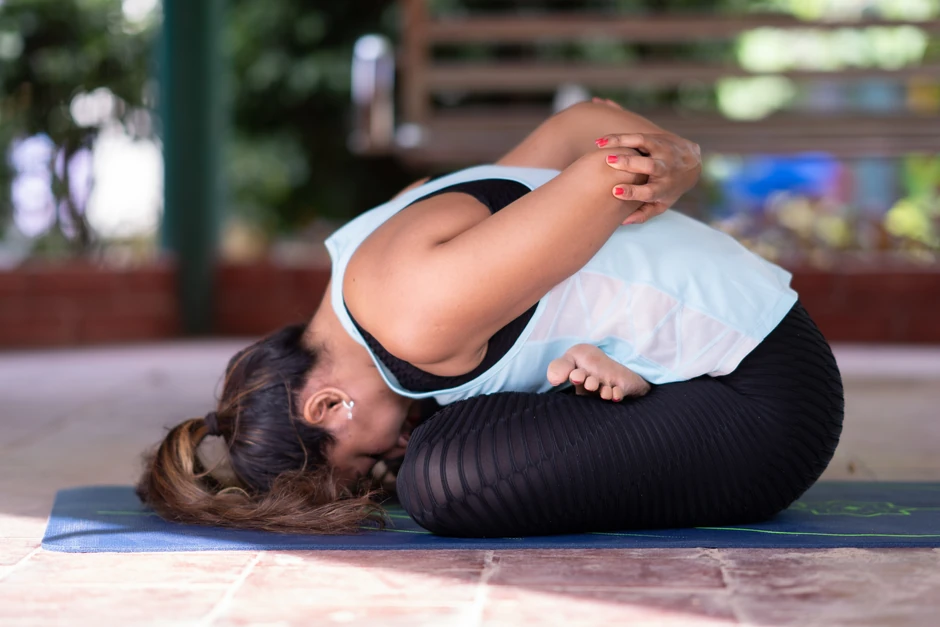
How to Do It: Lie on your back with one leg extended on the floor. Lift the other leg and hold the foot or use a strap around the ball of your foot. Keep your leg straight and hold for 30 seconds, then switch legs.
_optimized.webp)
How to Do It: Stand with your feet wide apart. Turn one foot out and the other foot slightly in. Extend your arms to the sides, then reach forward and place your hand on your shin, ankle, or the floor. Look up at your top hand and hold for 30 seconds, then switch sides.
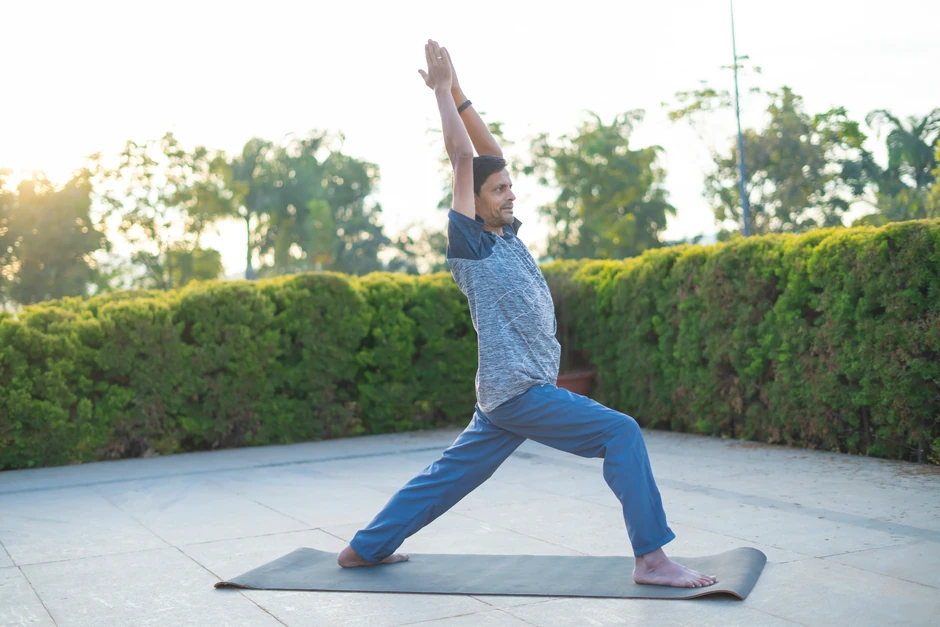
How to Do It: Begin standing, step one foot forward, and bend your front knee into a lunge position while keeping the back leg straight and the heel lifted. Raise your arms overhead, engaging your core, and hold for 30 seconds. Switch sides and repeat.
Doing these yoga poses consistently can make a significant difference in how your hamstrings feel and function. With patience and practice, you'll notice increased flexibility, reduced tension, and a more balanced body overall.
To help loosen tight hamstrings, incorporating a few simple yoga stretches and poses into your daily routine can make a real difference. And while you might not see instant results, consistency will gradually ease the tightness and improve your overall flexibility.
Here’s how to get started with yoga for hamstrings:
By incorporating warm-ups and practicing yoga poses mindfully, you can achieve significant relief from tight hamstrings while ensuring a safe experience.
People who sit for long hours at work or don't get much movement in their day often experience tight hamstrings. Athletes, particularly runners and cyclists, also experience them because of the constant strain on their legs. Age is also a factor, as muscles naturally become less flexible, making older adults more likely to experience stiffness in their hamstrings.
While there's no quick fix for hamstring tightness, some methods can help you feel better over time. Dynamic stretches, like leg swings, before exercising can get your muscles moving. Yoga poses like Downward Dog or Standing Forward Fold gently stretch the hamstrings and offer some relief. Using heat therapy or a foam roller before stretching can also help loosen up the muscles faster.
Yoga is a gentle way to stretch and relieve tight hamstrings. Certain yoga poses lengthen the muscles and release tension. These stretches don’t just focus on the hamstrings but also involve surrounding muscles, making the body more flexible over time. With regular practice, you'll notice the tightness easing, and your overall muscle balance improving.
If you’re struggling with muscle tension and unsure where to begin, book a free 1-on-1 session with a MyYogaTeacher coach today! Our expert instructors can guide you through these poses and help you find the relief you’re looking for.

Receive personalized guidance tailored to your unique fitness goals, live with a dedicated coach—no credit card required.


© Copyright 2025 MyYogaTeacher Inc