Yoga is excellent for osteoporosis. Studies show that practicing weight-bearing yoga poses regularly can increase bone density by 2 to 5 percent and reduce the risk of fractures by improving balance and coordination. Research by Dr. Loren Fishman found that just 12 minutes of daily yoga can significantly strengthen the spine and hips—areas most vulnerable to osteoporotic fractures.
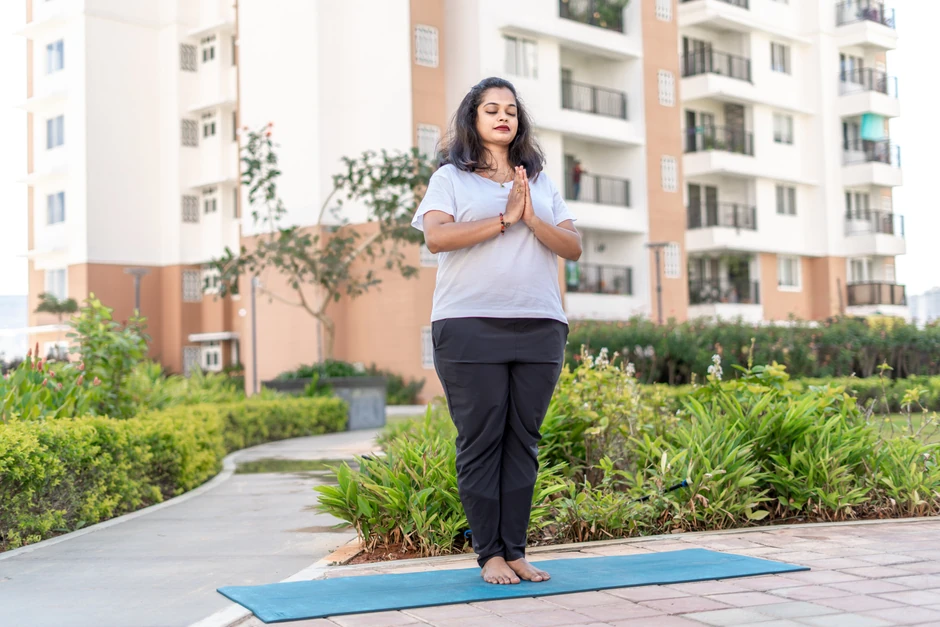
A safe and low-impact approach to managing osteoporosis, yoga helps improve bone strength, increases muscle support, and enhances posture, reducing fall risk. Because it’s gentle and adaptable, yoga is especially suitable for seniors and individuals with limited mobility.
Whether you are dealing with osteoporosis or looking for a way to prevent further bone loss, yoga provides a science-backed approach to strengthen bones and protect your body.
[inline-CTA-1]
Continue reading for the best poses, expert recommendations, and safety tips to get started.
Osteoporosis, also called the “silent disease,” is the most common bone disease. While it doesn't always have physical symptoms, it causes bones to become weak and brittle, increasing their chances of breaking and leading to fractures. The most commonly affected bones include the hips, wrists, and spine.
Generally caused by age-related reduced bone density, osteoporosis mostly affects adults over the age of 50, especially post-menopausal women. Research has observed that osteoporosis can affect 1 in 3 women and 1 in 5 men over the age of 50.
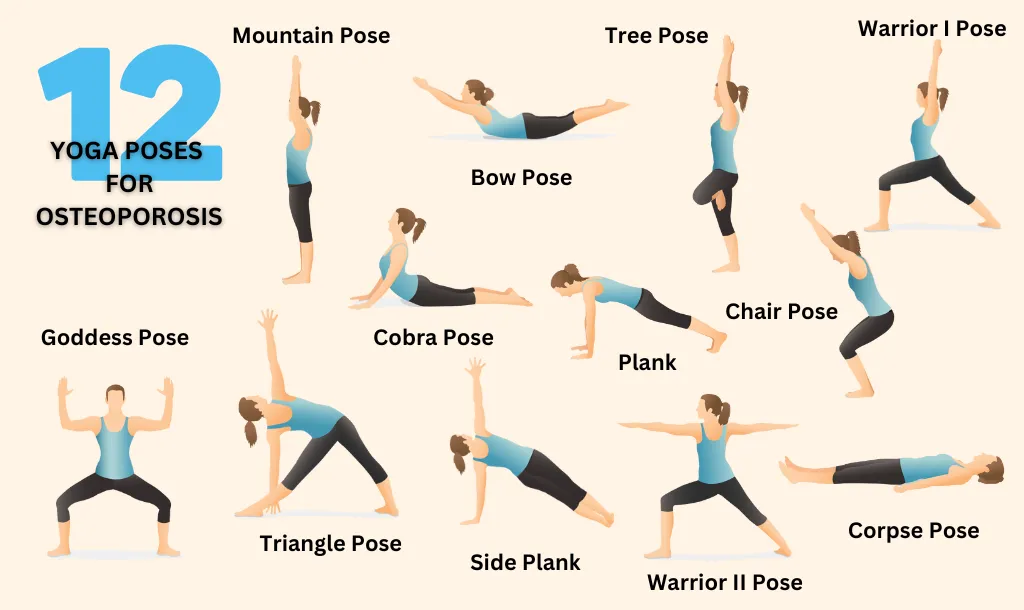
The following poses are specifically chosen for their bone-strengthening benefits:
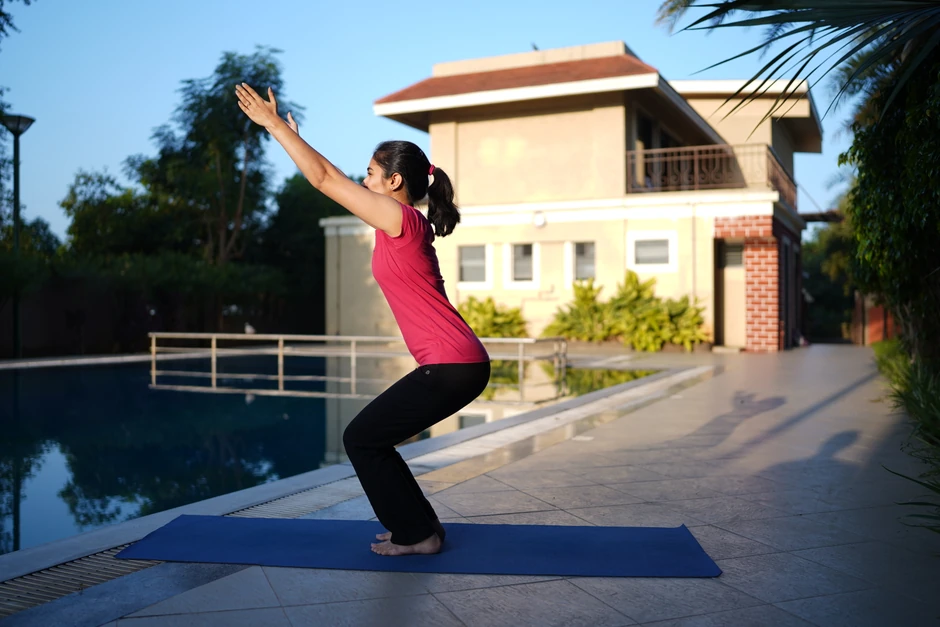
This pose improves posture and helps distribute your body weight evenly, reducing stress on the bones. It also strengthens the legs and core for better stability.
Modification:
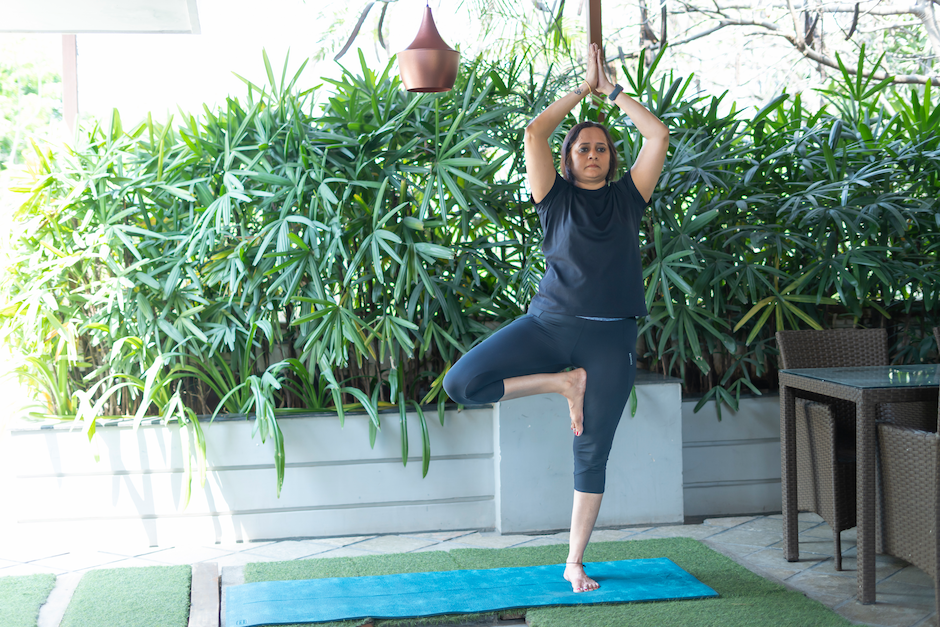
The Tree Pose strengthens the bones in your legs and hips by making you balance on one leg. This helps improve balance, preventing the risk of falls.
Modification:
Builds strength in thighs, glutes, and spine, supporting better bone mass in the hips and lower back.
Modification:
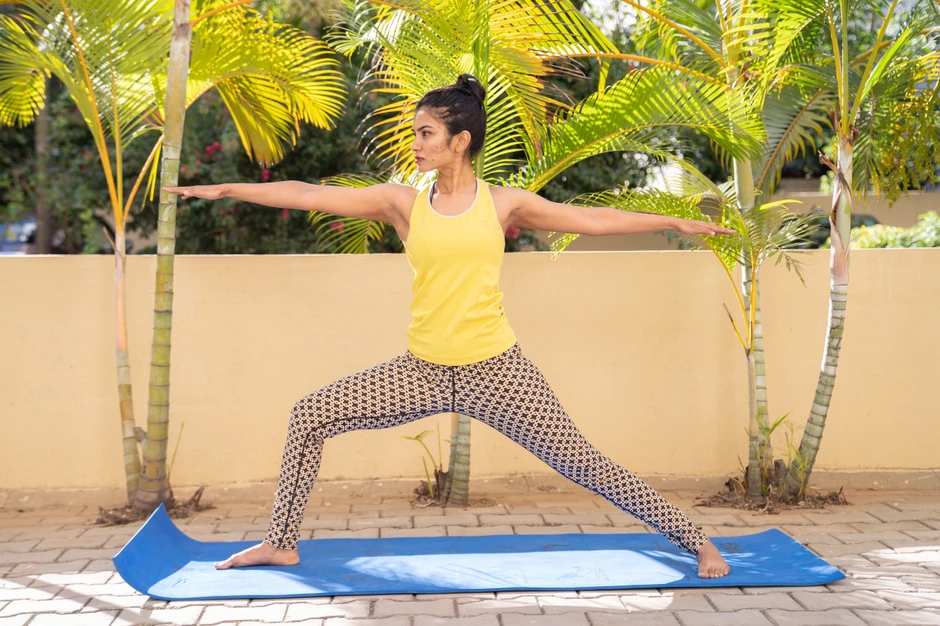
This pose strengthens your legs, hips, and spine, helping to improve bone density. It also stretches your chest and shoulders, enhancing posture.
Modification:
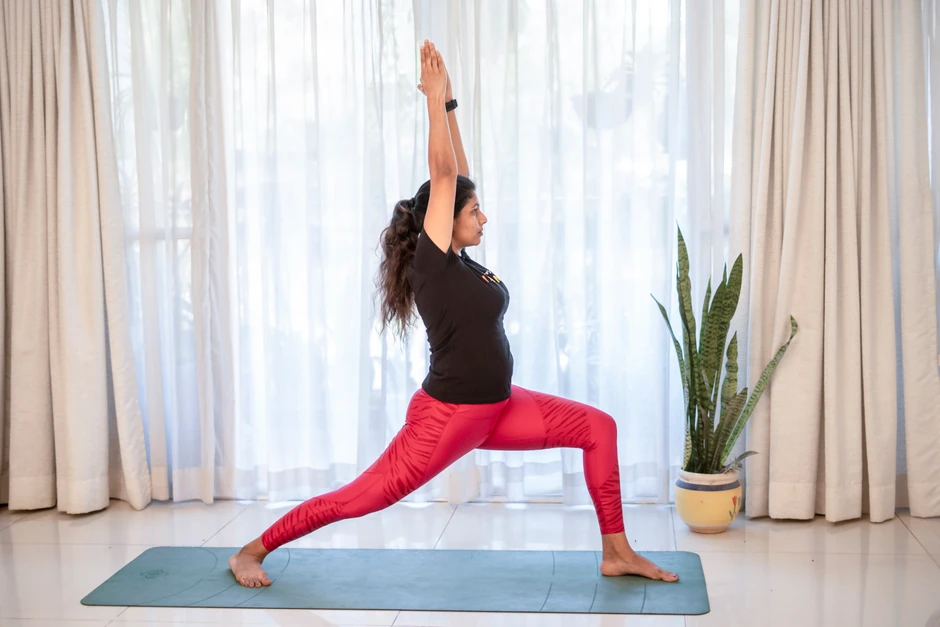
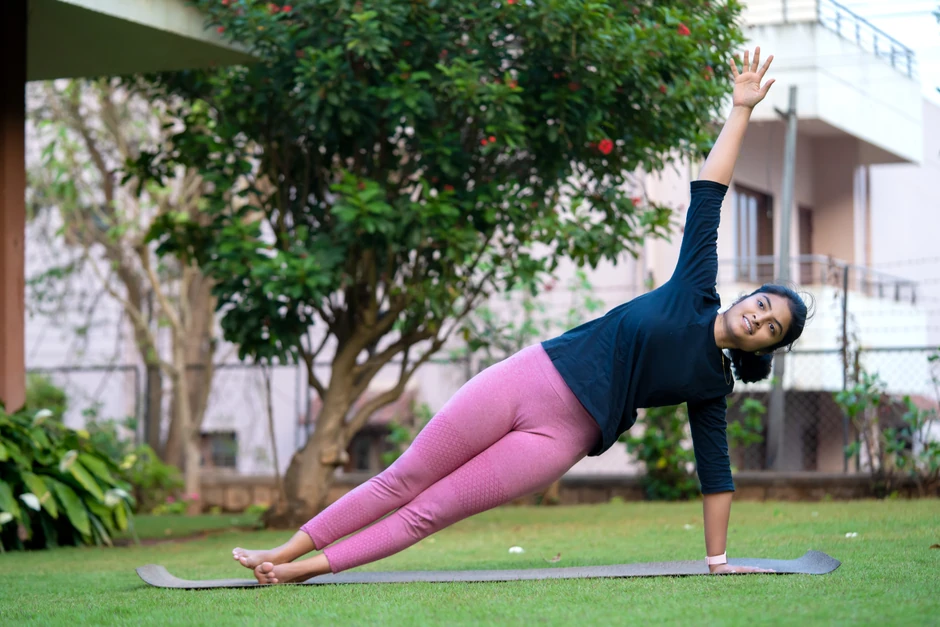
Warrior II builds strength in your thighs, hips, and arms while encouraging proper alignment to support your bones.
Modification:
_optimized.webp)
This pose strengthens your legs and spine, stretches your hips, and improves balance, reducing the risk of falls.
Modification:
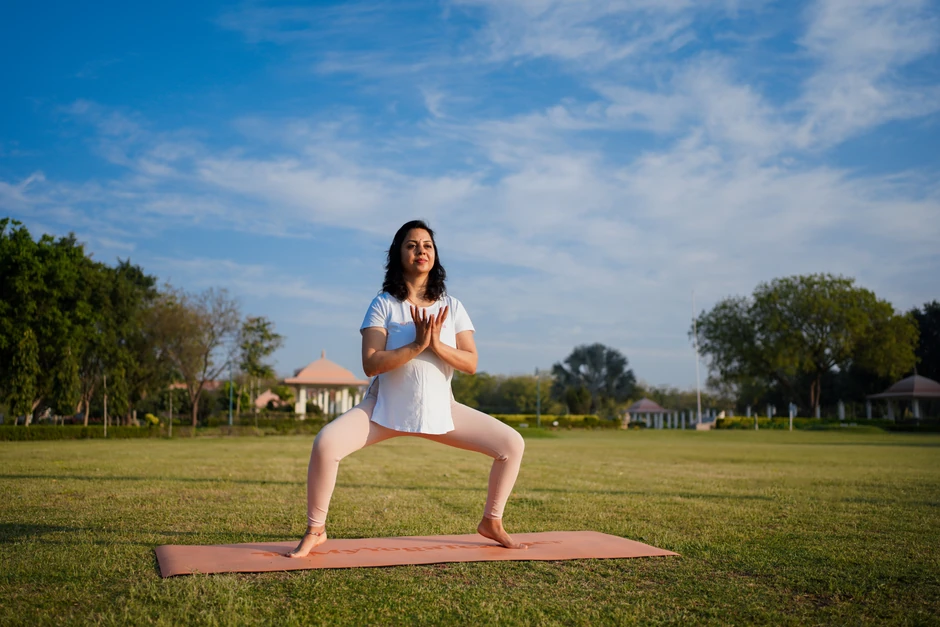
Strengthens the inner thighs, glutes, and hips, promoting pelvic stability and lower body strength.
Modification:
Engages core and arm muscles, promoting spine stability and posture control.
Modification:
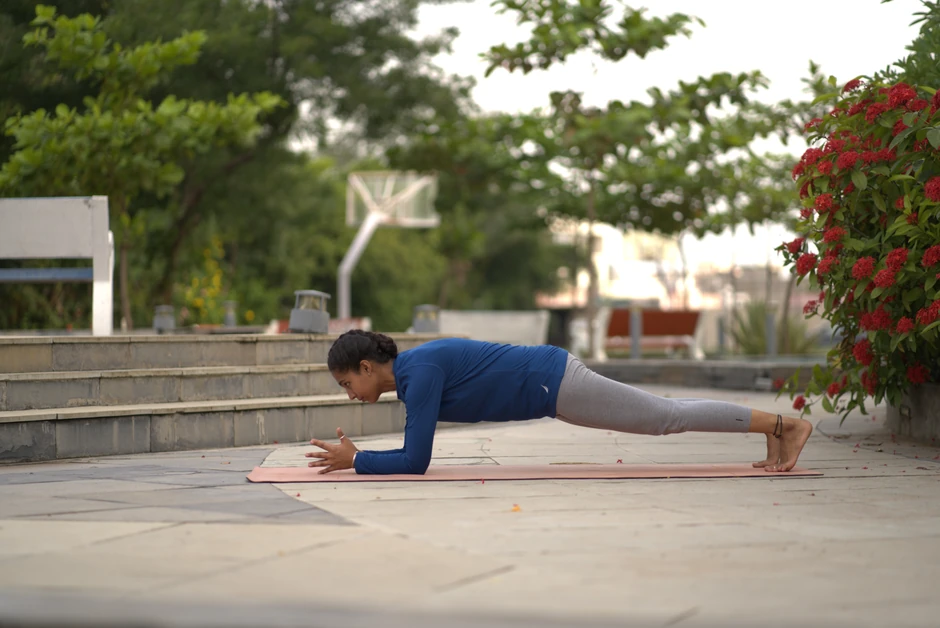
Strengthens the wrists, arms, and core; improves balance and supports the hips.
Modification:
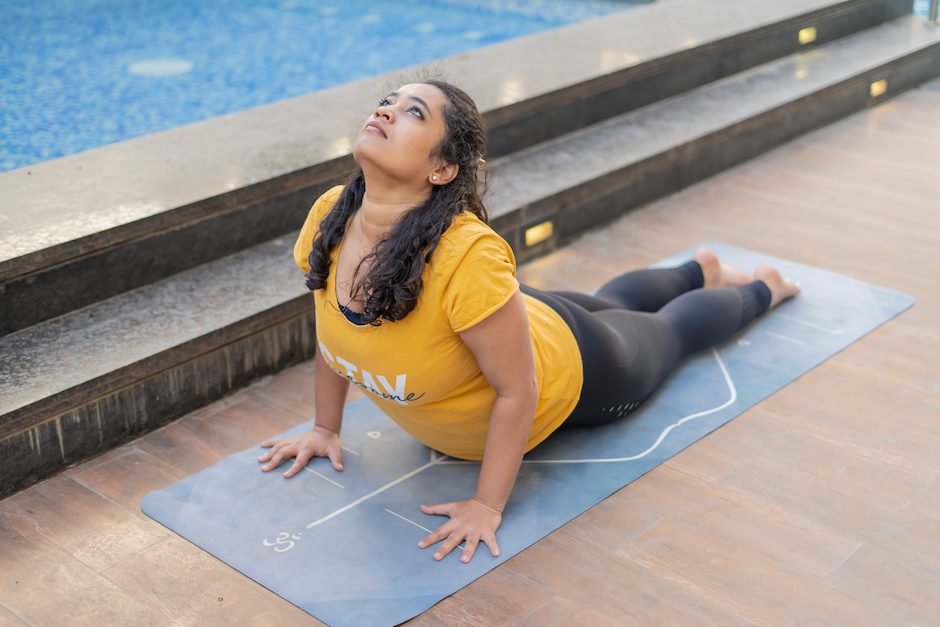
Cobra Pose strengthens your spine and opens up your chest, improving posture and reducing the risk of fractures in the upper back.
Modification:
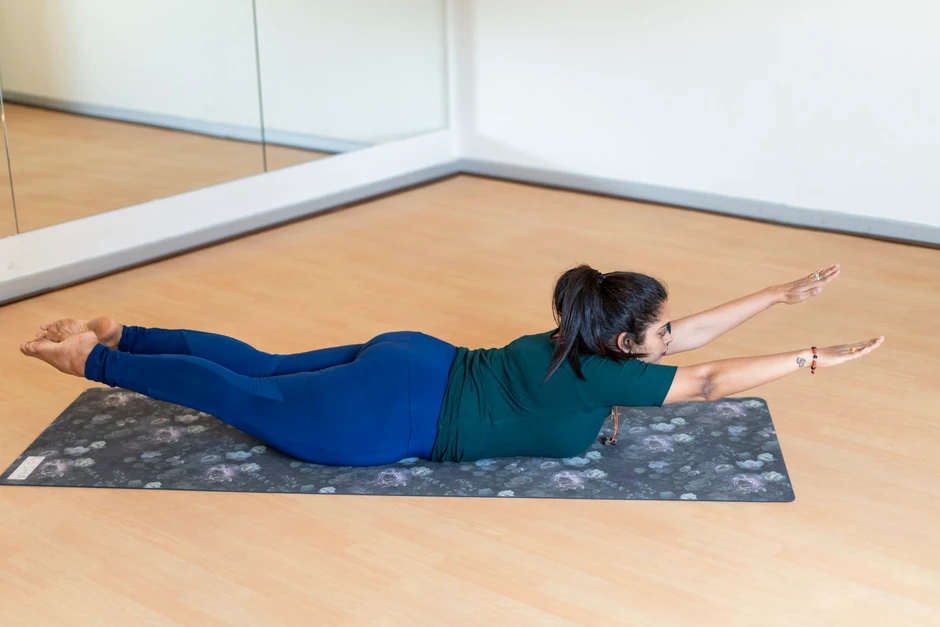
This pose strengthens your lower back, hips, and thighs while improving flexibility in your spine.
Modification:
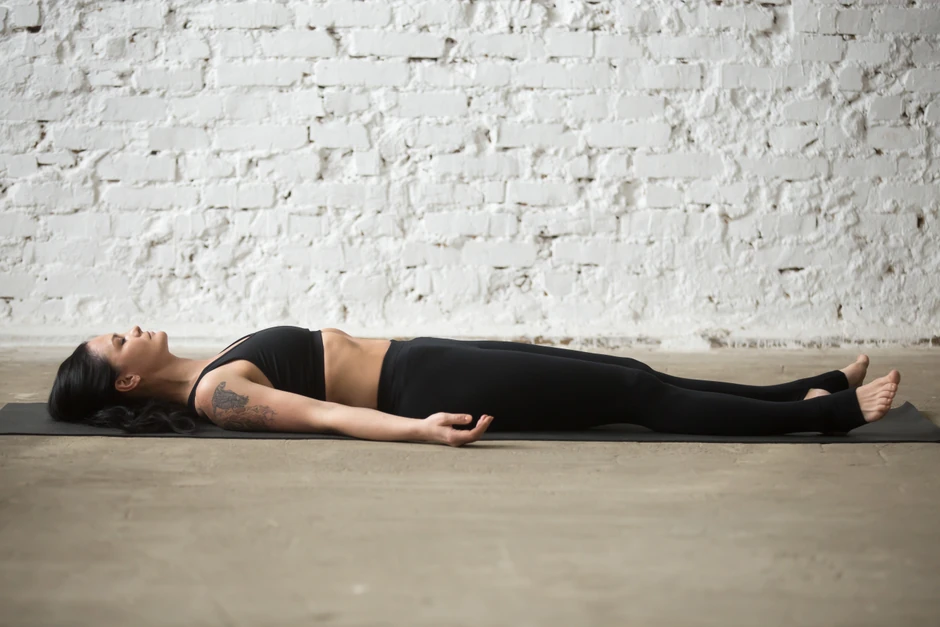
Corpse Pose promotes relaxation and stress reduction, which can support overall bone health.
Modification:
While these poses are beneficial on their own, it’s best to do them under the guidance of an expert to make the most of your practice.
[inline-CTA-2]
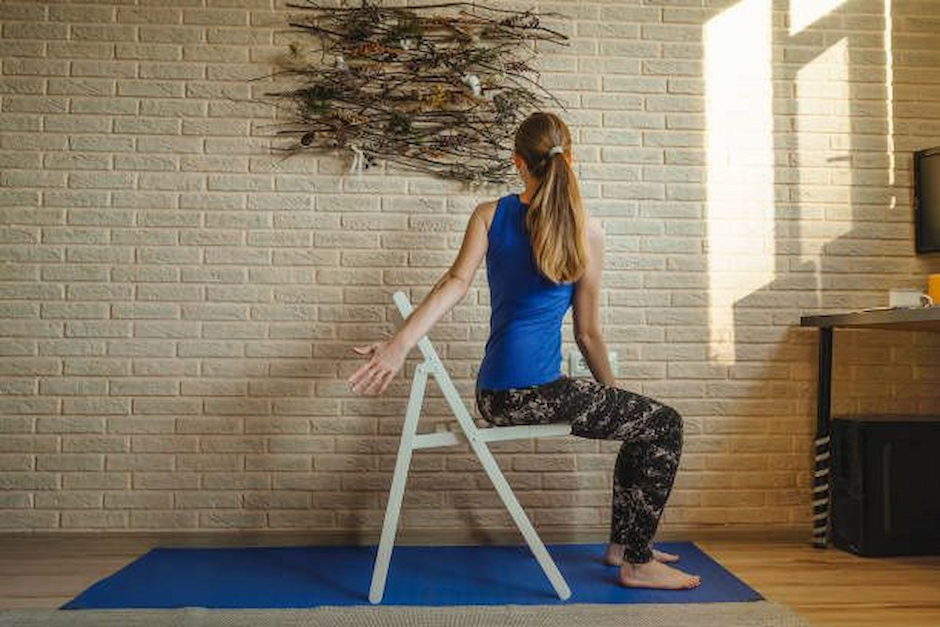
Balancing the poses can be challenging when you have osteoporosis. However, chair yoga offers a safe and effective solution. It helps build bone strength, improve posture, and enhance joint mobility—all while staying seated.
Chair yoga is especially ideal for:
If you’re an office worker with little to no time to exercise, check out this detailed guide on Desk Stretches!
These seated poses are low-impact but still target key areas like the spine, hips, and legs to support bone density and coordination:
This pose promotes spinal alignment and posture awareness.
This pose enhances spinal mobility and stimulates the abdominal muscles.
This stretch strengthens the quadriceps and thigh bones.
This pose supports the upper spine and shoulders.
While these poses seem gentle, they activate muscles and joints in a way that promotes bone maintenance—without the risks of falls or overexertion. Regular practice can improve circulation, increase flexibility, and reduce stiffness, especially in the spine and hips.
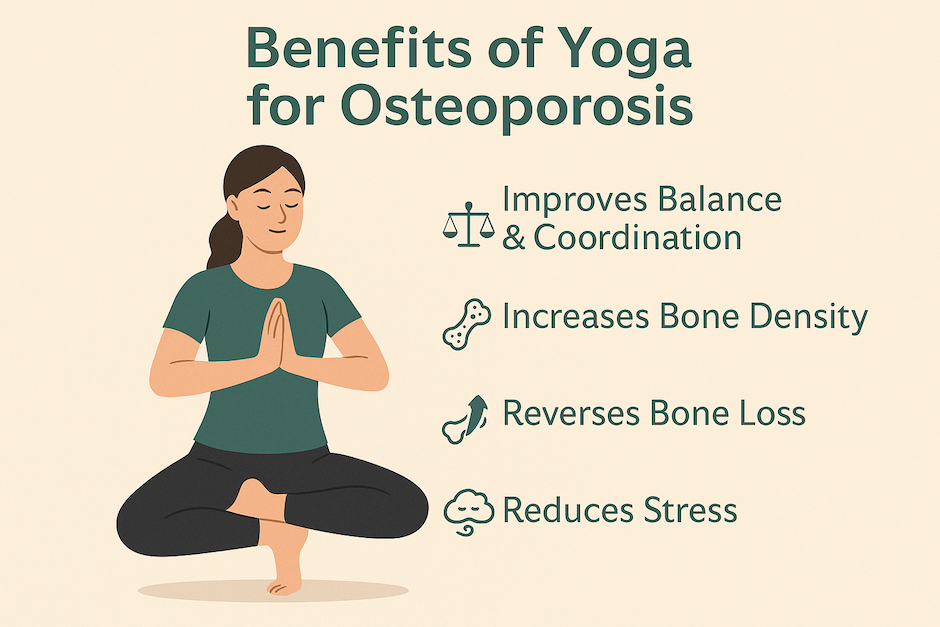
Doing yoga for osteoporosis has several benefits, such as:
When done correctly, yoga can counter the effects of osteoporosis and prevent falls and injuries, improving your overall quality of life.
Practicing yoga with osteoporosis can be incredibly beneficial—but only when done safely and correctly. Improper technique or alignment may increase the risk of injury, especially for those with fragile bones or balance challenges.
That’s why working with a qualified coach makes all the difference. With MyYogaTeacher’s 1-on-1 live coaching, you’ll receive personalized sessions designed specifically for your needs. With real-time guidance and feedback, you can ensure safe form, proper posture, and tailored pose modifications. This individualized support helps you build strength, protect your bones, and improve balance—empowering you to manage osteoporosis with confidence and care.
Yoga can improve bone health, which is key to managing and preventing osteoporosis. Weight-bearing poses can increase bone mineral density and slow down further bone loss. Additionally, yoga improves posture, balance, and coordination, which can reduce the risk of falls and fractures.
The best yoga poses for osteoporosis include a combination of weight-bearing and balancing exercises. These include:
Yoga is generally better for osteoporosis than Pilates. It offers superior bone-loading benefits through weight-bearing poses like Warrior and Tree, which help stimulate bone growth and improve balance—key factors in preventing fractures. Yoga is also more accessible for seniors, requiring minimal equipment and offering extensive modifications.
On the other hand, Pilates can improve core strength and posture, but it often relies on specialized equipment and lacks the same level of scientific support for bone health. For most people with osteoporosis, yoga is the safer, more effective, and more affordable choice.
Aim to practice yoga at least 3 to 5 times a week. According to research by Loren Fishman, just 12 minutes a day can help improve bone density, balance, and strength. Consistency matters more than duration, so short, regular sessions are highly effective—especially when guided by proper instruction.
The best type of yoga for managing osteoporosis is often Hatha yoga, which offers gentle, weight-bearing poses that are easy to modify. Hatha yoga emphasizes alignment, balance, and strength, which are key for improving bone density and reducing the risk of falls.


Receive personalized guidance tailored to your unique fitness goals, live with a dedicated coach—no credit card required.
%20(7).jpg)
Explore gentle heart-opening yoga poses for emotional wellness. Reduce tension, breathe deeper, and support emotional balance naturally.
%20(6).jpg)
Low on energy? Learn how yoga for fatigue helps restore energy, reduce tension, and fight burnout with gentle, effective poses.
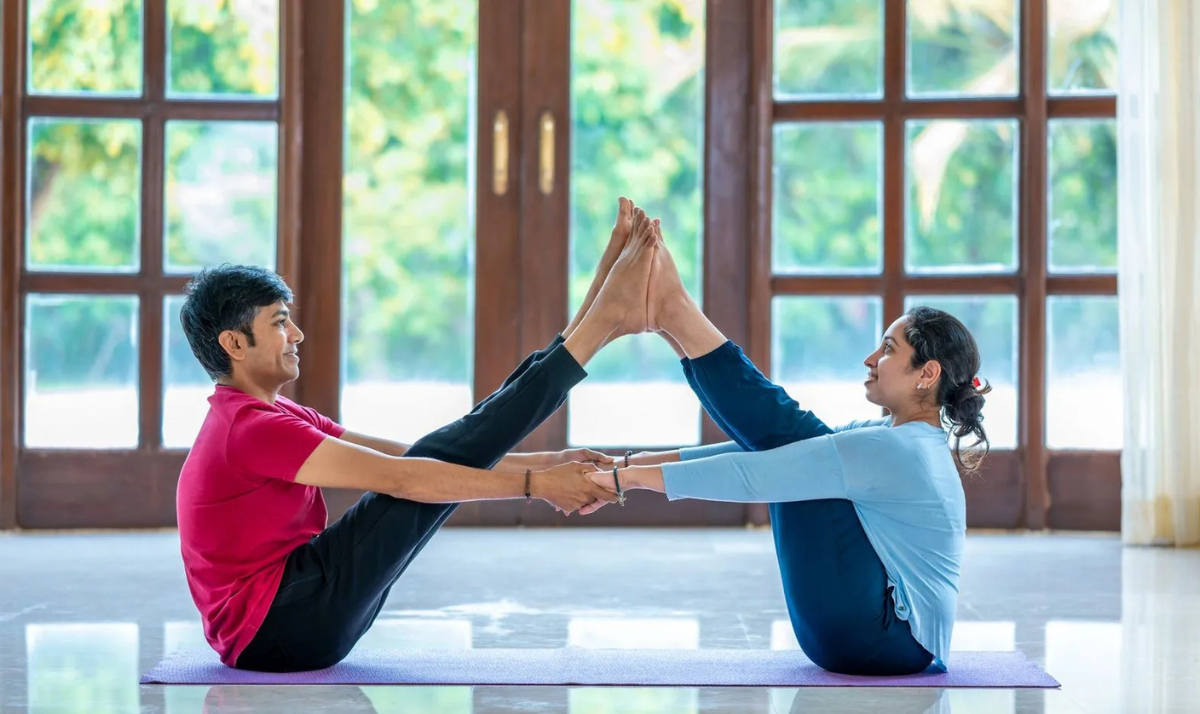
Discover 15 partner yoga poses perfect for beginners and couples. Step-by-step instructions, benefits, and expert tips for practicing 2-person yoga safely.


© Copyright 2025 MyYogaTeacher Inc