

Balance is a critical aspect of our daily life, and it becomes more important as we age. Maintaining good balance helps prevent falls, injuries, and other health issues. Yoga is an excellent tool for improving balance and stability, making it a popular exercise for people of all ages.
In this article, we will explore the various yoga poses that can help improve balance and prevent falls.
Many factors can lead to balance issues and falls, including age, health conditions, lack of physical activity, medications, poor nutrition, and environmental factors. By addressing these factors and incorporating yoga into your routine, you can improve your balance and prevent falls.
Yoga is an effective and low-impact exercise that offers many benefits for improving balance. It increases body awareness, enhances proprioception, strengthens muscles, improves flexibility, coordination, and reduces stress.
Let's take a closer look at some of the specific yoga poses that can help improve your balance:
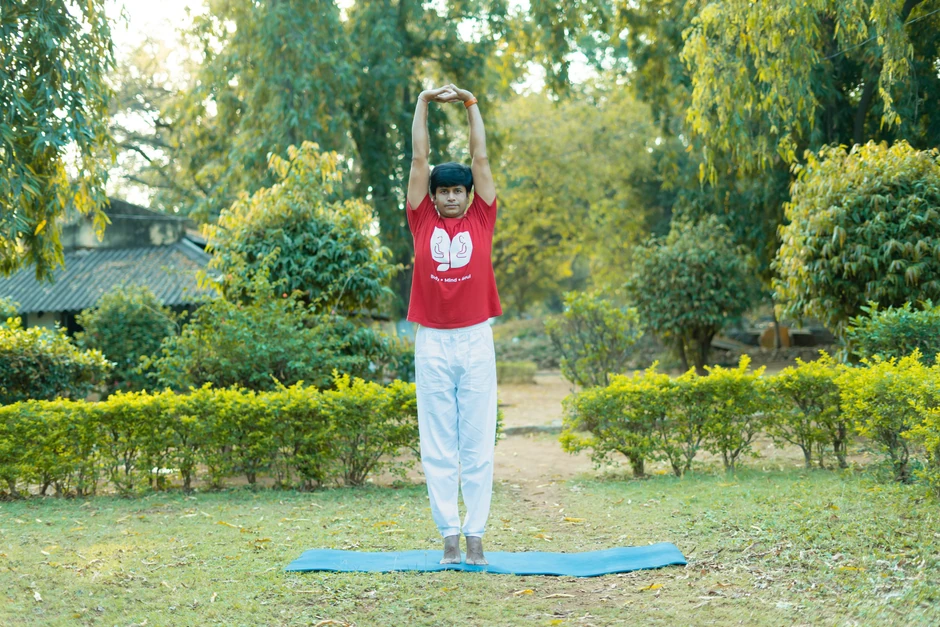
Stand tall with your feet hip-width apart. Distribute your weight evenly on both feet. Keep your arms at your sides, palms facing forward. Relax your shoulders and lengthen your spine. Gaze straight ahead and breathe deeply.
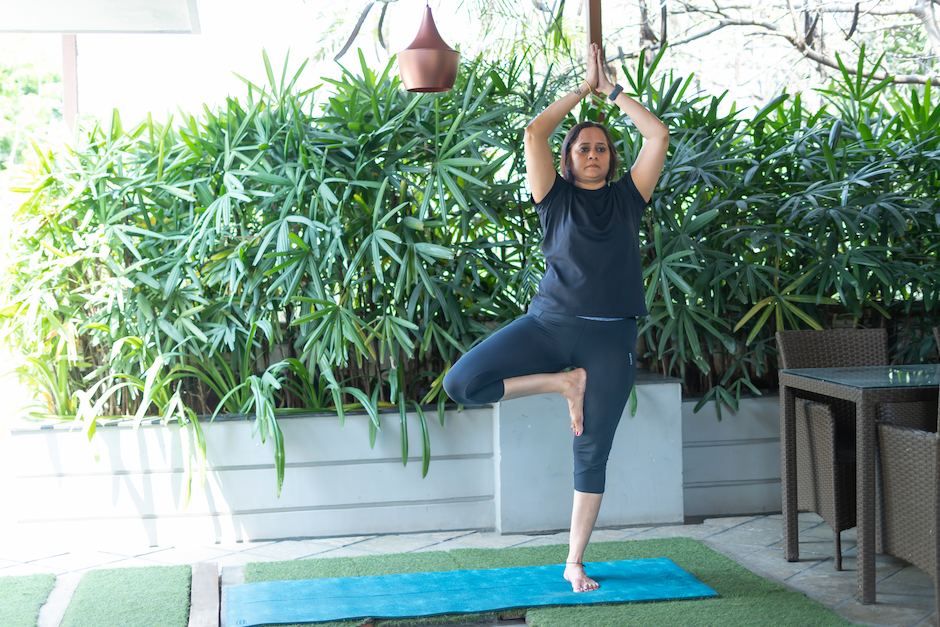
Begin in Mountain Pose. Shift your weight onto your left foot and bend your right knee. Place your right foot on your left thigh or calf, avoiding the knee. Bring your palms together in front of your chest. Find a steady gaze point and breathe deeply. Repeat on the other side.
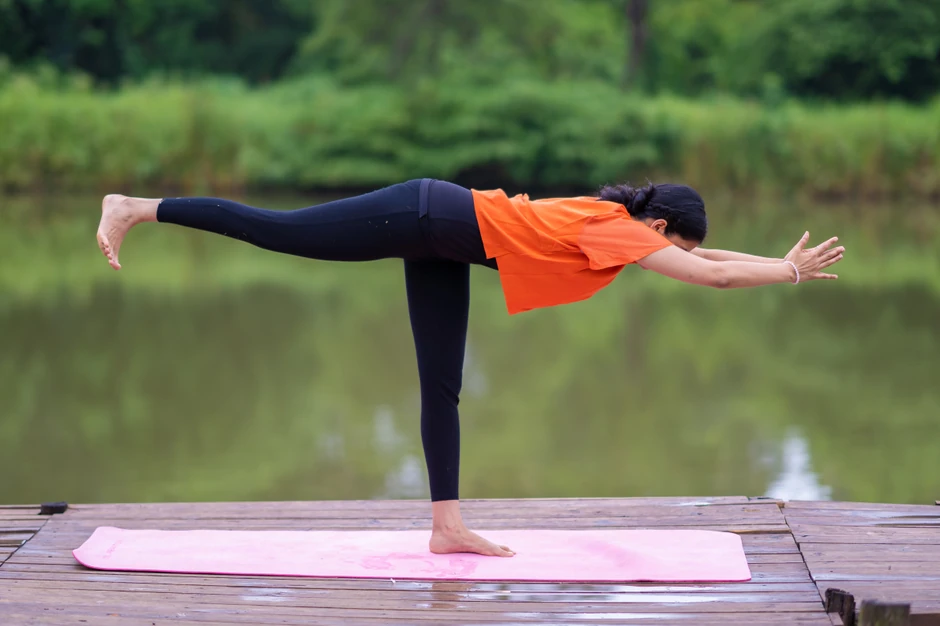
Begin in Mountain Pose. Shift your weight onto your left foot and lift your right leg behind you, keeping it straight. Reach your arms forward, parallel to the floor. Keep your hips level and your gaze steady. Hold for several breaths and repeat on the other side.

Begin in Warrior II. Straighten your left leg and bring your right hand to the floor in front of your left foot. Lift your right leg parallel to the floor and extend your left arm straight up. Keep your gaze forward or up towards your left hand.
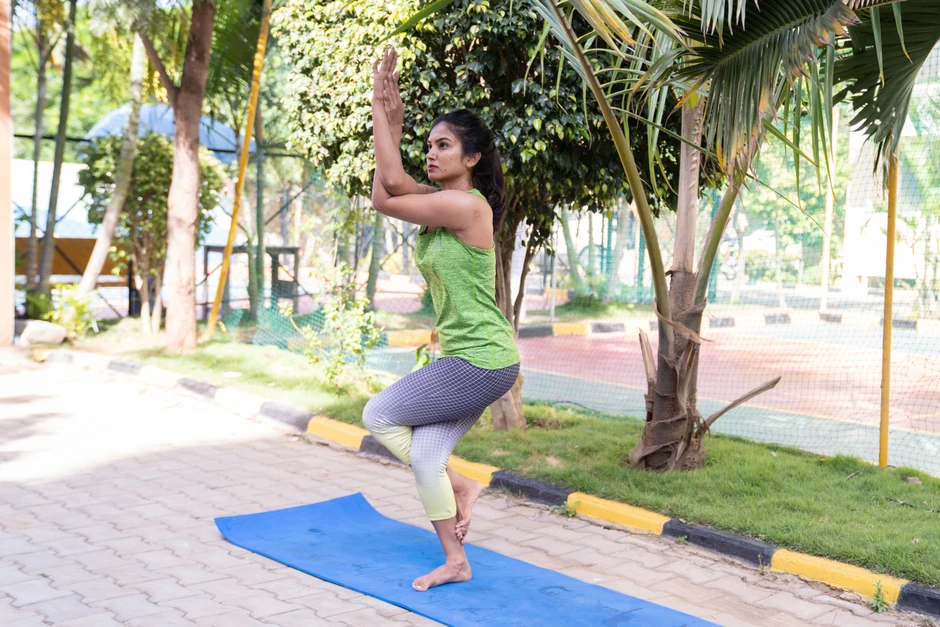
Begin in Mountain Pose. Bend your knees slightly and lift your left foot, crossing it over your right thigh. Cross your right arm over your left and bring your palms together. Sink down into the pose and find a steady gaze point. Repeat on the other side.
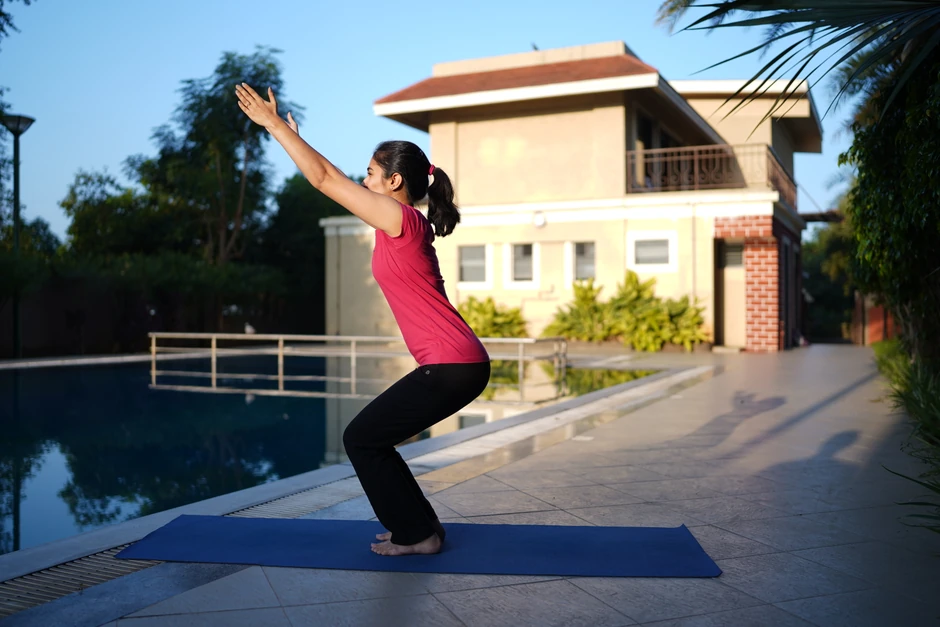
Begin in Mountain Pose. Bend your knees and sink down as if sitting in a chair. Keep your weight in your heels and your arms extended upward. Hold for several breaths and then stand up straight.
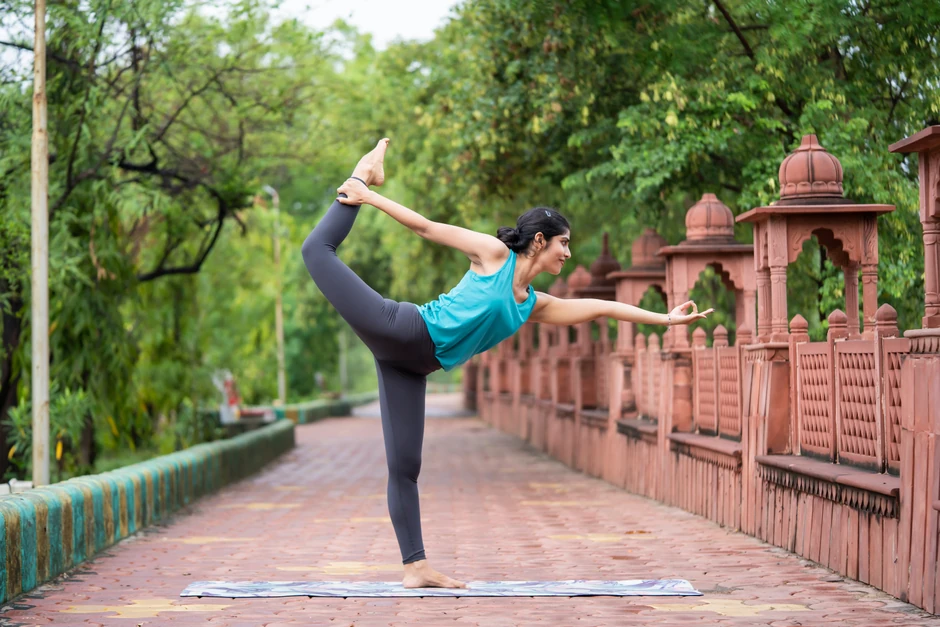
Begin in Mountain Pose. Shift your weight onto your left foot and lift your right leg behind you. Reach your right hand back and grab your right ankle or foot. Lift your left arm up and find a steady gaze point. Hold for several breaths and repeat on the other side.
_optimized.webp)
Begin with your feet wide apart. Turn your right foot out and your left foot slightly in. Extend your arms to the sides and reach forward with your right hand, placing it on your shin, ankle, or the floor. Reach your left arm up towards the ceiling and gaze up at your left hand. Repeat on the other side.
Begin in a squatting position with your feet hip-width apart. Place your hands on the floor in front of you and lift your hips. Bend your elbows and place your knees on your triceps. Lift your feet off the floor and balance on your hands. Gaze forward and hold for several breaths.
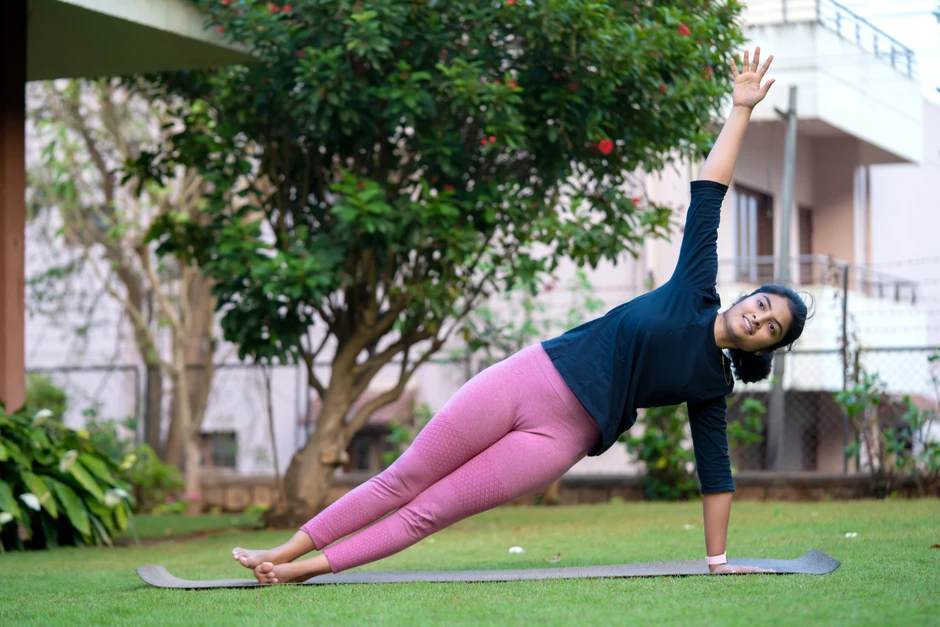
Begin in plank pose, with your hands under your shoulders and your body straight. Shift your weight onto your left hand and turn your body to the right, stacking your feet and lifting your right arm towards the ceiling. Find a steady gaze point and hold for several breaths. Repeat on the other side.
Once you have become comfortable with individual poses, you can begin to incorporate them into yoga sequences designed specifically for balance improvement. Below are three sequences, ranging from beginner to advanced:
A. Beginner's Sequence
Mountain Pose (Tadasana)
Tree Pose (Vrikshasana)
Warrior III (Virabhadrasana III)
Child's Pose (Balasana)
B. Intermediate Sequence
Half Moon Pose (Ardha Chandrasana)
Eagle Pose (Garudasana)
Chair Pose (Utkatasana)
Downward Facing Dog (Adho Mukha Svanasana)
C. Advanced Sequence
Dancer Pose (Natarajasana)
Crow Pose (Bakasana)
Side Plank (Vasisthasana)
Handstand (Adho Mukha Vrksasana)
While yoga can be a beneficial tool for balance improvement, it is important to practice with caution and take necessary precautions. Here are some tips to keep in mind:
Consultation with a doctor or physical therapist: Before starting any new exercise routine, it is important to consult with a doctor or physical therapist, especially if you have any health conditions or concerns.
Modifications for poses: If you are a beginner or have limited mobility, you can modify poses by using props such as blocks or straps, or by performing a simpler variation of the pose.
Using props: Props such as blocks, straps, or chairs can be used to provide support and improve balance in certain poses.
Being aware of limitations and practicing with caution:It is important to be aware of your limitations and practice with caution, especially if you have a history of falls or balance issues.
In conclusion, incorporating yoga into your exercise routine can be a powerful tool for improving balance and reducing the risk of falls. By practicing yoga poses and sequences that focus on balance, you can improve your body awareness, strength, flexibility, and coordination. Remember to always practice with caution, consult with a doctor or physical therapist, and use modifications or props as needed. With dedication and consistency, you can enjoy the benefits of yoga for balance improvement and overall health and wellbeing.
Balancing poses in yoga are designed to challenge and improve your body's ability to maintain balance, stability, and focus. These poses require you to engage your core muscles, improve your proprioception (body awareness), and develop concentration and mindfulness.
One of the most challenging yoga poses for balance is the Tree Pose (Vrikshasana). In this pose, you stand on one leg and place the sole of your other foot against the inner thigh of the standing leg, while keeping your hands in a prayer position at your heart. This pose requires a lot of focus, strength, and stability to maintain.
Yes, yoga is an excellent way to improve balance. Regular practice of yoga can help you develop stronger muscles, better body awareness, and enhanced proprioception, all of which contribute to better balance. Additionally, many yoga poses specifically target balance, making it a great tool for improving your overall stability and coordination.
Yoga can have a positive impact on balance in several ways. First, it helps to strengthen the muscles in your feet, ankles, legs, and core, which are all essential for maintaining balance. Additionally, yoga poses require you to focus on your body and breath, which helps to improve your concentration and mindfulness. Finally, yoga can help to enhance your proprioception, or your body's awareness of its position and movement in space, which is critical for balance. Overall, regular yoga practice can lead to improved balance and stability both on and off the mat.

Receive personalized guidance tailored to your unique fitness goals, live with a dedicated coach—no credit card required.
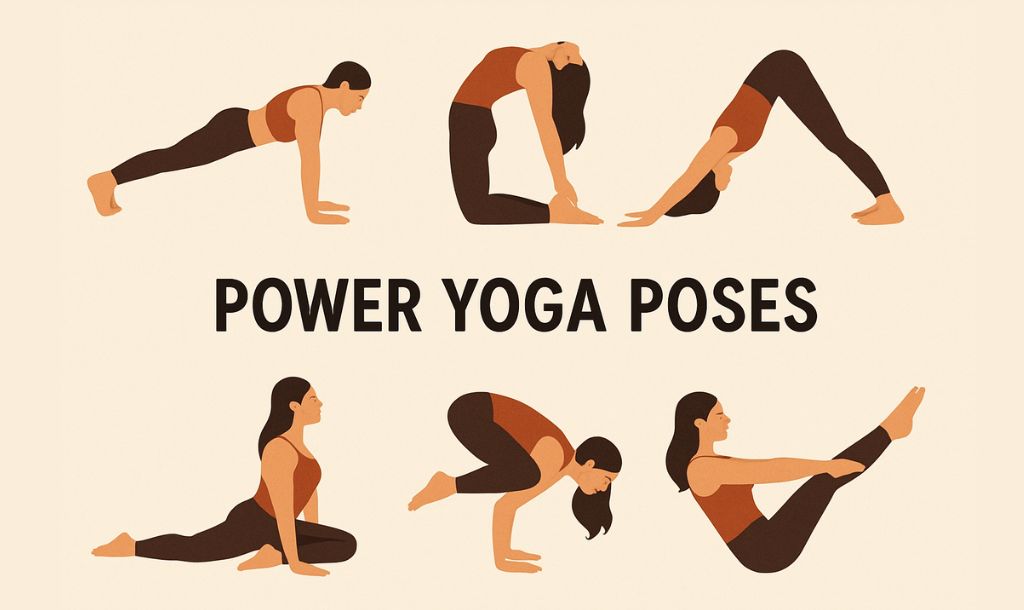
Master Power Yoga poses for all levels. Learn beginner to advanced asanas, weight loss sequences, and safety tips with expert guidance. Start today!

Start Vinyasa yoga with confidence! Learn beginner-friendly poses, breathing techniques, and safe sequences. Get expert guidance that makes all the difference!
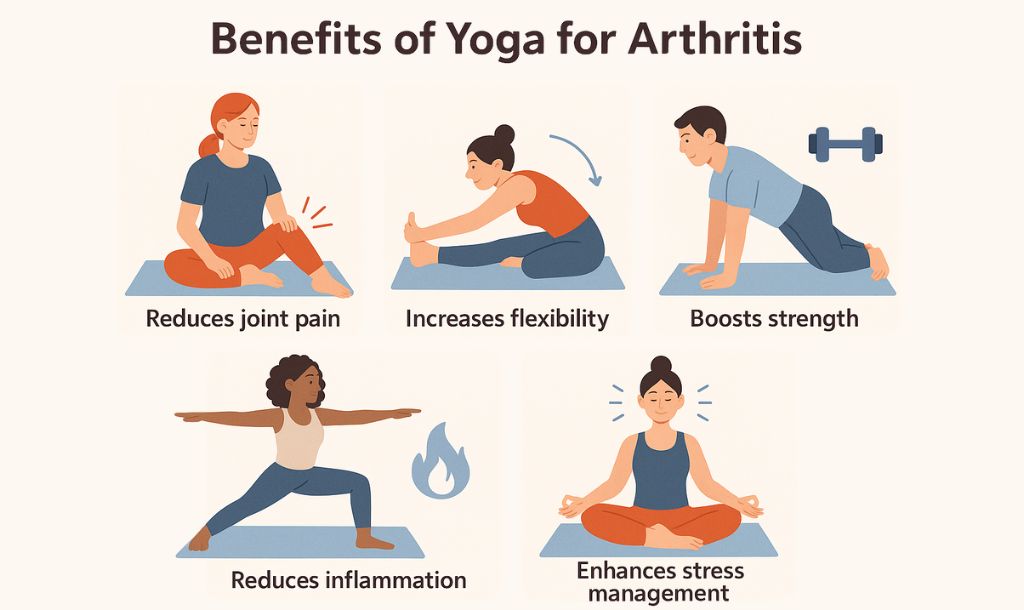
Yes, yoga is good for arthritis! Discover research-backed benefits, safety tips, and gentle poses. Expert guidance for arthritis-friendly practice.


© Copyright 2025 MyYogaTeacher Inc