
A Love of Dance & Strength
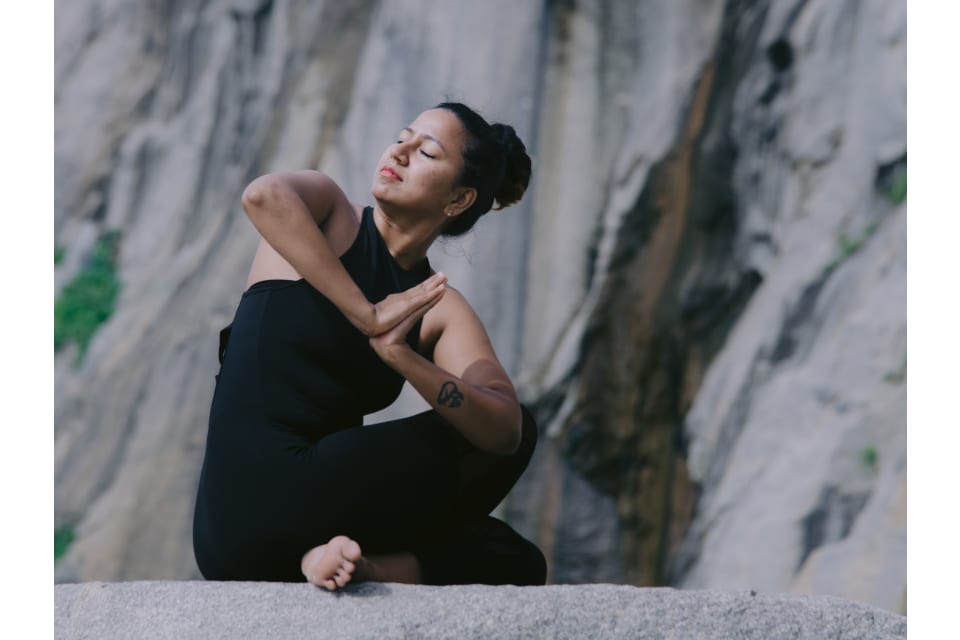
My name is Anitha and I'm from the heritage city of Mysore in India. Yoga was part of my curriculum in school, so my yoga journey began when I was just a child.
In addition to practicing yoga in school, I was very into sports. I represented India TWICE in international throwball tournaments. I'm proud to say that I won both tournaments!

My Master's is in Management & Finance and I've worked for multinational companies, a total of 10 years of professional experience.
Yet . . .
I always had this thought running in my mind . . . that I should do what I love the most! And that is dancing! So, initially, I threw myself into Zumba and became a certified instructor. But this was just a hobby as I kept my job at the multinational company.
And then I became a mother . . .
My focus completely shifted from my job and moved towards my passion. I made a return to Yoga in addition to teaching Zumba. Since I had a decent amount of practice during my school days, this seemed like a natural thing to do. I completed my Yoga teacher certification in Bangalore.
With my yoga practice, I could see a lot of changes in myself. I was inspired to continue my education and completed a certification in Ashtanga Yoga of Mysore style from Mysore and a certification to teach advanced yoga.
Initially, I just taught classes at gyms and fitness centers, but I knew yoga could do more. I began to teach personal classes for medical patients to help reduce their stress level with Yoga.
During my yoga journey, seeing my clients become better in mind, body and spirit has inspired me to teach Yoga and spread Yoga to every community for a Healthy & Happy mind!
Online Yoga Classes – Live & Interactive
Get 2 free private yoga sessions and 2 weeks of unlimited group classes with authentic yoga teachers. No credit card required when you sign up today!
Share this post?
Interesting Articles
Yoga Before and After Workout: When is yoga best for you and your body?
Yoga has so many benefits for the body on its own. But if you’re trying to kick your routine into high gear, consider adding yoga onto your other work...
Continue ReadingThe Benefits of Yoga for Asthma Treatment and Lung Health
Do you or someone you know suffer from asthma? This chronic respiratory condition can have a significant impact on your quality of life, making it dif...
Continue ReadingYoga for Seasonal Affective Disorder
When the fall months of October and November transition to winter, do you start feeling a bit down? Do you often struggle to feel positive and motivat...
Continue ReadingRecent Articles
Neck and Shoulder Yoga for Pain Relief : New 1-on-1 Series!
Announcing A New 1-on-1 Series! We’re offering a new series of 1-on-1 classes! Our Neck and Shoulder Yoga for Pain Relief is designed to hel...
Continue ReadingOur New And Improved Group Class Platform!
Here's a quick walkthrough of our new GC interfaceExciting news! Our platform got an upgrade!MyYogaTeacher is always evolvi...
Continue ReadingNew 1-on-1 Hip Opening Series: Unlock Freedom in Movement
The new transformative 1-on-1 Hip Opening Series, specially designed to release tension and boost strength and mobility in your hips, is the perfect w...
Continue Reading© Copyright 2020 MyYogaTeacher Inc