

In this class from Pranjal Joshi, we invite you to explore Iyengar Yoga. B.K.S. Iyengar believed that achieving balance in the body will be reflected as balance in the mind. While Iyengar Yoga isn't a cardiovascular practice like the flowing style of Ashtanga, holding the Iyengar poses is excellent for your body to build strength and increase flexibility. It's a wonderful practice for those who either don't want or can't participate in flowing practices.
[CTA-DEFAULT]
Iyengar Yoga is a practice developed by B.K.S. Iyengar and derived from Hatha yoga. It is rooted in the traditional eight limbs of yoga. The Iyengar practice emphasizes self-knowledge through Asana and Pranayama and works to improve balance, flexibility, alignment, strength, concentration, stamina, and awareness. Teaching is geared towards gradual, steady progress, not quick results.
There are several physical and mental benefits of practicing Iyengar Yoga. You can use this practice to:
Let's start today's Iyengar Yoga practice sitting on a pillow or a bolster. Keep your hands beside you with your elbows bent. Roll your shoulders back, squeezing your shoulder blades together, and point your elbows back, not out to the sides. Lower your eyes down to look at the floor.
Inhale deeply, feeling the breath move in your body starting from your hip joints and filling your torso. Exhale out your arms, relaxing them and letting them stretch downward. Breathe like this for a few rounds. Close your eyes when they feel heavy.
With your torso lifted, join your palms at your heart center in Namaskara. Inhale deeply and on the exhale chant Om. Complete this chant three times before bowing your head to your heart. Place your palms on your thighs, raise your head up, and open your eyes.
Place your palms on the pillow once again and then press your left palm into the pillow. Tilt your head to the left, stretching all the way down your neck and into your shoulder. Inhale back to the center. Repeat on the right. Repeat the sequence, returning your head to the center.
From the center, tilt your head back while continuing to lift your neck up (lifting your face to the ceiling). Now, exhale your chin forward, stretching the back of the neck. Repeat two more times. Inhaling back to the center.
Interlace your fingers behind you and stretch your hands down towards the floor, rolling your shoulders back and down. Create space throughout your torso and the front of your neck. Relax and come to a standing position.
Stand straight with your feet hip-width apart. With your left arm down at your side, take your right arm behind your back, bending your elbow. Grasp the elbow of your left arm and stretch it down. Repeat with the other arm.

Now bend both arms behind your back, grasping the elbows with the opposite hand. Be sure to roll your shoulders back and down. Hold the stretch for a few breaths.

Interlace your fingers behind you and stretch your hands towards the ground. Start bending forward, raising your arms high behind you, keeping your elbows straight, and pushing your chest down towards the floor. Slowly inhale and come up, release your hands, and relax.

Grab a yoga strap, scarf, towel, or belt. Bend forward and find the bone at the base of your neck. Place your strap over that bone, holding the strap close to your neck. Pull down on the strap, putting a little bit of pressure on it. Then, gently and slowly pull the strap down from the bone up the back of your neck to your hairline. Repeat four more times before returning to a standing position.
Next, wrap the strap around your back, at the base of your shoulder blades. Take the ends of the strap and put them up, over your shoulders, and behind your back. Cross the ends of the strap behind your back and grasp the ends in your hands.
Slowly pull diagonally down on the straps to stretch your shoulders. Hold for a few breaths. From there, take your arms out to the side, pulling the straps gently. Stay here for a few breaths.

Now, stand with your right side touching the wall. Raise your right arm behind you on the wall (try to get it. parallel to the ground), keeping your palm, inner elbow, and shoulder all pressed against the wall. Take your left hand behind your back with your elbow bent and let your fingertips touch the wall. Look straight ahead and breathe in this position for several breaths. Repeat on the other side, with your left side on the wall.

We're going to do that again, starting on the right side. This time, when you get into position, press your palm against the wall and roll your shoulders back and down without letting your arm drop. Repeat on the other side, with your left side on the wall.
Get used to the feeling of opening your chest, rolling your shoulders back and down, keeping them away from your ears and without tension in your neck. To get more used to that movement, stand or kneel with your arms at your sides. Rotate your arms so your palms face forward and really feel what's happening in your shoulders and upper back.
Grab your strap and hold one end of your belt in your right hand. Take your right hand behind you and grab the strap with your left hand behind you. Your right hand will be near your neck and your left hand will grab the strap at your mid-back. Pull down on the strap with your left hand to stretch your right tricep. Hold the stretch for a few breaths.

Now, without changing your hands, pull the strap with your right hand. This will pull the left hand further up your back. Hold this stretch for a few breaths. Repeat these stretches with the arms switched so your left hand is holding the strap behind you near your neck and your right hand is mid-back.
In this position, you'll want to ensure that the elbow of your top arm is close to your head and pointing up instead of out. Also, keep your torso straight, don't lean to either side and look straight ahead.
Try doing the pose without the strap now. See if you can at least get the fingertips on each hand to touch behind you. If that feels okay, you might try gripping your fingertips or even shaking your other hand. Hold for several breaths before repeating with the arms switched.
This pose requires that your armpit open entirely, creating a straight line with your arm and your torso. To work on that opening, grab a chair and kneel down in front of it. Place your elbows on the seat of the chair and press your palms together as they point to the ceiling. Move your knees back slightly away from the chair so you can move your back in line with the chair. Keep your abdominals engaged so your back doesn't arch, and drop your chest down towards the floor.

Focus on opening the armpit area, this isn't a backbend pose. Stay in this stretch for several breaths. From here, try to bring your palms towards your upper back.
We're going to do one more stretch for that armpit area. Get into a tabletop position in front of the chair. With your right hand, grab the opposite leg of the chair at about the midpoint, and don't let your hand slide down. Move your left hand a little outside of your body. Bend the left elbow (like you're going for a pushup), keeping the right elbow straight, and pressing your right armpit towards the floor. Hold this stretch for several breaths, stretching from your upper hip to your palm. Repeat on the other side.

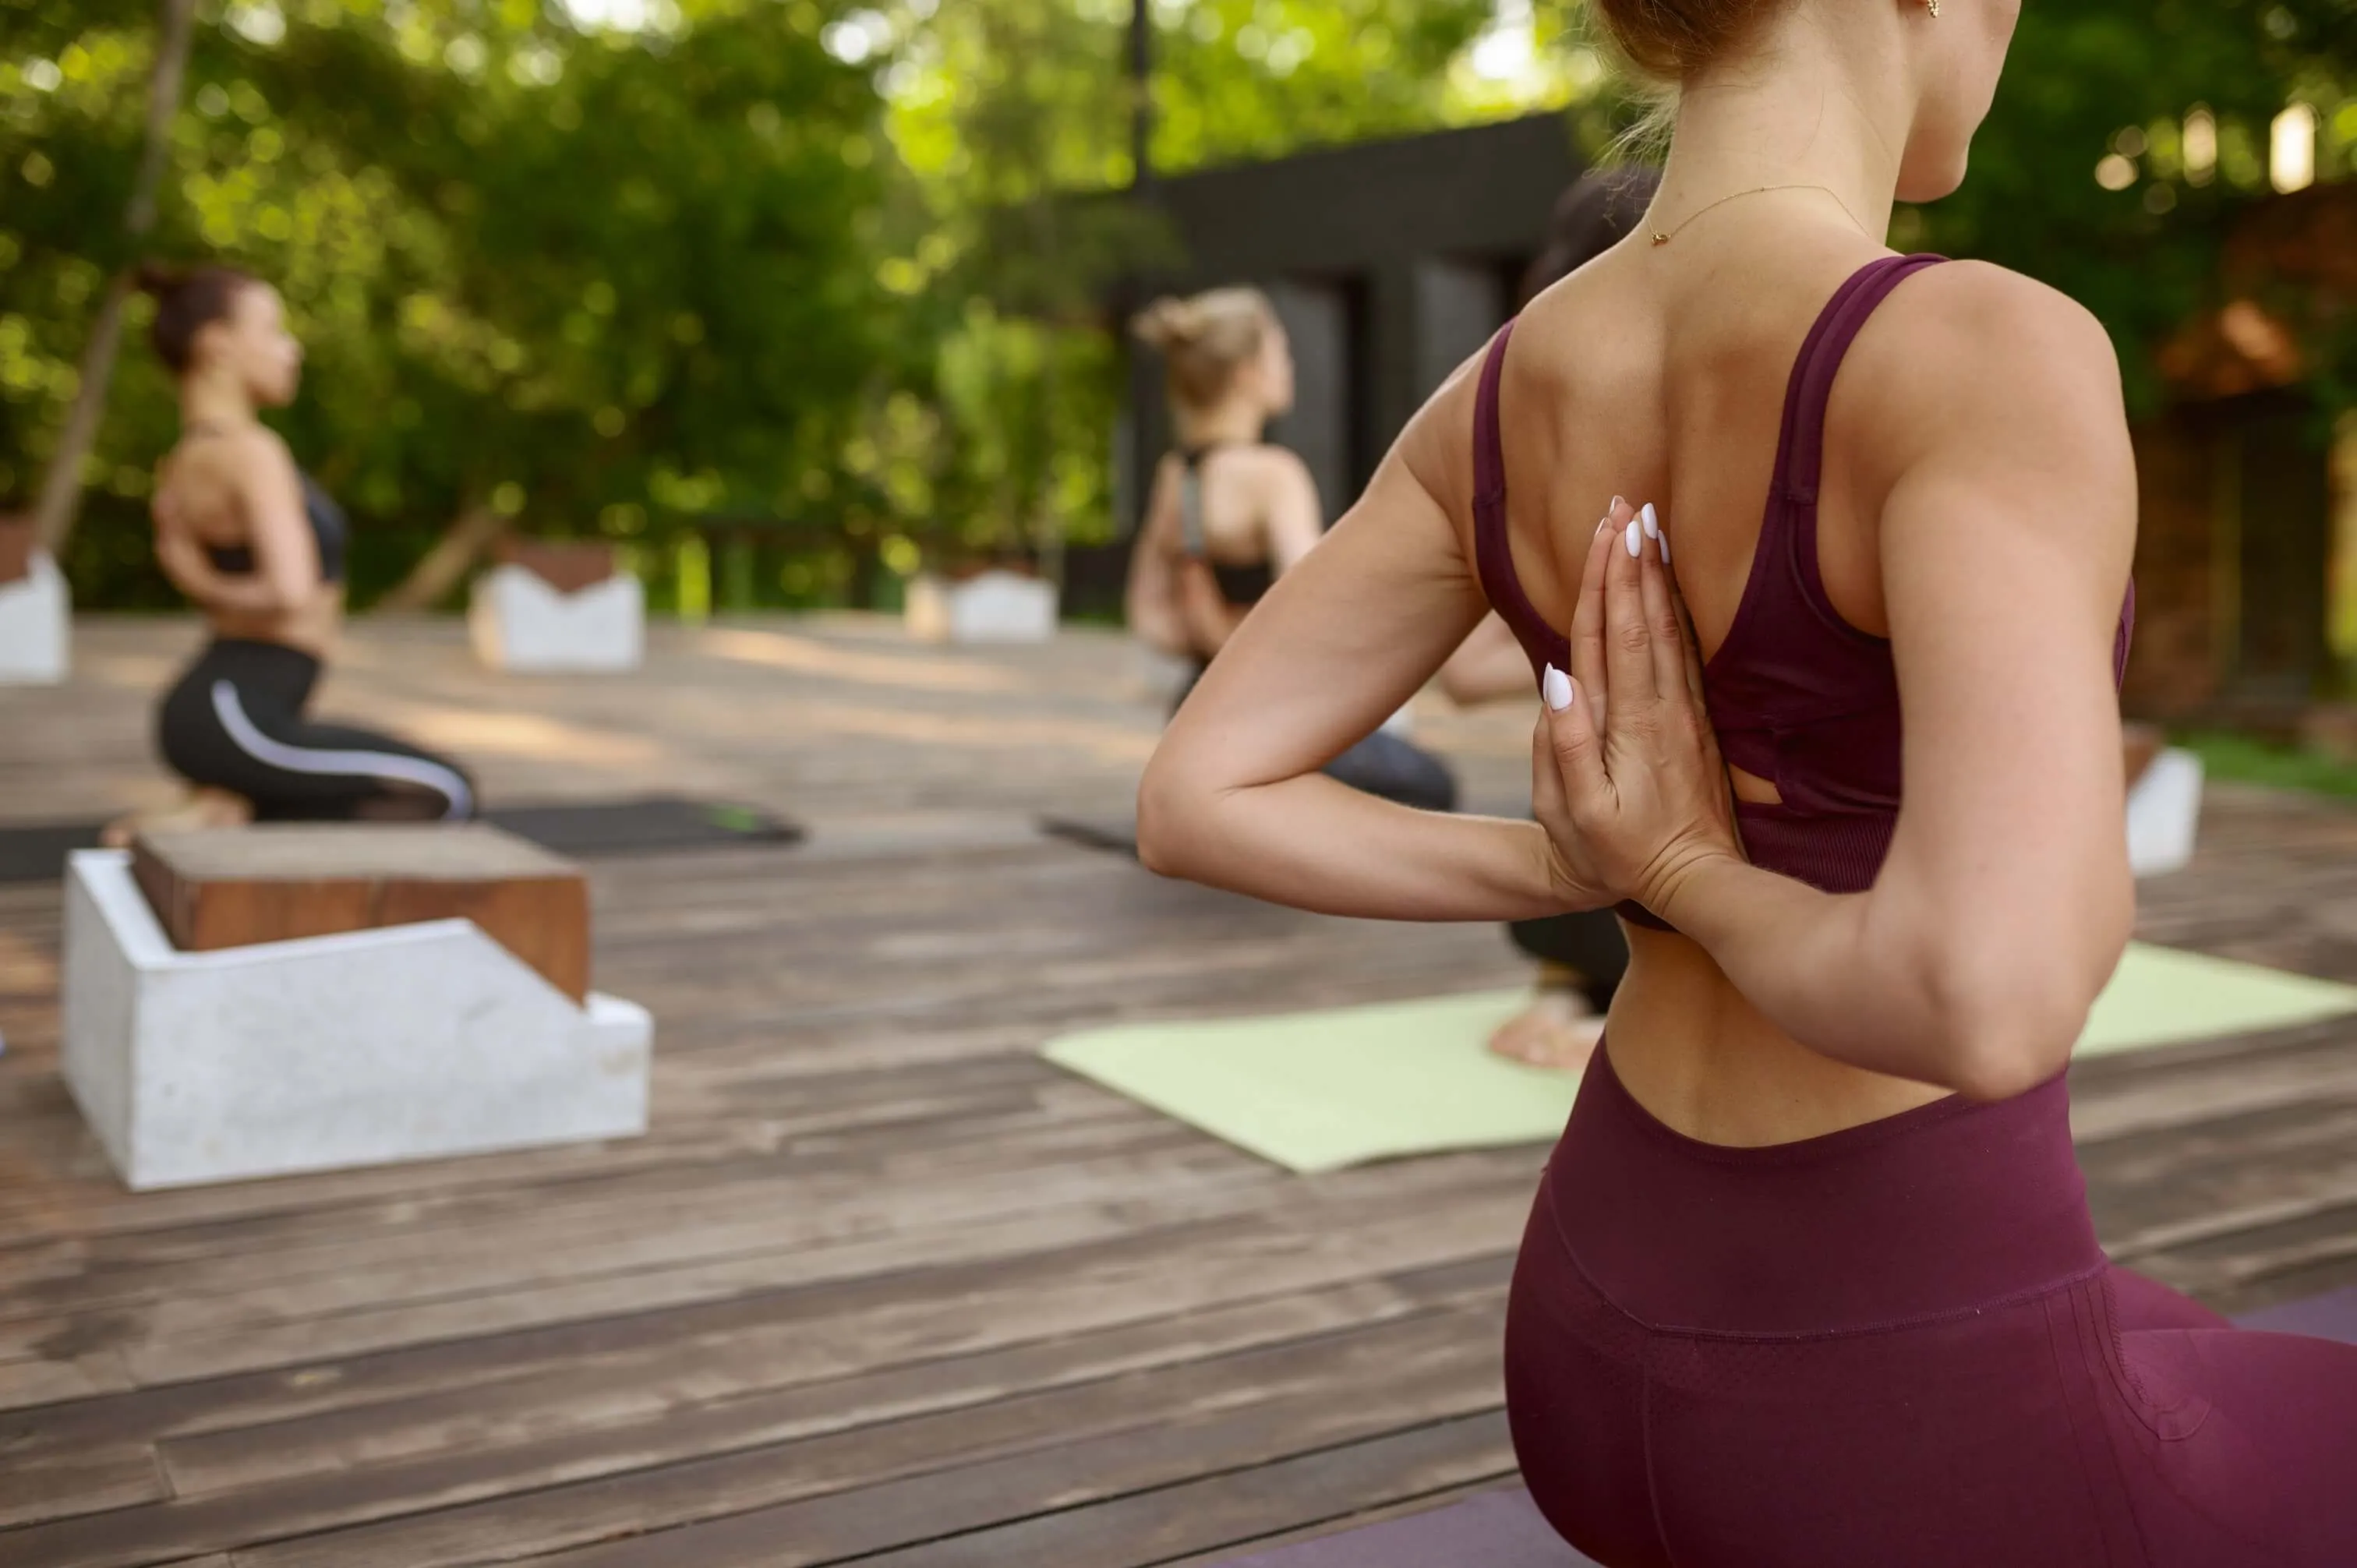
We've opened up the chest and shoulders quite a bit, so let's try Namaskara behind our backs. Start by taking your fingertips towards each other behind your back. Arch your back slightly and push your palms upward, joining them between your shoulder blades. Your elbows should be in line with your palms and your palms and fingers should be together. Roll your shoulders back and down and keep your torso straight and your eyes forward. Hold for a few breaths.
Now it's time for a counterpose. Take your right arm across your chest, holding your left shoulder with your right hand. Take your left arm across your chest to hold your right shoulder with your left hand. It's sort of like you're giving yourself a little hug. Keep your elbows lifted away from your chest and moving your hands towards one another. See if your arms are long enough to let your hands meet. Hold this pose, stretching your upper back, for several breaths.
Grab your bolster, placing it horizontally across your mat. We're going to take child's pose with our elbows on the bolster and lowering your chest and head toward the floor. If you're having trouble relaxing into the pose, widen your knees so your torso can fall between them. Stay in child's pose for several breaths.

Our next pose will be a heart opener. Move your bolster so it's in line with your mat. Sit with the bolster at the base of your hips and roll yourself back onto the bolster. Let your shoulders roll back and down. Your head and neck should also be supported on your bolster. If they aren't, add more pillows to keep your head and neck in line with your spine. Let your shoulders drop to either side of the bolster and breathe. Stay in this position for several breaths before rolling to one side and bringing yourself up to a sitting posture.

Rub your palms together to generate some heat and place your palms over your eyes. Gently blink your eyes open.
Thank you for your interest in learning more about Iyengar Yoga! To get the best benefit from your practice, please sign up for a free two-week trial of myYogaTeacher to participate in the complete Iyengar Yoga class or one of the other classes we offer each day. With myYogaTeacher, you get access to more than 35 live online yoga classes each day with Indian instructors who can offer you feedback on your form, answer your questions, and help you deepen your yoga practice.

Receive personalized guidance tailored to your unique fitness goals, live with a dedicated coach—no credit card required.

Discover the third eye chakra (Ajna) meaning, opening, and balancing practices with authentic Indian yoga teachers. Learn symbols, poses, mudras & affirmations.
%20(6).jpg)
Discover how yoga improves posture with 12 expert-backed poses. Fix forward head, rounded shoulders & back pain. Find beginner modifications & routines.
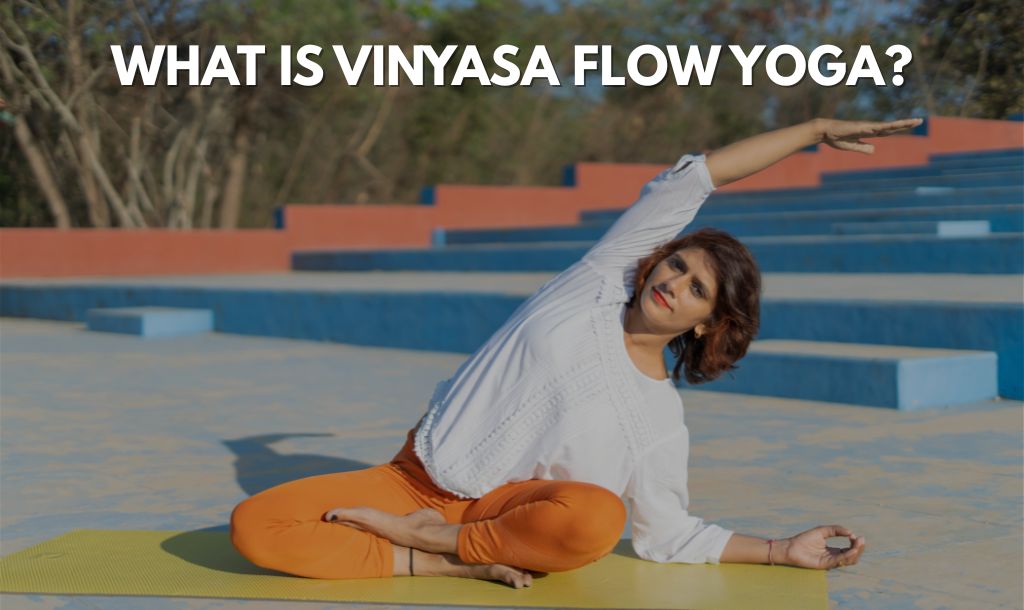
In this complete guide on Vinyasa flow yoga, learn its benefits, different types, and various flow sequences. Start today!


© Copyright 2025 MyYogaTeacher Inc