
If you experience acid reflux on a regular basis, then you’re already familiar with how it typically unfolds. It often starts with a burning sensation in your chest and the repeated urge to burp and let go of accumulated gas. There are lots of reasons why acid reflux occurs, including a number of lifestyle factors like poor diet and emotional stress. Thankfully, yoga can help manage symptoms and reduce episodes if they are stress-related.
One of the ways that yoga helps reduce acid reflux is by reducing stress and anxiety. These are the common culprits for acid reflux, because they cause your body to engage in a cascade of fight/flight/freeze responses that includes increased production of stomach acid. By reducing your stress and anxiety, you can help your body avoid switching on that fight/flight/freeze response.
Another way that yoga can reduce acid reflux is through improving your posture and alignment. Poor posture can contribute to chronic acid reflux by placing too much pressure on your stomach and esophagus. Yoga postures that correct your alignment — like Downward Facing Dog and Standing Forward Fold — help relieve this pressure and prevent the onset of acid reflux. It’s important to note that in order to truly improve your posture, you need to practice these poses regularly and for the long term – over time they can help reduce your risk of developing acid reflux in the first place.
Yoga can also help regulate your digestive system, which is another factor that contributes to acidity. When food gets stuck in your digestive tract, it can cause gas and bloating, slowing your entire digestive system down, which eventually manifests in your stomach with an acidic reaction. By stimulating your digestive system, you can help your body move and process food smoothly through your digestive tract without gas, bloating, or acidity.
One of the most important ways yoga can help prevent acid reflux is by strengthening your diaphragm, which is the muscle that prevents acid from moving up into your esophagus. When the diaphragm is weak or tense, it can actually allow acid reflux to rise up from your stomach and push its way into your esophagus, which is what causes that uncomfortable burning sensation in your chest. Yoga postures that promote diaphragmatic breathing, such as Seated Forward Fold and Corpse pose can help strengthen this muscle and prevent acid reflux.
[inline-CTA-1]
In order to get the most benefit from practicing yoga for acid reflux, it’s recommended that you develop a regular routine that involves performing yoga at least 3-4 times per week for 6-9 months. This isn’t a quick fix, but with a long term commitment you can reduce the onset of acid reflux and improve your overall quality of life.
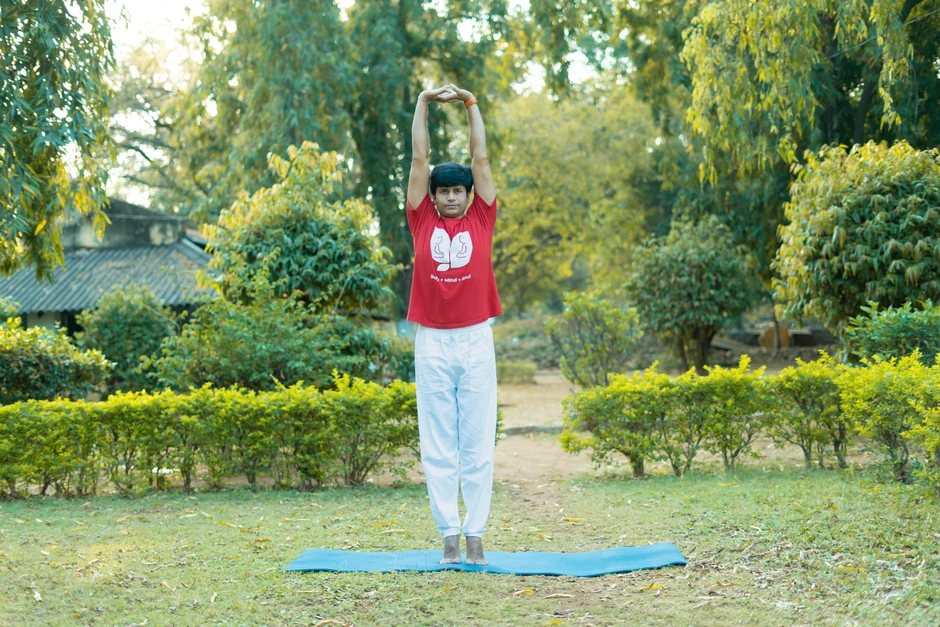
The poses below are basic, primary yoga poses you can practice in your very own home:


[GC]


Receive personalized guidance tailored to your unique fitness goals, live with a dedicated coach—no credit card required.
%20(7).jpg)
Discover how yoga improves gut health through the gut-brain connection. Learn 8 poses to balance microbiomes, reduce inflammation, and heal your digestive system.

Struggling with constipation? Discover 10 expert-recommended yoga poses to stimulate bowel movements, support digestion, and help you poop naturally.

Yoga improves blood circulation by stimulating blood flow, increasing oxygen, regulating your digestive system, and reducing inflammation in your body.


© Copyright 2025 MyYogaTeacher Inc