Feeling a bit backed up? Constipation is a common problem that nearly everyone experiences in their lives. It can involve unpleasant symptoms, like infrequent bowel movements, difficulty passing stool, abdominal pain, bloating, and discomfort. Constipation can be caused by a variety of factors, like poor diet, dehydration, medication, inflammation, stress, and other health factors. It can have a significant impact on your quality of life because it causes so much discomfort, anxiety, and in some cases social isolation.
Yoga can help relieve constipation in a number of ways. Yoga helps to improve digestion by stimulating the internal organs that are responsible for digestion and elimination. Yoga postures involve stretching, compression, and twisting of the abdominal area, which massages your digestive system and increases blood flow to the area. This increased circulation helps to alleviate constipation by promoting healthy bowel movements and reducing inflammation and bloating.
Yoga also helps to reduce stress, which is a common trigger for constipation. Stress activates the sympathetic nervous system, which slows down digestion and leads to constipation. Yoga helps by activating the parasympathetic nervous system, which is responsible for relaxation and digestion. Along with yoga poses, yogic breathing techniques (pranayama) and meditation work to calm the mind, reduce anxiety, and promote relaxation, which can help resolve constipation.
Yoga is a great tool to use if you’re looking to start implementing a healthy lifestyle, which is essential for maintaining regular bowel movements. Yoga encourages a balanced diet, hydration, and physical activity – all of which are pretty important if you want good digestive health. A diet rich in fiber, fruits, vegetables, and water helps to promote bowel regularity and prevent constipation. Regular exercise (including yoga), helps to improve muscle tone, blood circulation, and bowel movements.
The benefits of yoga for the digestive system go beyond constipation, which is noteworthy if you suffer from chronic digestive issues. Yoga can help to alleviate a range of digestive problems, such as bloating, gas, indigestion, acid reflux, and irritable bowel syndrome (IBS). Yoga helps to reduce inflammation and enhance the immune system, which is crucial for gut health. It also helps to balance your gut microbiome, which is a collection of microorganisms that play a vital role in digestion and immune function.
Yoga can also help to boost the detoxification process in the body, which in turn can provide relief by eliminating waste and toxins from the body. Yoga postures that involve twisting work to massage your internal organs — like your liver, pancreas, and spleen, which are responsible for detoxification.
Chronic constipation can lead to feelings of frustration, embarrassment, and shame. But Yoga can help with those emotions. Yoga also increases mindfulness, compassion, and self-awareness, which in turn help you manage emotional stress.
If you’re experiencing the discomfort of constipation and you’re looking for a natural way to provide quick relief, yoga is possibly the most effective, non-invasive way to get your digestive system functioning normally again. But it’s important to practice with correct alignment and avoid straining in order to prevent injury.
When practicing yoga for constipation, be sure to listen to your body and give yourself a break if you feel any pain or discomfort. If you’re new to yoga and unsure how to practice the poses below, try starting out with a certified yoga instructor. You can take an online class at MyYogaTeacher or book a private session with an experienced teacher who can guide you through the poses.
Ready to get started? Try practicing the poses below for better digestive health and relief from bloating, gas, and constipation.
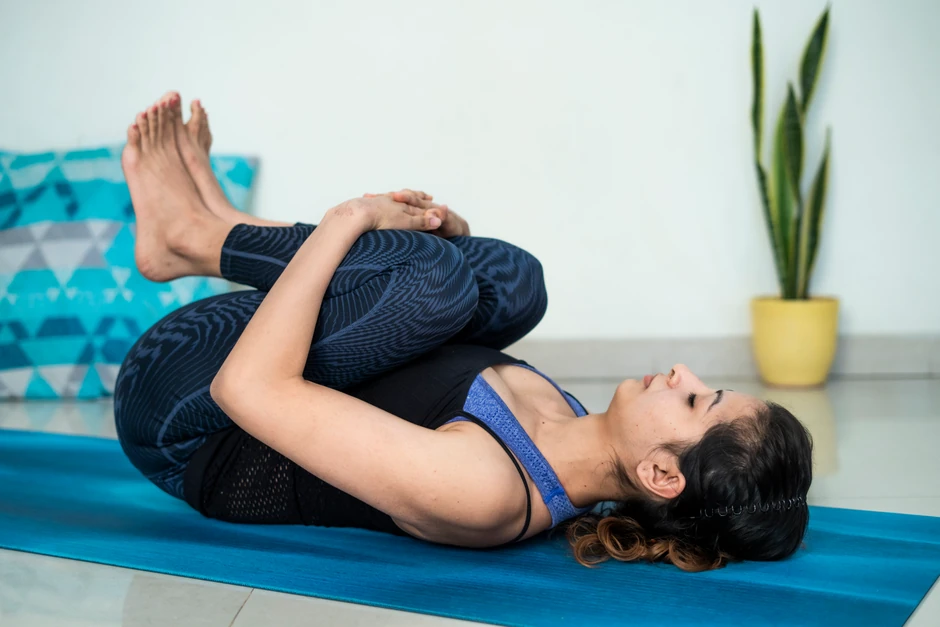
Lie with your back flat on your yoga mat and your arms at your sides. Inhale, and as you exhale, bring your knees to your chest and either holding your knees with your hands, or if you’re able, wrapping your arms around your knees. As you hug your knees to your chest, gently rock your body for soothing, gas-relieving movement.
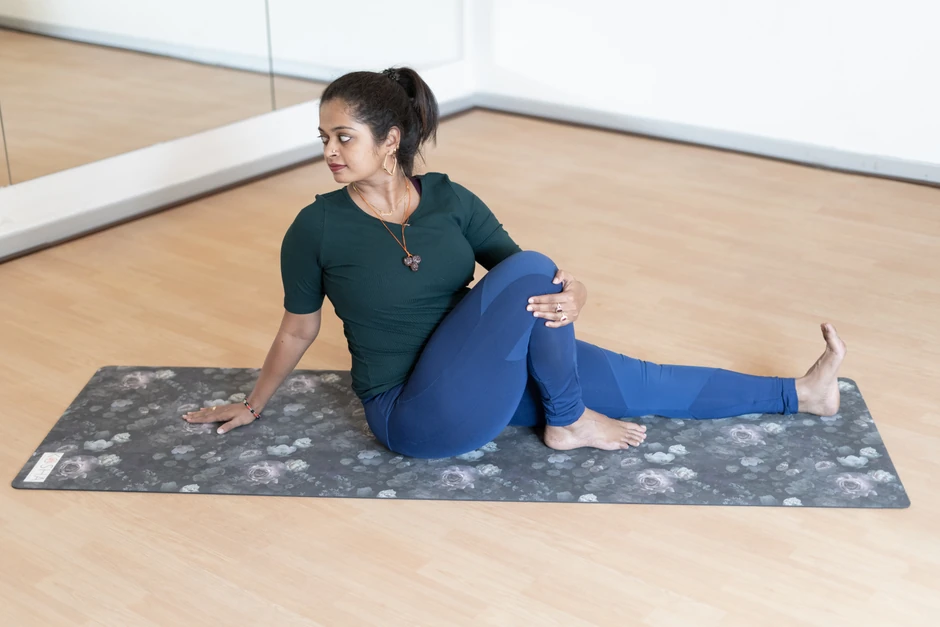
Sitting with your knees bent and your feet tucked in next to your left butt cheek, inhale with your spine straight, lifting your chest. As you exhale, rotate your torso to your right. Position your right hand on the floor just slightly behind you, and rest your left hand on your right knee. On your next breath, rotate a little more as you exhale, turning your head to look over your right shoulder. Hold this pose for 20 to 30 seconds, then repeat on the other side.
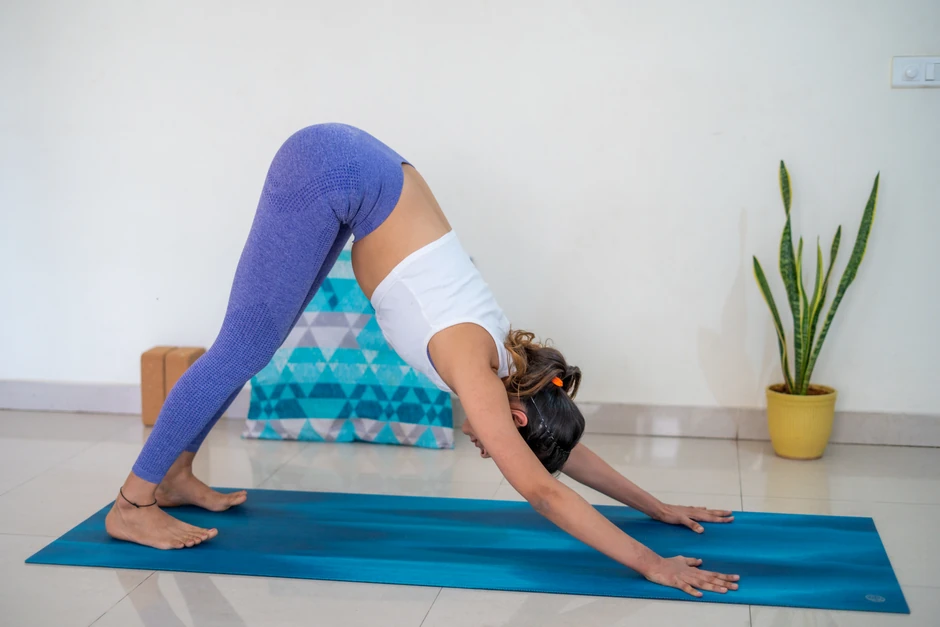
With your hands and knees on the floor, push your hips upward until you are balancing on your hands and feet, and your body resembles an inverted “v” shape. Reach your heels toward the floor, stretching your hamstrings and activating your thighs. Keep your head between your arms, lengthening your side-body as you stretch. Stay here for several breaths.
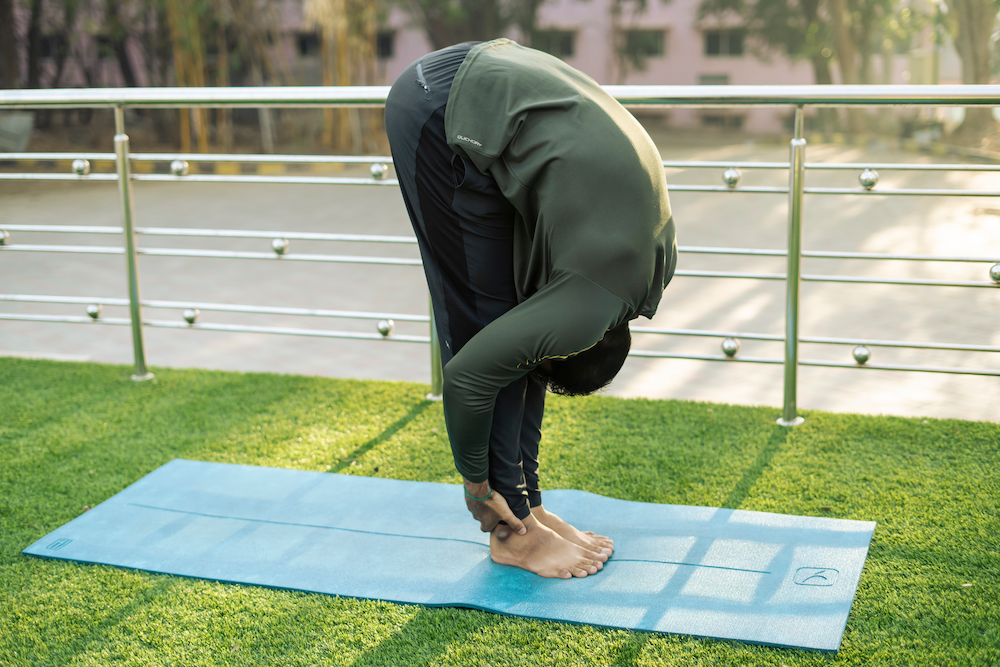
Stand at the front of your mat, feet hip distance apart. Exhale and bend forward from the waist, with your knees slightly bent and touching your hands to the floor in front of your feet. Inhale and exhale, allowing your torso to extend without rounding your back. Lengthen and soften your neck, and let the muscles of your thighs and lower back open and release any built-up tension. Hold the pose for 1-2 minutes.
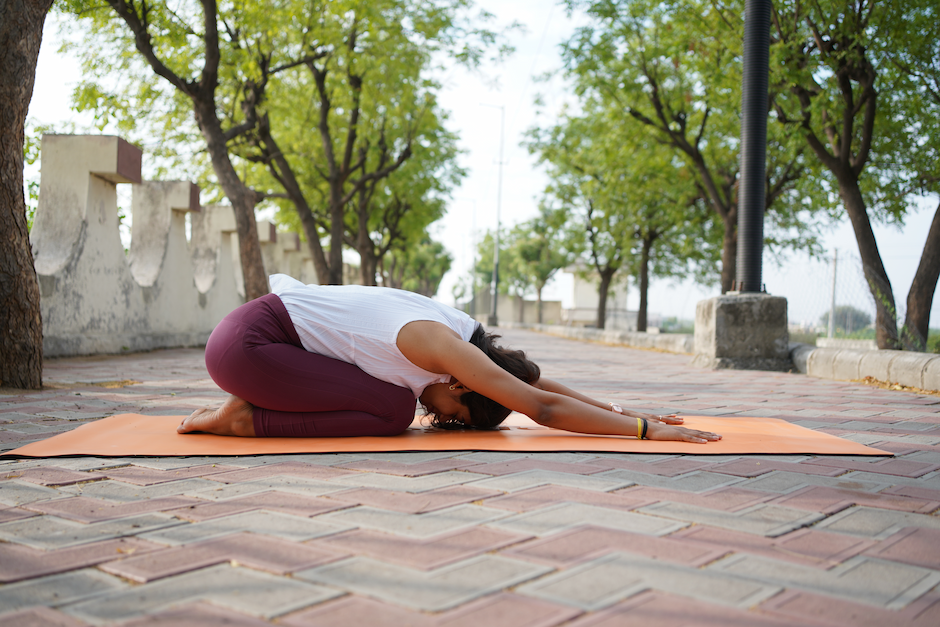
Start on your hands and knees and then lower yourself down so that your backside is resting on your heels, and your big toes are touching each other. Move your hands forward, palms down, so that your forehead is resting on the floor. Allow your spine to lengthen and your neck muscles to fully relax. Breathe deeply and mindfully while staying in this pose for 5-6 minutes.
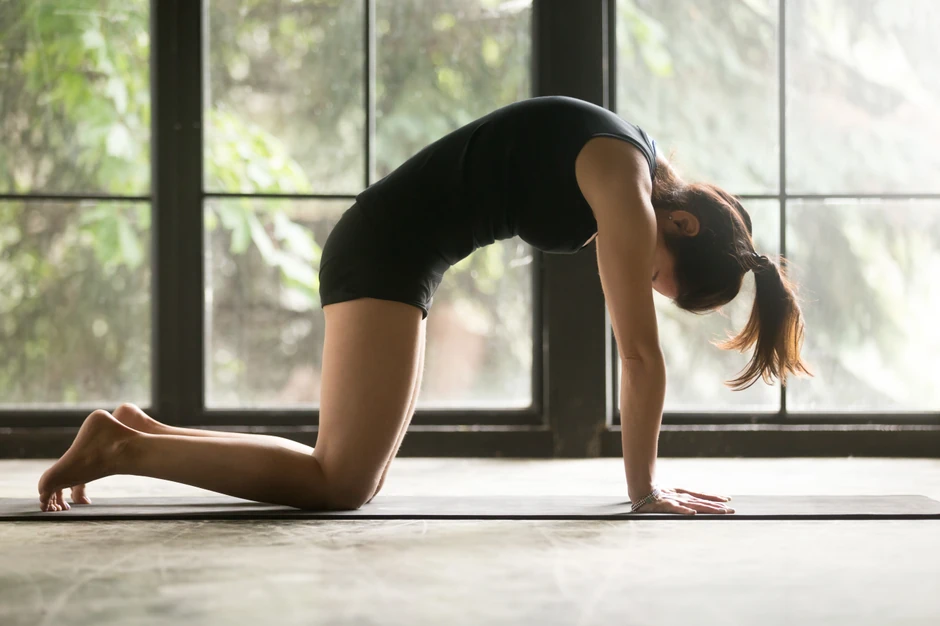
Start with your hands and knees on the floor. Inhale and look up, lifting your chin and gently arching your back. As you exhale, drop your chin and look down toward your naval as you curl your spine forward. Continue this movement 5-10 times.
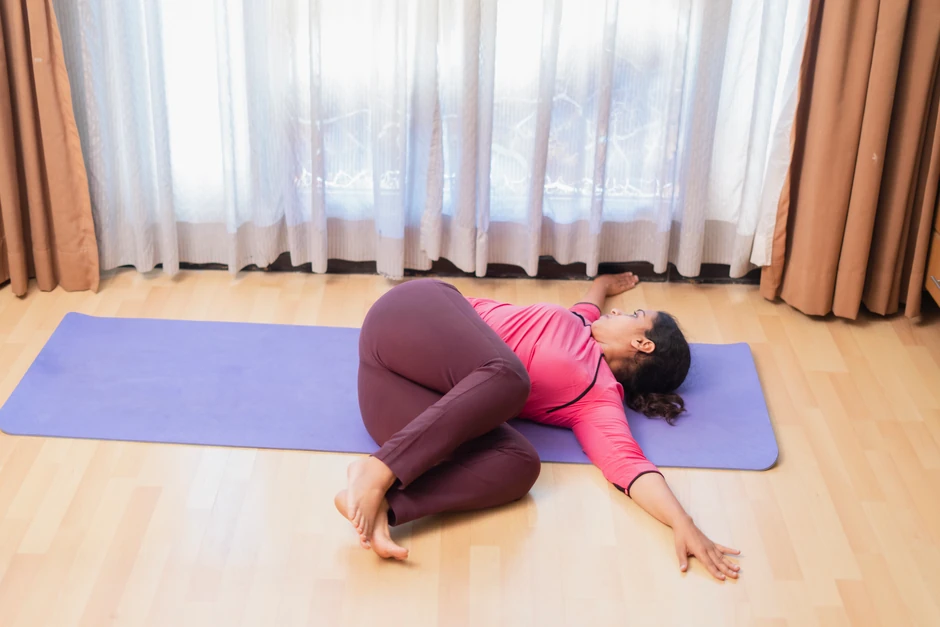
Lie on the floor with your knees bent and bring them to your chest. Slowly and mindfully drop your left side while extending your arms outward in a “t” shape. Hold this pose for about 30 seconds while breathing mindfully. Bring your knees back to your chest, and then repeat on your right side.
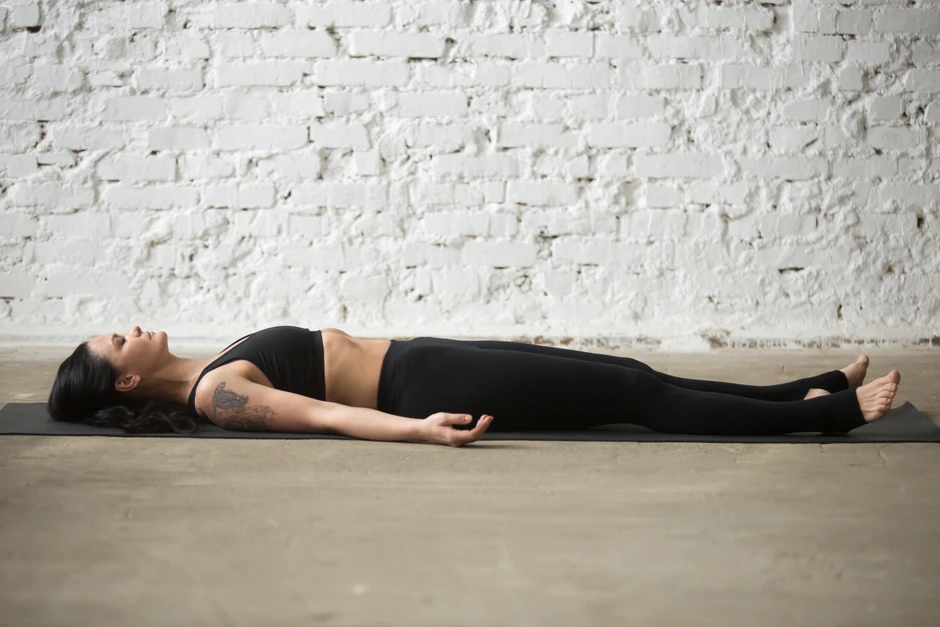
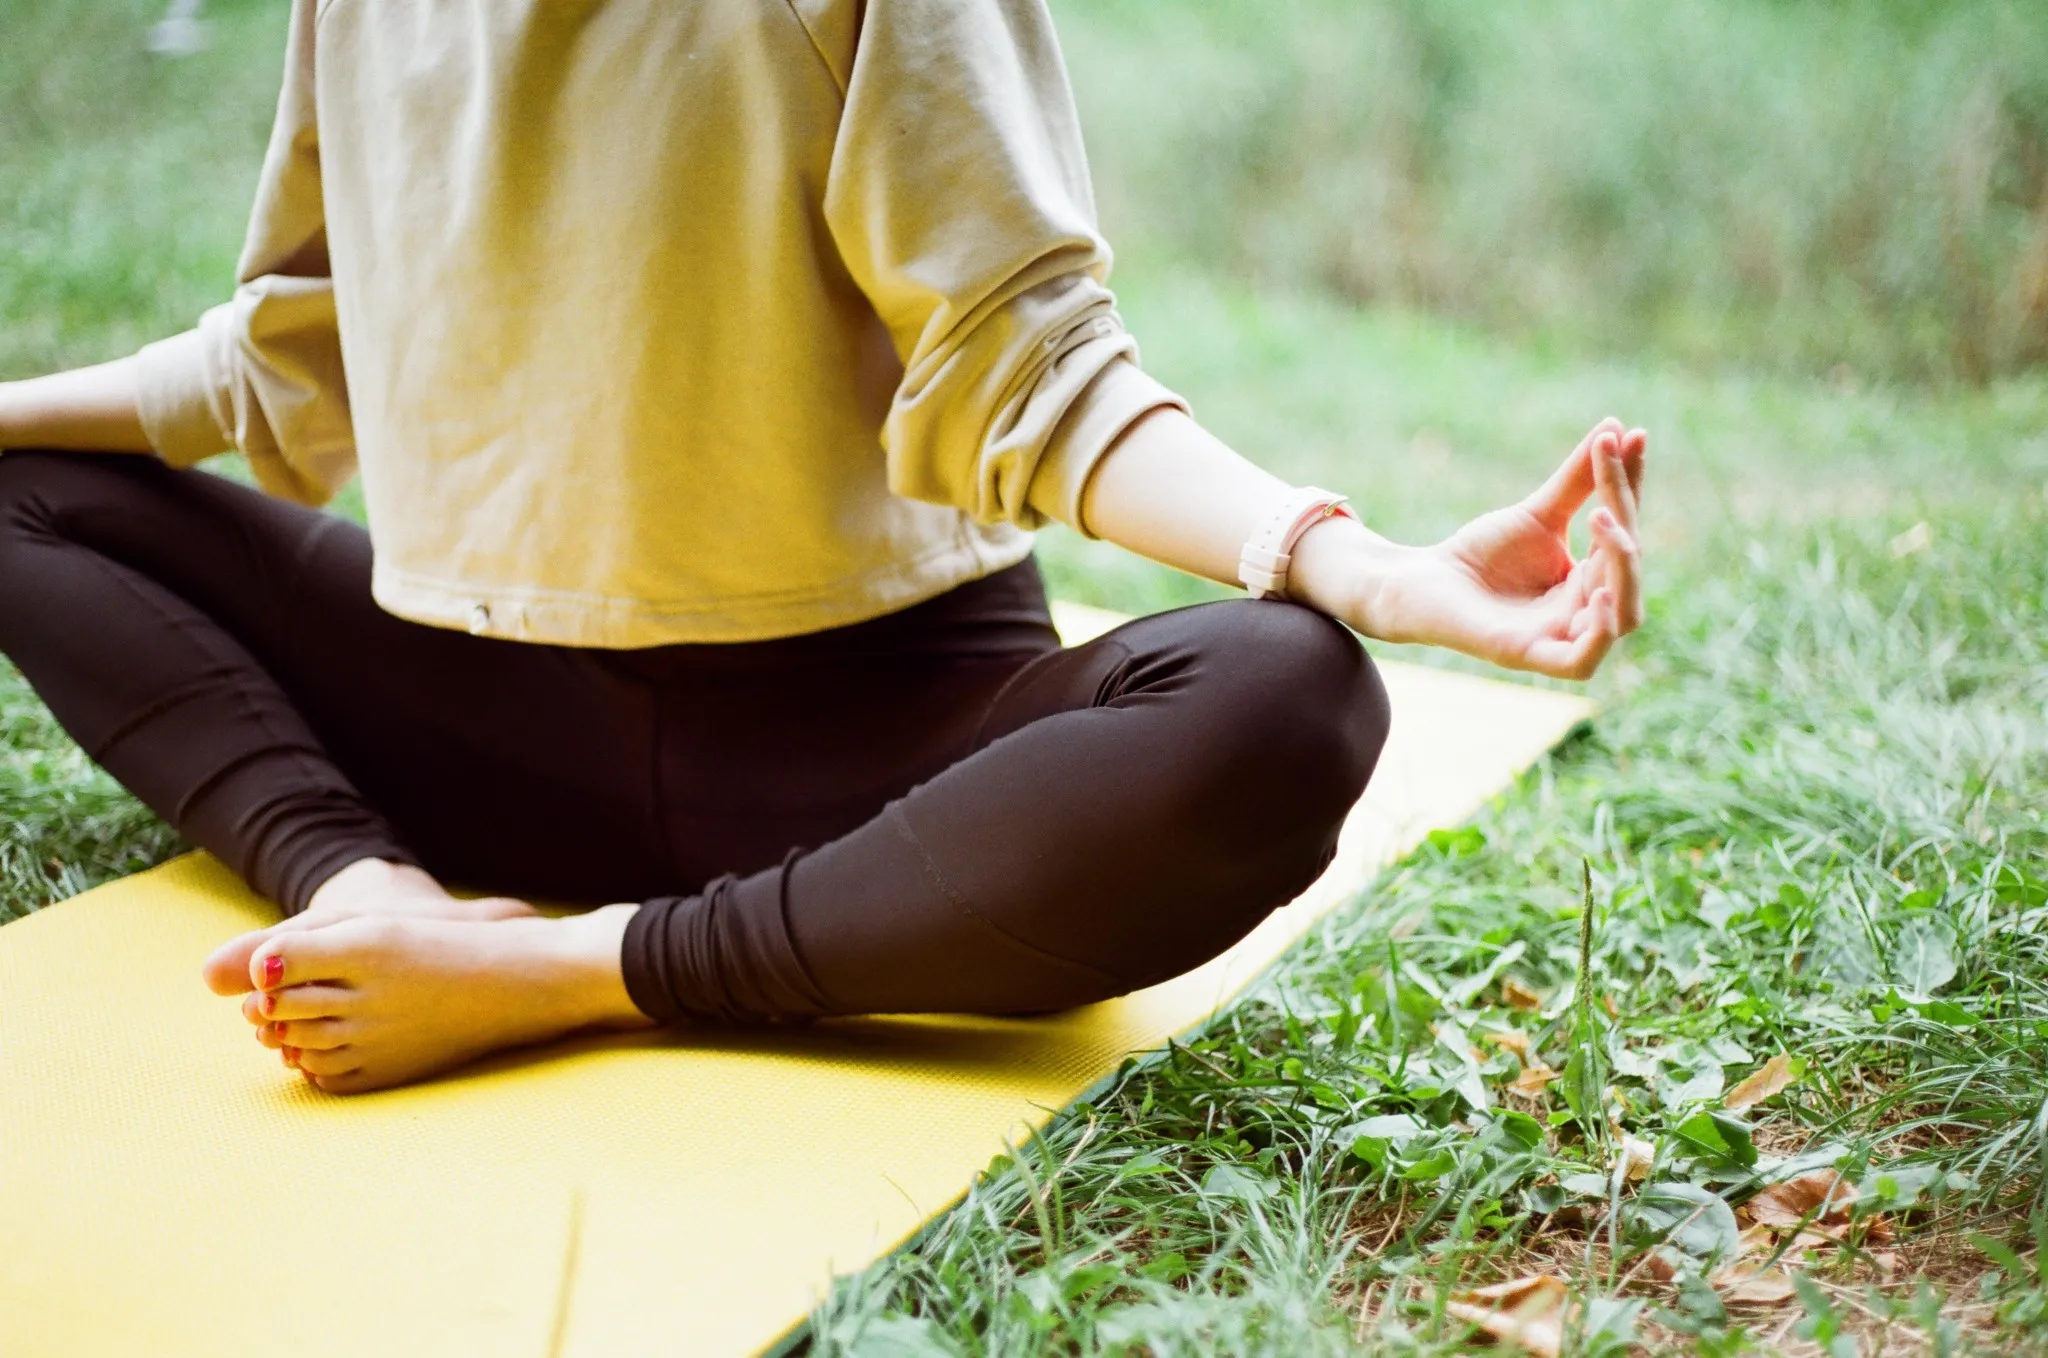
Sit on your yoga mat and lower your body to the floor, relaxing your legs and letting your arms rest on the floor at your sides, palms up. Keep your eyes closed and focus on your breathing. Relax the muscles in your face and neck, and visualize every part of your body letting go of all tension. Hold this pose for 5-7 minutes.

Receive personalized guidance tailored to your unique fitness goals, live with a dedicated coach—no credit card required.


© Copyright 2025 MyYogaTeacher Inc