Your pelvic bowl is a complex structure that holds the rest of your body together. It’s made up of various muscles, ligaments and bones, and when this area is out of alignment the rest of your body is out of alignment, too. And if your pelvic bowl is imbalanced, you may also experience muscle tension, pain, and other types of discomfort throughout your body.
Resolving issues with your pelvic bowl can be tricky. The muscles in this area are difficult to massage, stretch, and strengthen. However, yoga offers a tool with which to heal this area of the body, through poses that stretch and strengthen the muscles in and around your pelvic bowl.
One of the main causes of pelvic pain comes from tension in the surrounding pelvic bowl muscles. Targeted yoga poses help release this tension, providing relief from pain and discomfort. Poses like Pigeon, and Happy Baby can help stretch the muscles in your pelvis, releasing tension and increasing relaxation. Practicing yoga can also help increase blood flow to the pelvic area, which can work to reduce pain and discomfort.
Yoga also increases flexibility in your pelvis and throughout your body. By stretching the muscles and connective tissues that support your pelvic bowl, yoga can reduce discomfort and stiffness in this area and associated joints, bringing balance back to this integral area. Poses like Fixed Angle and Cow Face can help increase your pelvic flexibility.
It’s important to not only stretch the muscles in and around your pelvic bowl, but to strengthen them, too. Strong pelvic bowl muscles help support your major organs in this area, like your bladder and reproductive organs. And if you’ve experienced major surgery in your pelvis, strengthening these muscles can help prevent organ prolapse. Mountain pose, Chair, and Bridge pose are effective yoga poses for building strength in your pelvic bowl and pelvic floor. Increasing your core strength can also help support your pelvic muscles.
Before getting started on yoga poses for your pelvic bowl, it’s recommended that you keep in mind the following tips and precautions:
To balance and align your pelvic bowl, practice the following poses on a regular basis:
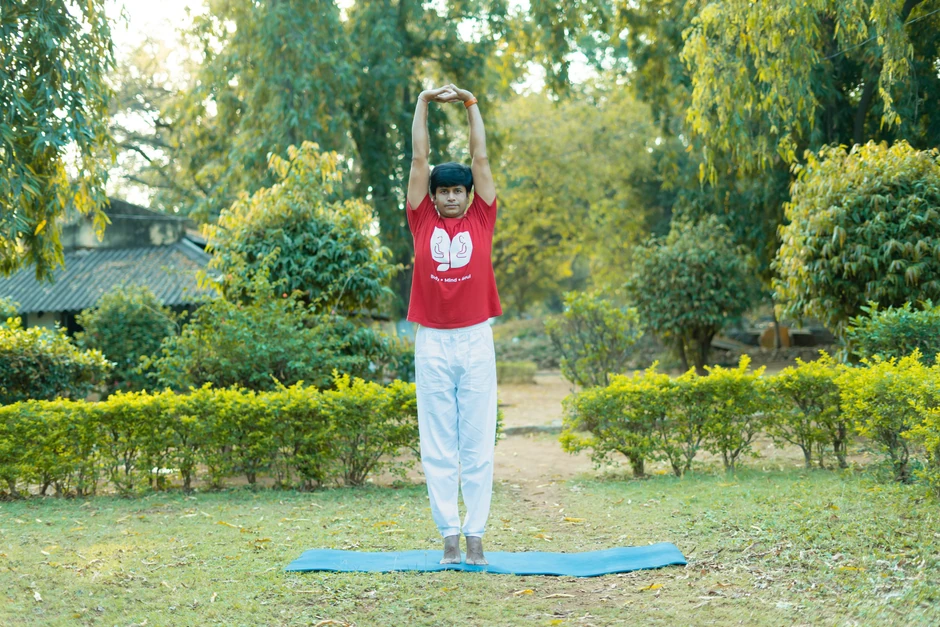
Start by standing at the front of your mat. Keep your feet hip distance apart, and you can rest your arms at your sides or bring your hands together in prayer formation. Inhale and feel your chest opening and your collar bones widening as you focus on balancing your weight proportionally on both of your feet. Gaze straight forward and maintain this pose for 1-2 minutes.
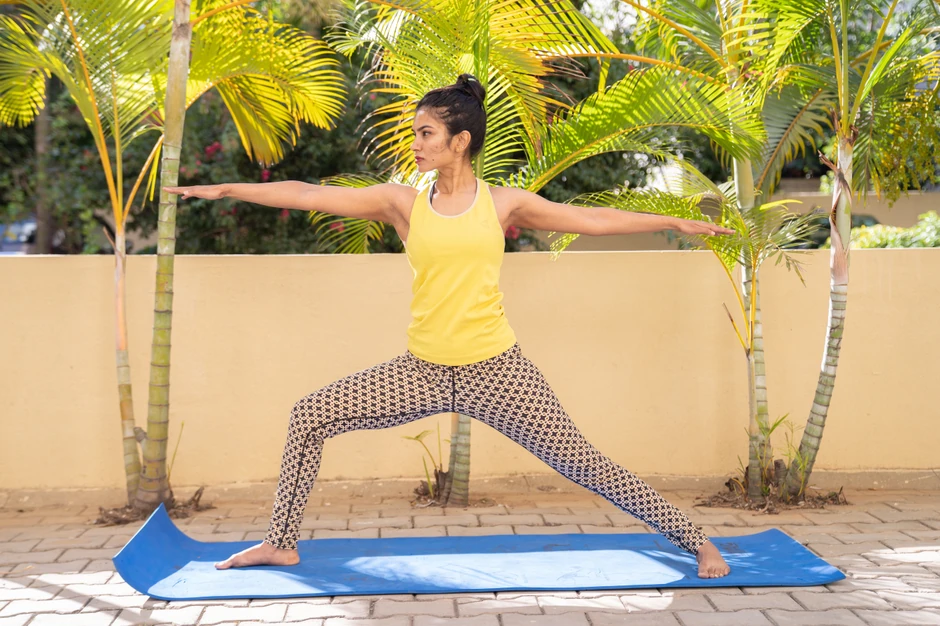
Move to the back portion of your mat and step your right foot forward. Your right toes should be pointed forward and your left (back) foot should be kept parallel with your mat. Bend your right knee at 90 degrees, taking care not to overextend. Your right knee should not move forward past your toes. With your hips evenly squared, stretch your arms out to both sides, so that your right arm is extended out in front of you and your left arm behind you. Open your chest and focus on activating your legs so that you are grounded into your mat. Hold this pose for 5-6 breaths and repeat on the other side.
_optimized.webp)
Just like with Warrior II, step your right foot forward for Triangle pose, keeping your left (back) foot parallel with your mat. Inhale and stretch out both your arms the same as in Warrior II, but keep your right leg straight with a slight, soft bend in your knee. As you exhale, hinge at your hip and bend forward, placing your right fingertips on the floor, or you can place your hand on the block positioned next to your right foot. Turn your upper body and reach your left hand toward the ceiling, and either turn your head to gaze up at your hand, or keep your eyes focused straight ahead. Hold for 3-5 breaths and repeat on the other side.
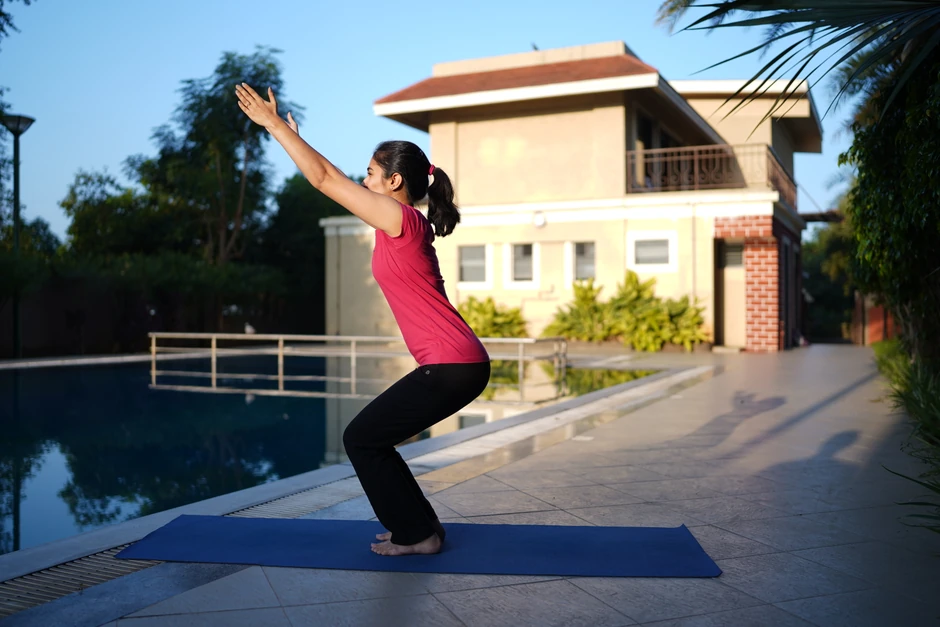
Stand in Mountain pose at the top of your mat, with your hands at your sides and feet hip distance apart. As you inhale, raise your hands over your head, with your arms parallel with your ears. As you exhale, hinge slightly at your waist, bend your knees and lower your torso forward as if you were about to sit down in a chair. Keep your core engaged and your spine straight while you hold this posture for several breaths.
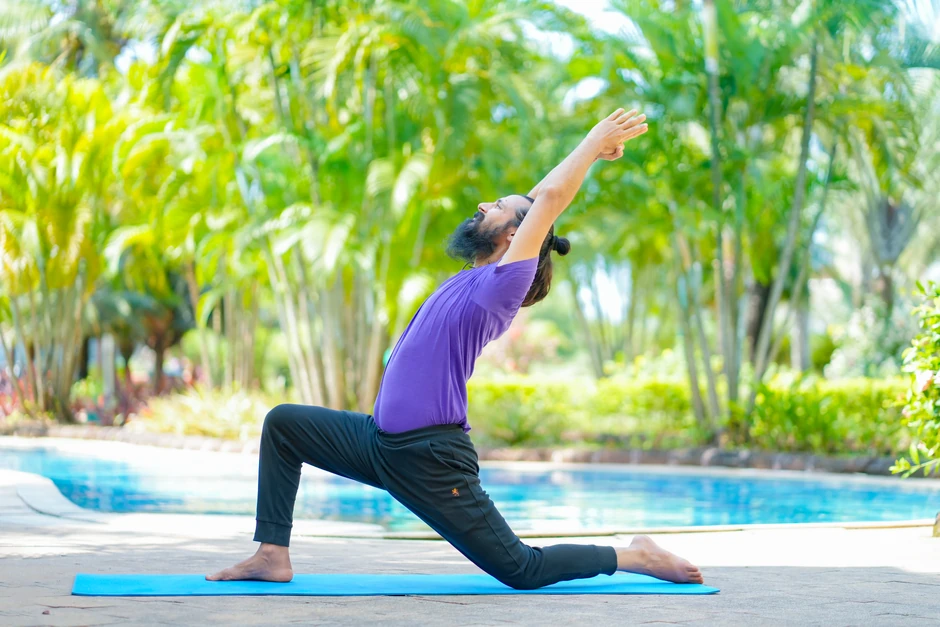
From your position in Downward Dog, you can easily transition to Low Lunge by bringing your left foot forward and bending your left leg at the knee. With your right leg behind you, gently kneel on your right knee. Inhale as you reach your arms up over your head, parallel with your ears. Expand your chest, lengthen your spine, keep your chin level and your gaze focused forward in front of you.
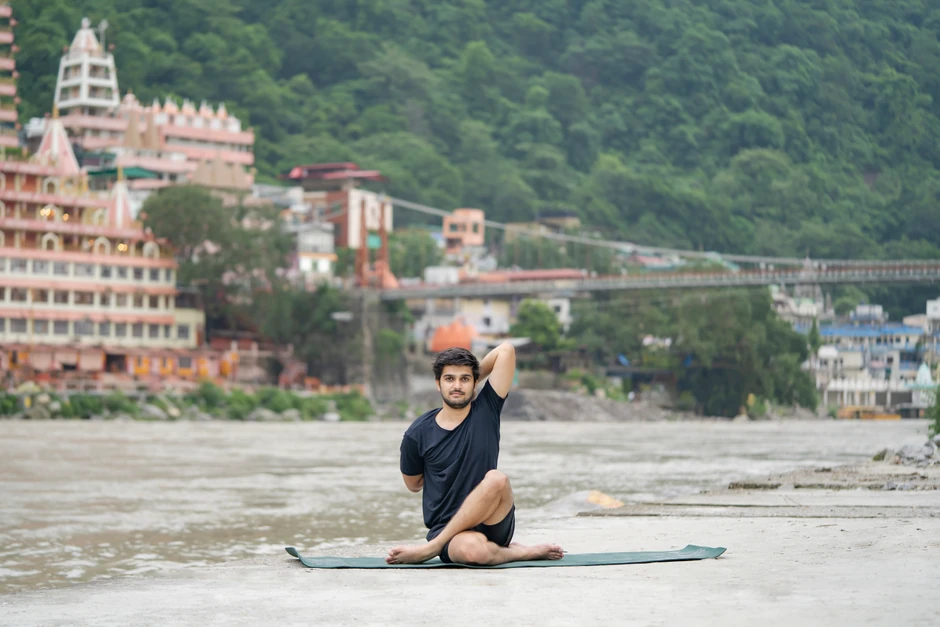
In the center of your yoga mat, sit upright with your head, neck, and spine balanced evenly, and your right leg over your left thigh so that your knees are stacked on top of one another. Inhale and stretch your right arm up, bending it from your elbow, and bringing your right hand behind your back. Bend your left arm from your elbow and extend it behind your back from your left side. Exhale, and on your next inhale bring both hands together. If you cannot clasp your hands, use a strap for assistance. Stay here for 3-4 breaths, and release on an exhale. Repeat on the other side.
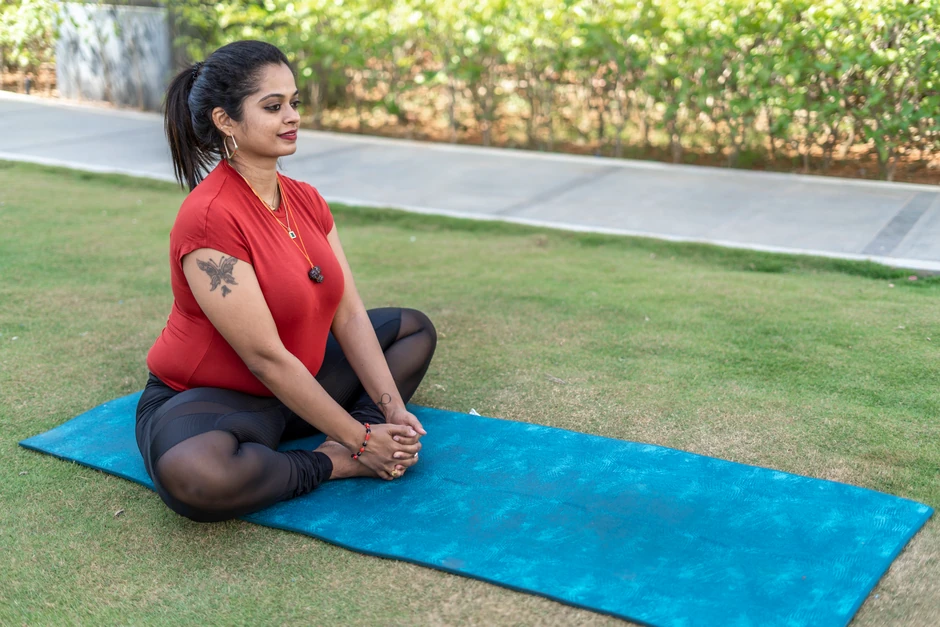
Sit on your yoga mat with your knees bent and the soles of your feet pressed against each other. With your spine straight, press your hands behind you and gently open up your chest and tuck in your abdomen. Hold the pose for 1-2 minutes.
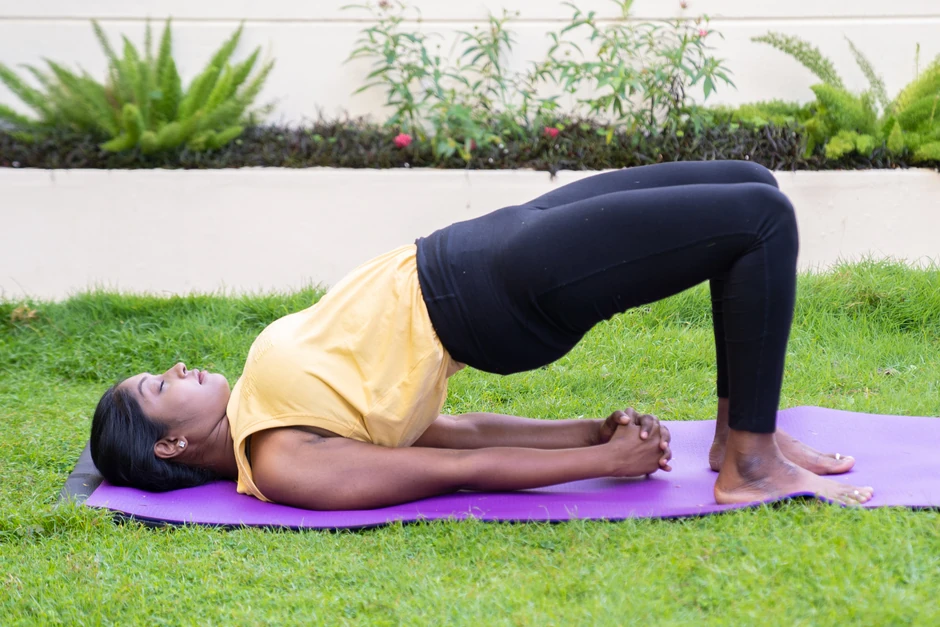
Start by lying on your back with your knees bent. On your next exhale, tuck your chin and lift your hips, being careful not to allow your knees to splay outward. Interlace your fingers on the floor underneath you and lift your hips higher, while staying in the pose for 5-10 breaths.

Receive personalized guidance tailored to your unique fitness goals, live with a dedicated coach—no credit card required.


© Copyright 2025 MyYogaTeacher Inc