

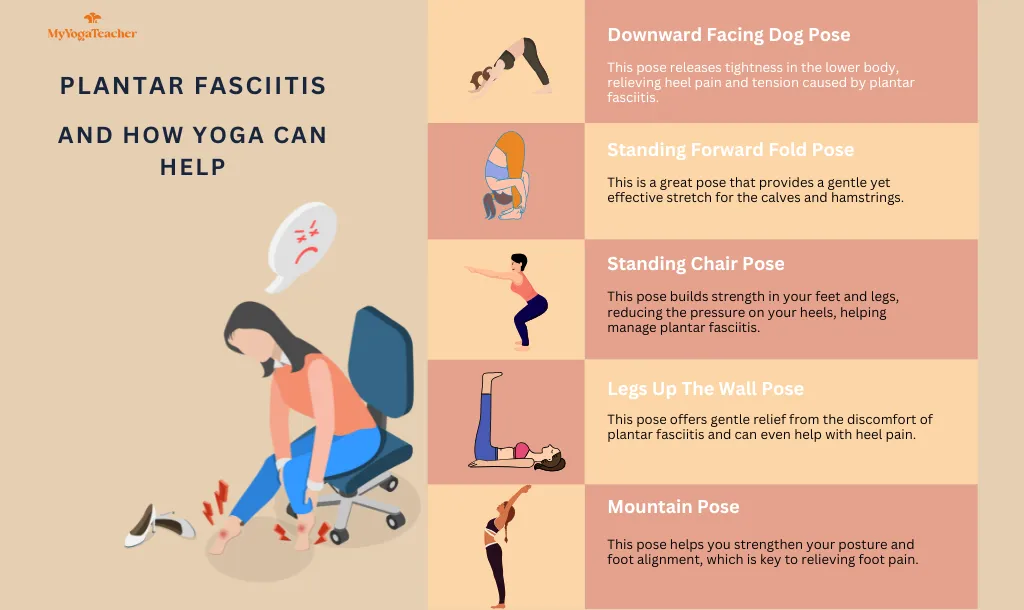
Ever stepped out of bed and felt a sharp, stabbing pain at the bottom of your foot? That pins-and-needles sensation in your heel is a common symptom of plantar fasciitis.
Whether you’re a dancer, an athlete, or someone who spends long hours on their feet, plantar fasciitis can appear unexpectedly and make simple activities like walking or standing feel unbearable.
If you’re wondering, “Is yoga good for plantar fasciitis?”—the answer is yes. Research shows that targeted yoga stretches and foot-strengthening exercises can ease heel pain, improve mobility, and support long-term recovery. By adding specific yoga poses to your routine, you can naturally reduce discomfort and allow your feet to heal over time.
Plantar fasciitis is caused by inflammation of the tissue called the plantar fascia. Think of the plantar fascia as a thick elastic band, running from your heel to your toes, providing arch support to your foot.
When this tissue (the elastic band) is overstretched, it can cause persistent heel pain and stiffness. This is often felt the most when you first start moving in the morning or right after a physical activity.
Recovery from plantar fasciitis often includes a combination of rest, anti-inflammatory medications, and sometimes physical therapy or surgery. While most people heal within a year, for those who love staying active, the recovery time can feel long.
Fortunately, incorporating specific yoga poses for plantar fasciitis into your routine can help alleviate pain, improve flexibility, and strengthen the muscles that provide arch support, speeding up the healing process.
Yoga for plantar fasciitis can improve your flexibility, provide foot pain relief, and promote healing.
[inline-CTA-1]
Here are some poses you can do to feel better by stretching your feet and calves, releasing tension, and helping your body recover:
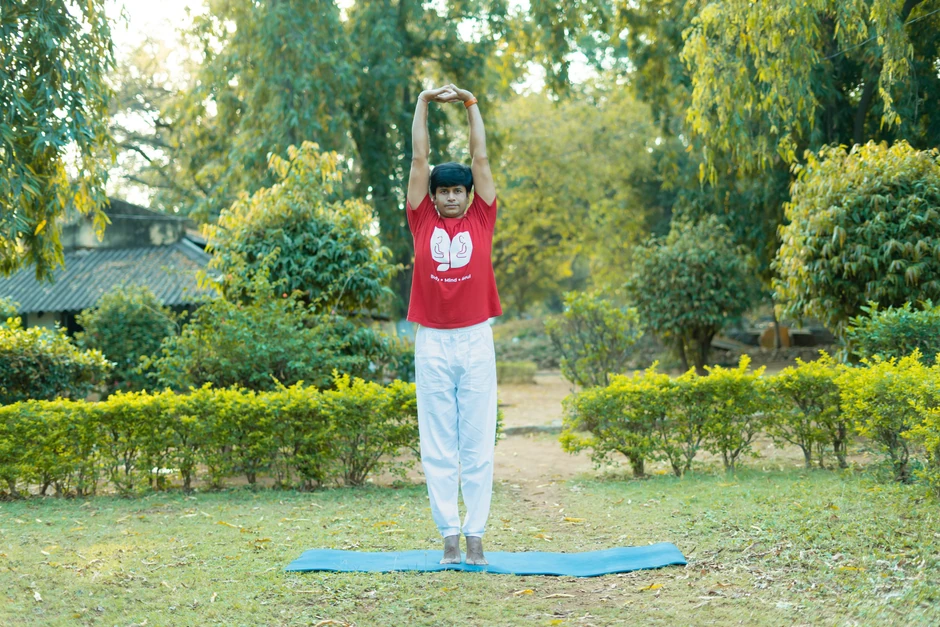
Mountain Pose may look simple, but it’s essential for realigning your knees and feet, which is crucial when dealing with plantar fasciitis.
To learn more about the realignment of the body, check out this group class on finding balance and alignment.
Benefit: This pose helps you strengthen your posture and foot alignment, which is key to relieving foot pain.

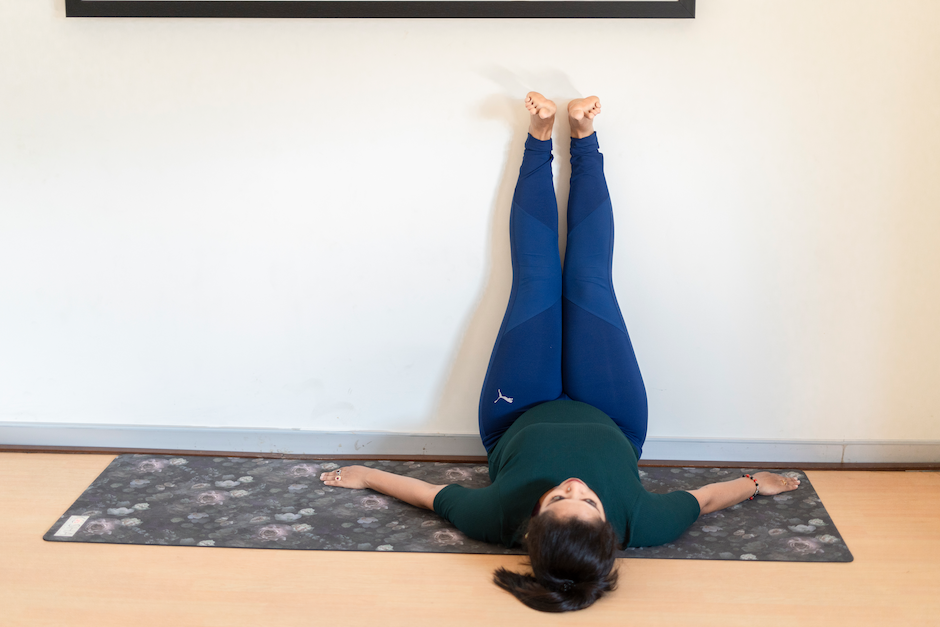
Downward Facing Dog works wonders for stretching your heels, calves, and hamstrings.
Benefit: This pose releases tightness in the lower body, relieving heel pain and tension caused by plantar fasciitis.
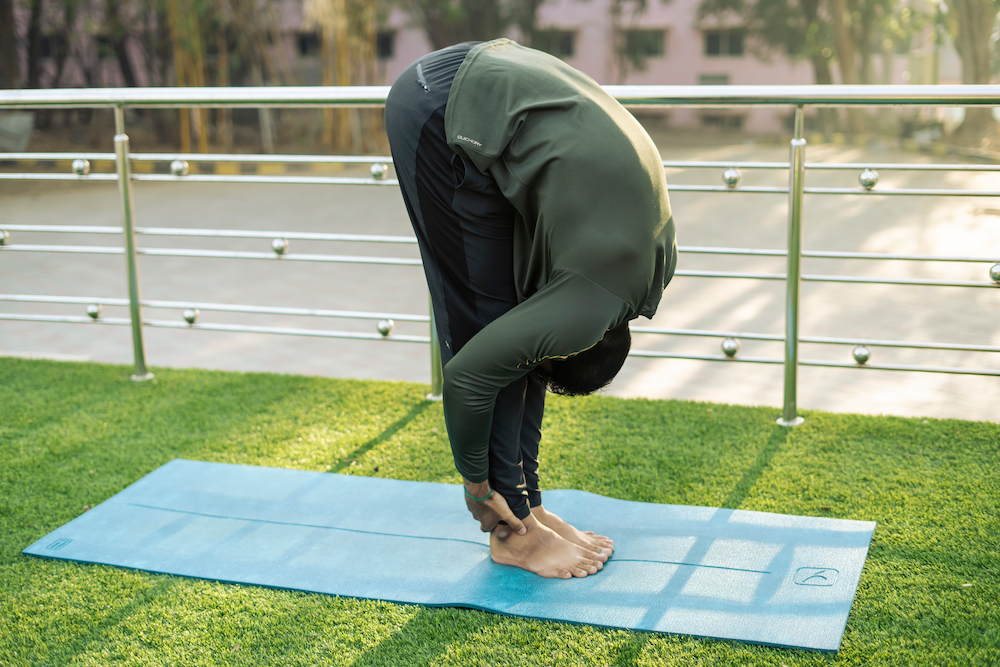
This pose releases tension by deeply stretching your calves, tight hamstrings, and the muscles around your ankles and heels.
Benefit: This is a great pose that provides a gentle yet effective stretch.
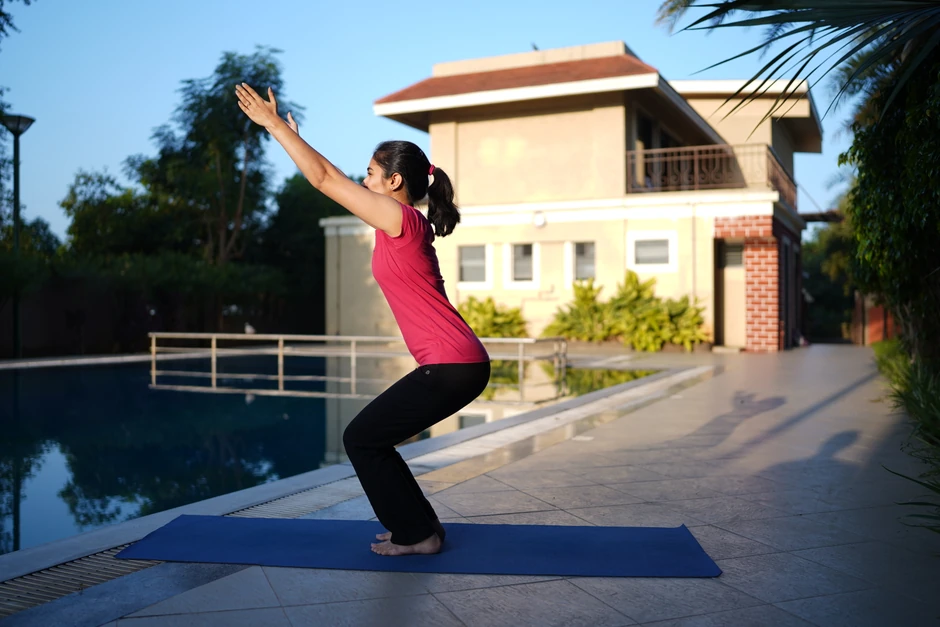
Chair Pose strengthens the muscles in your legs, feet, and ankles, helping to support the arches and reduce strain in the plantar fascia.
Benefit: Chair Pose helps build strength in your feet and legs, which can alleviate pressure on your heels and aid in managing plantar fasciitis.
This relaxing posture not only stretches your legs and feet but also helps reduce inflammation, which is essential for healing the fascia tissue affected by plantar fasciitis.
Benefit: This pose offers gentle relief from the discomfort of plantar fasciitis and can even help with heel pain.
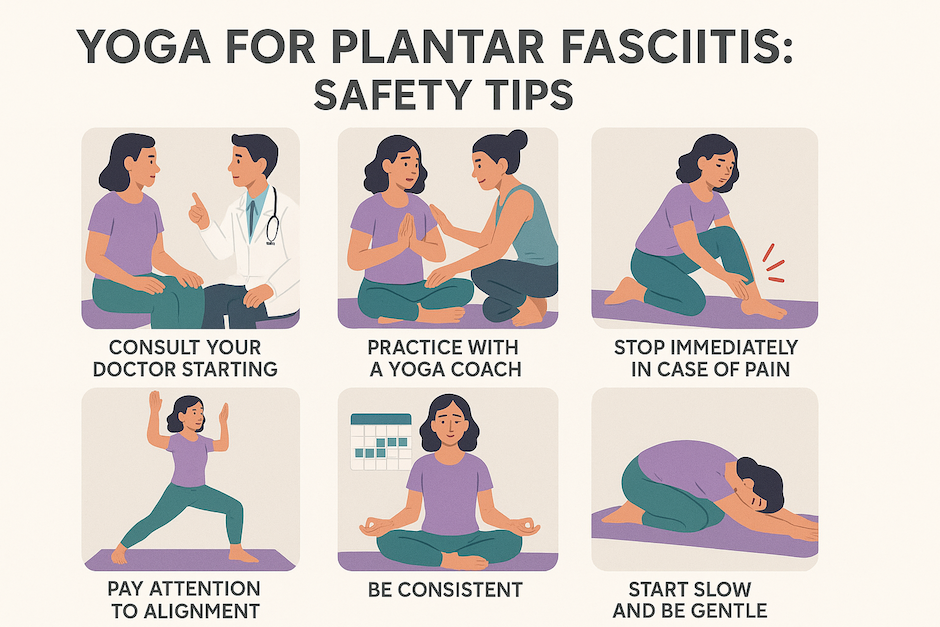
While these poses can ease the pain, it’s crucial to approach yoga with caution. Incorrect practice, especially overstretching, can lead to further injury by tearing the delicate tissue in your heel, potentially worsening the pain and prolonging recovery.
[inline-CTA-2]
Beyond traditional yoga poses, targeted toe exercises, or toe yoga, can speed up plantar fasciitis recovery by strengthening the small muscles in your feet, improving mobility, and supporting proper foot mechanics. Try these simple yet effective foot yoga exercises for plantar fasciitis:
This exercise improves toe flexibility, strengthens intrinsic foot muscles, and enhances stability, thus reducing strain on the plantar fascia.
This exercise strengthens the plantar fascia, builds foot arch support, and improves grip strength in the toes.
This is a great exercise to stretch the plantar fascia and calf muscles, reduce morning heel pain, and improve flexibility in the foot.
While plantar fasciitis yoga stretches are great for relieving foot and heel pain, there are certain poses you must be cautious about, or rather, avoid. These include:
By avoiding these poses, you'll give your feet the rest and care they need while recovering from plantar fasciitis.
Yes, yoga can be very beneficial for plantar fasciitis. Certain yoga poses and stretches can help stretch and strengthen the muscles in your feet and calves, reducing tension in the plantar fascia. Yoga also helps improve flexibility and circulation in the affected areas, which promotes healing and alleviates discomfort.
Yoga for plantar fasciitis focuses on poses that stretch the plantar fascia and calf muscles. Targeted stretches for your feet and legs help relieve heel and foot pain by reducing inflammation and improving flexibility. This promotes faster recovery by easing strain, boosting blood flow, reducing swelling, and strengthening the muscles that support your foot, helping you move with less pain and more stability.
Along with yoga, you can complement your recovery with other strategies that promote healing. Start by resting the foot as much as possible, avoiding activities that aggravate the pain. Wearing supportive shoes with proper arch support or using orthotic inserts can help alleviate pressure on the plantar fascia. Additionally, massaging the soles of your feet and applying ice packs regularly can help reduce inflammation and pain. If the severity is much more, consult a healthcare professional for physical therapy or other treatments, such as corticosteroid injections.
Yes, specific toe yoga exercises are highly effective for plantar fasciitis. Toe lifts, spreads, and strengthening movements target the small muscles that support your foot arch. These exercises improve overall foot mechanics and can significantly reduce plantar fascia strain when practiced consistently.

Receive personalized guidance tailored to your unique fitness goals, live with a dedicated coach—no credit card required.
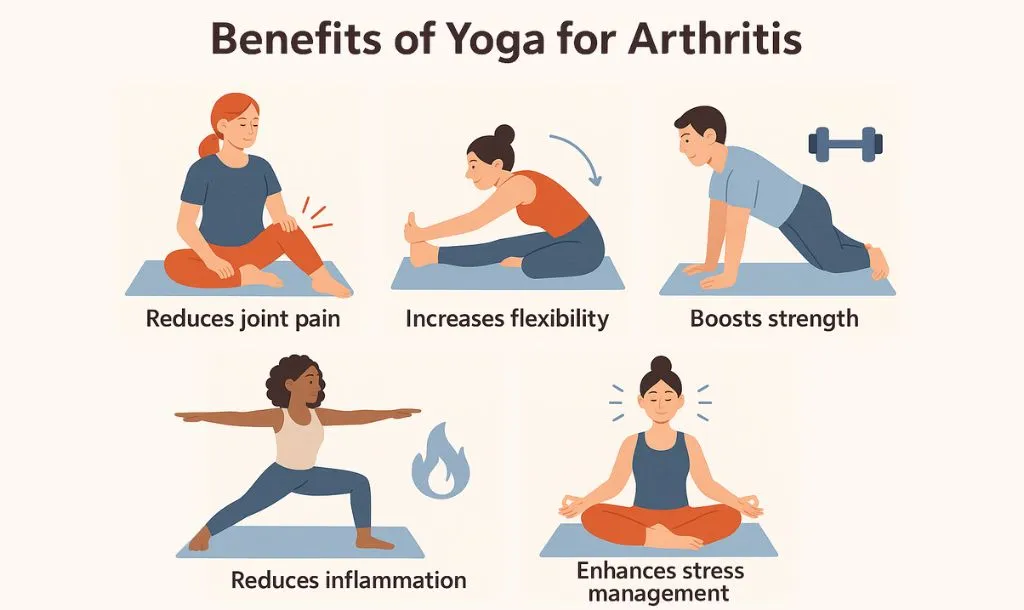
Yes, yoga is good for arthritis! Discover research-backed benefits, safety tips, and gentle poses. Expert guidance for arthritis-friendly practice.
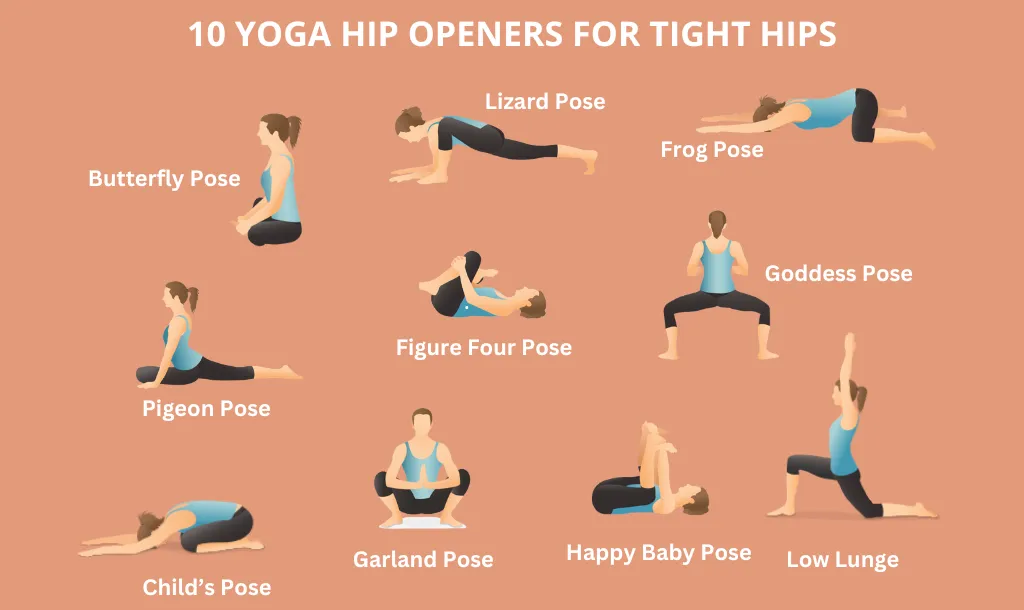
Discover 10 hip opening yoga poses to relieve tightness & improve mobility. Learn step-by-step instructions for simple & advanced hip openers with expert tips here!
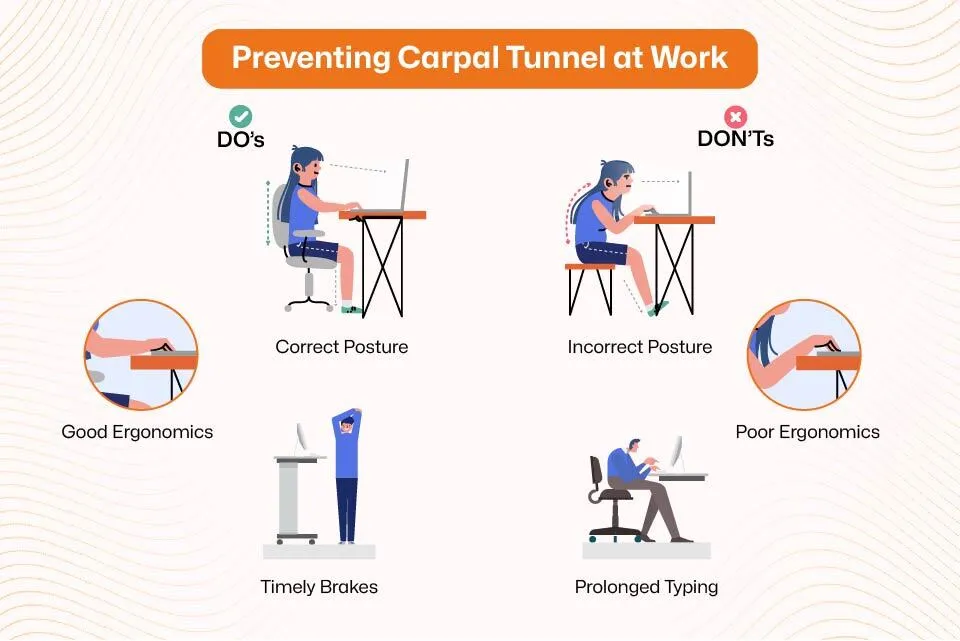
Wrist exercises can prevent the pain and numbness caused by carpal tunnel syndrome, especially if you work for long hours. Explore the best exercises here!


© Copyright 2025 MyYogaTeacher Inc